
How to Change the Needle on a Singer Sewing Machine?
The needle is a device that pokes through your fabric and transmits the pressuring of your presser foot to the teeth that capture and then feed the cloth via the sewing machine. Let`s look at How to Change the Needle on a Singer Sewing Machine.
Changing the sewing machine needle on your device is a significant process, as this tool is almost the most crucial part of the sewing machine. By replacing it, you will avoid problems such as uneven stitches coupled with skipped stitches, affected pieces of fabric, and torn thread. It is essential thing to substitute the needle on time as well as in a proper way.
Otherwise, carelessness in such a case can lead to the breakage of your sewing device and you might even have to change a sewing machine.
As for the experienced specialists, they replace their sewing needles every time when they sew between diverse kinds of fabric and that is exactly right. But, if you are a newcomer, you should also know how to do it. It is as basic knowledge as setting up your Singer sewing machine.
Be sure that you will have no difficulty replacing your old needle with your new needle. You merely should comply with the instructions coupled with the video tutorial below.
In this article, we will demonstrate to you how to change a sewing machine needle on a Singer sewing machine, but if you possess another manufacturer ( Brother sewing machine, etc.), never mind! The process of needle change on all the sewing machines is the same.
So, let’s figure out how Singer’s manual suggests we do it.
When Does the Sewing Machine Needle Need Changing?
To begin with, the sewing machine needle is made to be changed oftentimes, as a renewed one pokes through your cloth more readily and consequently you obtain a perfect stitch.
So, here you can find the info on how frequent to change the needle:
| ✓ | Every time you begin with your next sewing project (no matter how tiny it is). This will assist you to avoid missed seams and other diverse troubles, that could be caused by a worn-out needle |
| ✓ | When the needle becomes blunt (it is usually caused by a great number of coats) |
| ✓ | During a tissue type replacement (in case you start working with thicker tissue like denim) |
| ✓ | When you notice a problem of threads breaking constantly as well as you get missed or curved seams |
| ✓ | After an extended period (7-10 hours) of continuous sewing (and much more often during quilting) |
| ✓ | When you possess a bent needle (a bent device can make missed seams) |
| ✓ | In case when your needle makes a clapping noise |
Some of these problems (uneven stitches) you can resolve by testing the level of tension on your sewing machine, but if it does not help, you should insert the new needle.
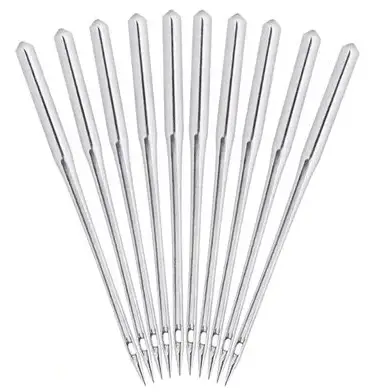
How to Select the Right Sewing Machine Needle?
The choice of the right sewing machine needle is as important as its timely replacement.
To begin with, let’s figure out which kinds of needles exist. For example, embroidery needles, metal thread needles, quilting needles along with top needles.
In order to identify which exactly kind of needle you require, you need to:
- take into consideration the type of your new project,
- determine the sort of tissue you will be using,
- consider the length of the seams as well as tightness.
You can also take advantage of this generally accepted rule:
There is also a little tip for you:
- If you covet to stitch light satin (silk, cambric, etc), utilize 60/8 as well as 65/9 sewing machine needles
- In the case of medium-weight fabrics, exploit 80/12 and 90/14 sewing machine needles
- And if you desire to stitch heavy coupled with firm cloth (denim, woven fabrics, etc.) – 100/16 or 110/18 machine needle
In the latter case, you will exactly need to change a sewing machine to the HD Line sewing machine.
Now, let’s talk about the needles in more detail.
All-purpose needle
Such sewing tools can be utilized with any type of fabric, in particular with woven tissues, synthetic materials along with knitwear. In some cases, it is better to use more suitable needles for more accurate work.
Embroidery needle
This type is made of viscose and polyester. Moreover, it possesses more space with its bigger hole, so you can monitor the motions while sewing with unique machine embroidery threads.
Quilting Needle
The quilting needle is a bit versatile. The only distinction is that the quilting needle possesses a pointed tip. Also, with the help of this sewing machine needle, it is more comfortable to sew on multiple coats of cloth.
Elastic Needle
Elastic needles possess a circular point and they are made to avoid missed seams. In addition, they are perfect for sewing on stretchy types of fabric (e. g. elastane).
Twin Needle
In case you desire to stitch decorative stitches, this is the best option. However, you should take into account that you should utilize them at a slower velocity in comparison with the aforementioned types of needles. Note: before buying, ensure that your selected sort of needle is interoperable with your Singer sewing machine.
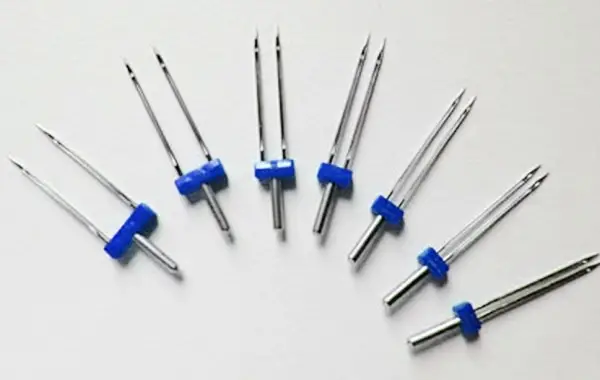
What Do You Require in Case of Changing the Needle?
In order to insert a new needle, you should prepare the following tools in advance.
The following tools:
You need also to know that several models (like Brother sewing machines) provide a special device for inserting.
As we already know, needles can be different in kinds as well as sizes, and everyone is incompatible with a certain kind of fabric.
The Singer All-purpose set of needles can suggest you a kit of 20 needles in diverse sizes that suits plenty of sewing devices such as Brother sewing machine, Janome, etc.
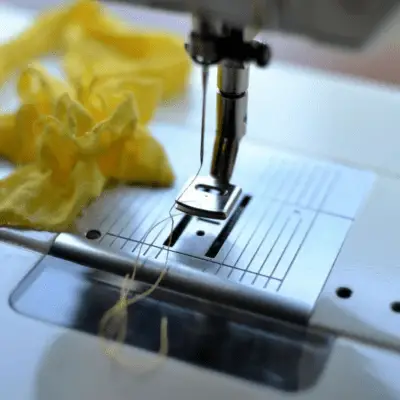
How to Change the Needle on Your Singer Sewing Machine?
Below you can figure out a few stages that will help to renew your sewing machine needle:
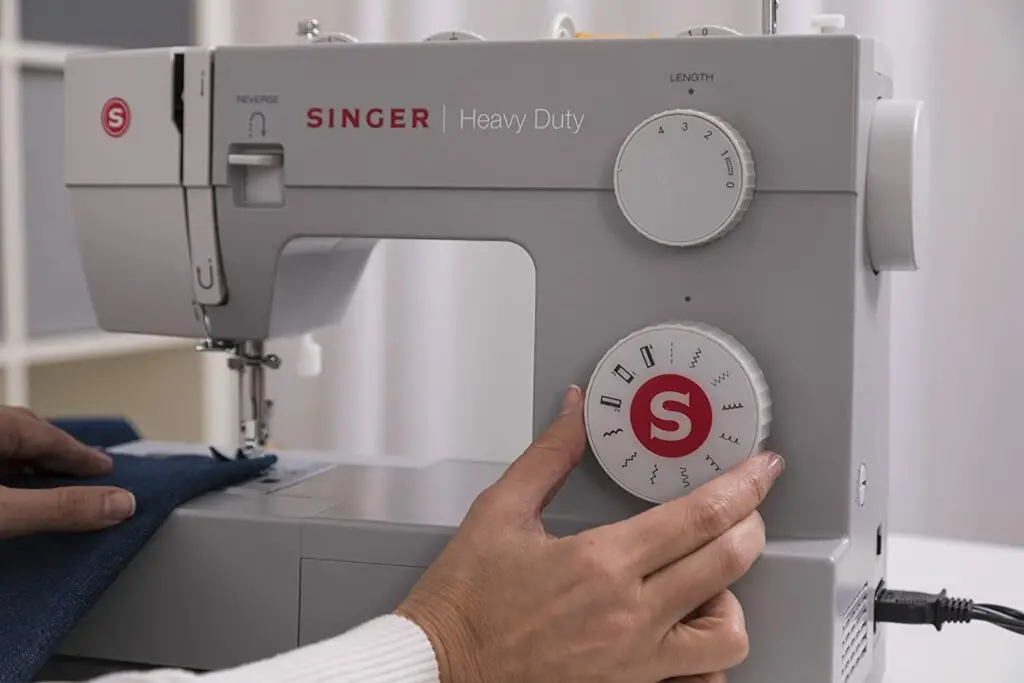
Stage 1. Preparations
- Disconnect your sewing machine by pulling out the cable from the wall socket.
- Lift the presser foot by rotating the handle towards you (in order to keep the needle at the highest position).
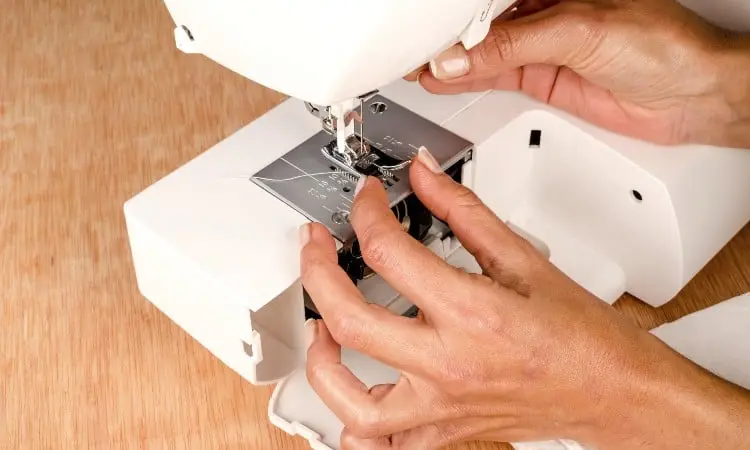
Stage 2. Take away the needle clamp screw
- Take away the presser foot slacking the needle clamp screw which keeps it. You should find out the tiny screw to the right of the needle clamp.
- With the left hand, you should keep the needle in place, and with the right hand, you need to reverse the needle screw toward you.
- Note: On Singer HD Line, the clamp screw can be readily unscrewed manually. In the case of Brother machines, it is not twisted as readily and you should utilize a flat screwdriver. It is not necessary to loosen the needle clamp screw significantly, you merely need to loosen the needle.
Stage 3. Pull out the old needle
- Loosen and pull out the old needle (by taking it off the clamp). You can also push out the presser foot initially in order to obtain free area.
- Note: the flat side of the needle shank should meet the foremost part or the backside.
Stage 4. Paste the renewed needle
- Paste the renewed needle with the flat side through the backside of your machine.
- Take into account that the needle should follow a similar destination as a previous one.
In addition, you are able to insert the new needle into a sewing machine in several ways.
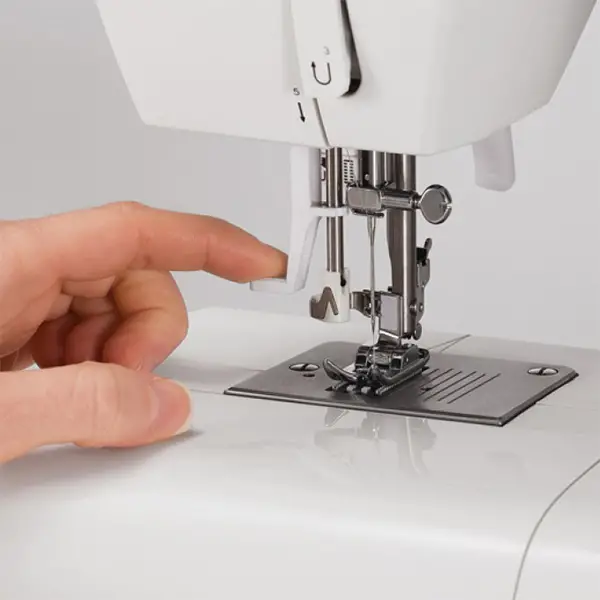
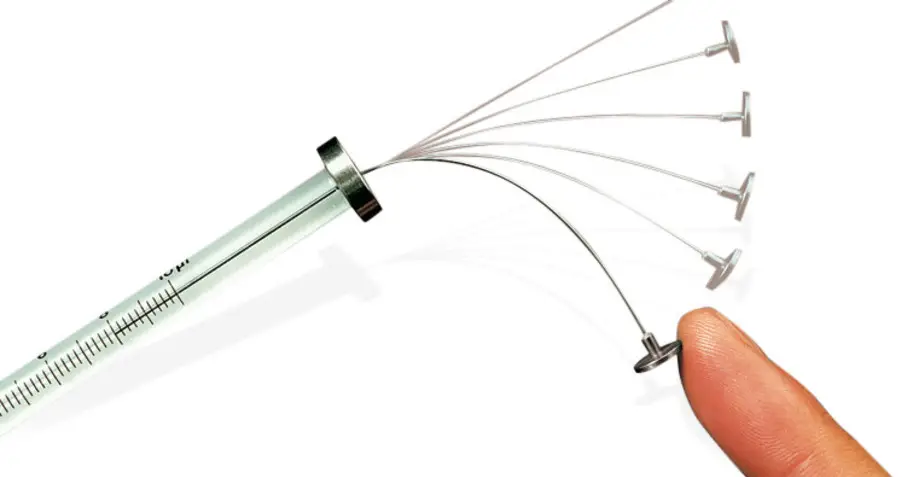
How to Change Needle With the Help of a Clearance Plate?
To begin with, a clearance plate helps to sew over thick stitches (in the case of stitching denim) and this application is provided by many singer machines.
So, let’s start to replace our needles!
- Direct your tool to the clearance plate. You can easily define what part is for the flat side and which is for the circular part.
- Then, shift the plate into the area (table) for sewing.
- Insert the higher part of the needle into the clamp as in the image and push it upwards.
- The last step is to tighten the needle clamp screw clockwise and tighten it with more strength, as tight as it is possible.
Exchanging the Needle With the Help of Fingers
A next method is demanding nothing more than your fingers.
- Utilize your fingers in order to tilt the tool upwards and into the screw clamp (the flat part should be meeting the backside).
- Tighten the needle screw counterclockwise and that’s all!
Conclusion on How to Change the Needle on a Singer Sewing Machine
Today you have confirmed that it is very simple as well as rapid to replace sewing machine needles.
It will also assist to get rid of missed seams and destroyed fabric. Therefore, you may save a lot of time. In addition, your products will always look accurate.
I hope, this guide will assist you. Please, leave feedback to inform us about it.
You will also like a detailed article about:
- How to Sew Without a Needle or Thread?
- Singer 4452 reviews: best heavy duty sewing machine 2022
- Singer fashion mate 5560 review
7 thoughts on “How to Change the Needle on a Singer Sewing Machine?”