Singer 4423 Manual: Know This Before You Buy!

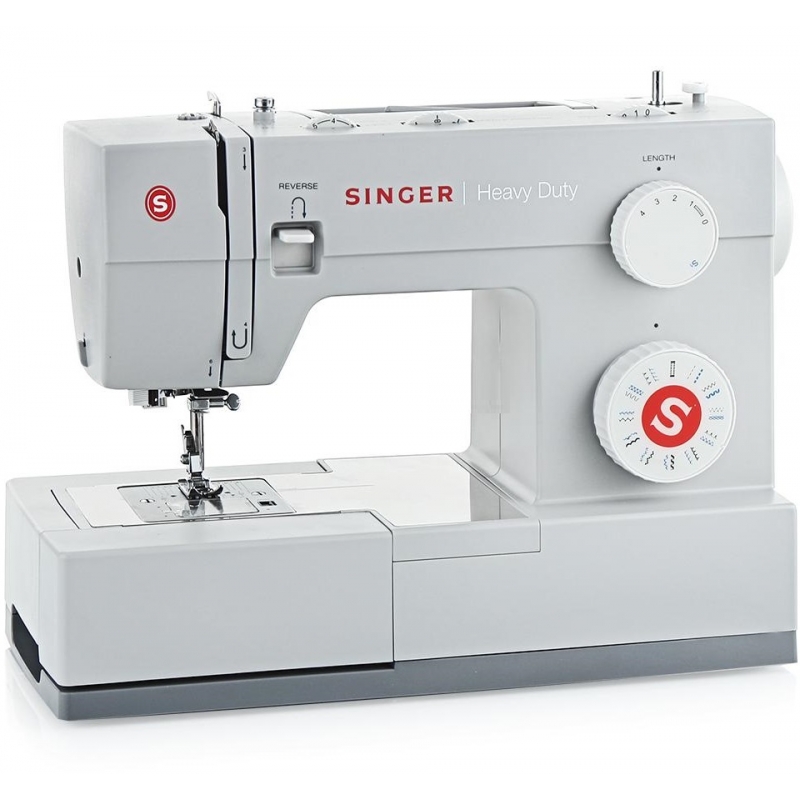
The Singer Heavy Suty 4423 sewing machine is a high-quality model that comes with thread tension adjustment, 23 stitches designs, and a sturdy frame. The sewing machine is a great choice for sewists of all levels, besides it has the easy to understand manual. We will reveal some parts of the manual, that tell how to solve the most common problems, but let’s look at the characteristics in the Singer 4423 manual and a small review.

Technical Specifications of the Sewing Machine
Singer heavy-duty 4423 is known for delivering the perfect sewing results. And you will understand why machine sewing is so effective by looking at the specifications of the sewing machine:
- 1100 Maximum sewing speed
- Built-In needle threader
- Metal frame
- The top drop-in bobbin system
- One-step buttonhole
- 97 Stitch applications
- Dimensions:15.5 x 6.25 x 12 inches
- Weight: 14.5 pounds
The sewing machine gives a sewing freedom for creative sewists thanks to the wide number of stitch applications, and high sewing speed.
Accessories of the Sewing Machine
Singer heavy-duty 4423 sewing machine comes with a large number of accessories. Let’s see all the components of the accessory kit of the Singer heavy-duty sewing machine:
- Needles;
- Seam ripper;
- Bobbins;
- Lint brush;
- Screwdriver;
- Quilting guide;
- Auxiliary spool pin;
- Soft-sided dust cover.

Whether you’re looking to make garment alterations or to start a new project from scratch, the heavy duty Singer sewing machines and its sewing accessories are an easy-to-use and versatile products.
It is a nice accessory kit with a sufficient number of items that may be needed during sewing. Besides it also has many presser feet that will be pretty helpful during sewing:
- All-purpose foot: this presser foot is needed for the everyday sewing routine and for sewing the straight or zigzag stitch;
- Zipper foot: this type of presser foot is used to insert the zipper;
- Buttonhole foot: the presser foot creates a buttonhole of the size that fits the button;
- Button sewing foot: the last presser foot sews your buttons on.
All these presser feet are irreplaceable during sewing, but you can buy some more for more complex projects.
Singer 4423 Manual
Many beginners may worry that they will not master the sewing machine. However, the Singer heavy-duty 4423 sewing machine offers us to read a helpful manual that can solve most of the problems appearing during sewing like bobbin winding. Let’s look through the most important chapters of the manual:
- List of the parts: when you open the manual you will the list of all the parts of the sewing machine. It will help you to understand how the machine works, and how to change specific parts of the machine.
- Winding the bobbin: Take the spool holder and the thread from the accessory kit and place them on the spool pin. Then you will see the thread guide that will help you to snap the thread. Now it’s time to wind the thread around the bobbin around the tension discs. You should do it clockwise. Then you will the picture that shows how to thread the bobbin. Follow the guide and move the bobbin spindle to the right side and hold the end of the thread tightly. Wind the bobbin by pressing on the foot pedal, and don’t forget to cut it off near the bobbin. Finally, cut the thread when the bobbin is winded, and move the bobbin spindle to the left side. You should also remember that the sewing machine won’t sew until you finish the bobbin winding. That is why you need to do the final step with the cutting of the bobbin guide.
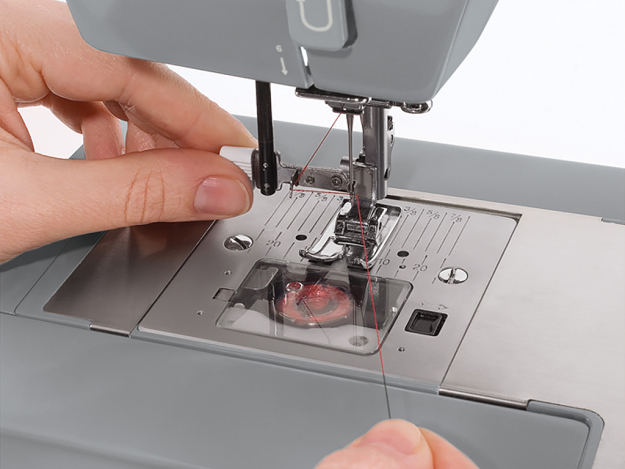
- Threading the upper thread: You need to raise the needle as high as possible if you want to thread the sewing machine. Then turn the handwheel clockwise to make the needle descend. The second to be raised is the presser foot. It is necessary for releasing the tension discs. And finally, raise the spool. Look at the illustration to see how to locate the spool so that the thread is coming from the back of it. The spool holder should be placed close to the spool. The thread should be drawn from the upper thread’s guide spool and followed through the right channel. Then the thread should be passed through the slotted eye when it is on the top. Move the thread down again. Follow the thread of the horizontal guide, and take around 7 inches of it under the presser foot. Use the built-in thread cutter to cut the thread off as you wish. That is how the threading is done. You need to look at the illustrations in the instruction for the complete thread guide.

- Upper thread tension: the thread tension can be adjusted with the dial. Every sewist needs to adjust the tension of the threads because different stitches require different thread tension. For example, you can make the seams looser, or tighter depending on the type of stitch: decorative stitches require lower thread tension. Turn the dial up if you need to increase the thread tension and turn it down to decrease it. You will mostly work with 3-5 settings of the dial. If the tension of the threads will be too loose your seam will be of bad quality, that is why thread tension adjustment is very important. The thread tension is set incorrectly if the threads are looping from the back of the fabric.
- Built-in needle threader: Not many people like threading their needles, so the automatic needle threader of the Singer sewing machine is a blessing. That is why it is better to buy a sewing machine with a built-in needle threader. Now let’s talk about the right way of threading the needles with the needle threaders. Turn the sewing machine off. Connect the needle clamp wire with the upper tension thread. Make sure that the needle is raised to its highest position. Choose the straight stitch and press down the lever to the maximum. Insert the thread hook into the needle’s eye. Follow the thread guide and place the thread around the hook before the needle. Finally, release the lever and see the needle threader at work. Now the needle is thread and you can start sewing with the Singer sewing machine. Besides, you can also change the needle position of the Singer machine. Use the dial with the three needle positions for that.
- Stitch pattern: choosing the stitch pattern for your fabric is easy with the gray and blue dials of the Singer sewing machine. You can pick up the stitch pattern from the top row you like with the help of the gray dial. Turn the dial in front of the pattern you need. You can choose the Singer sewing machine patterns from the 23-pattern library. If you need to choose the stretch stitch pattern from the lower raw turn the blue dial. You can turn the dial in any way to select the pattern.
As you can see you can learn how to sew the fabric with the help of the instruction from the Singer sewing machine.
Final Words
Machine sewing is not hard because you can learn from the instruction. You will master everything: threading, cutting, and sewing your fabric.
All you need is to sign in to some shopping website to get quality service. The websites with customer service will answer all your questions about the machine and fabric that can be sewn with it. You can also learn how to oil and clean the machine so don’t worry about purchasing it with no experience.
