How To Sew A Tote Bag With A Flat Bottom?
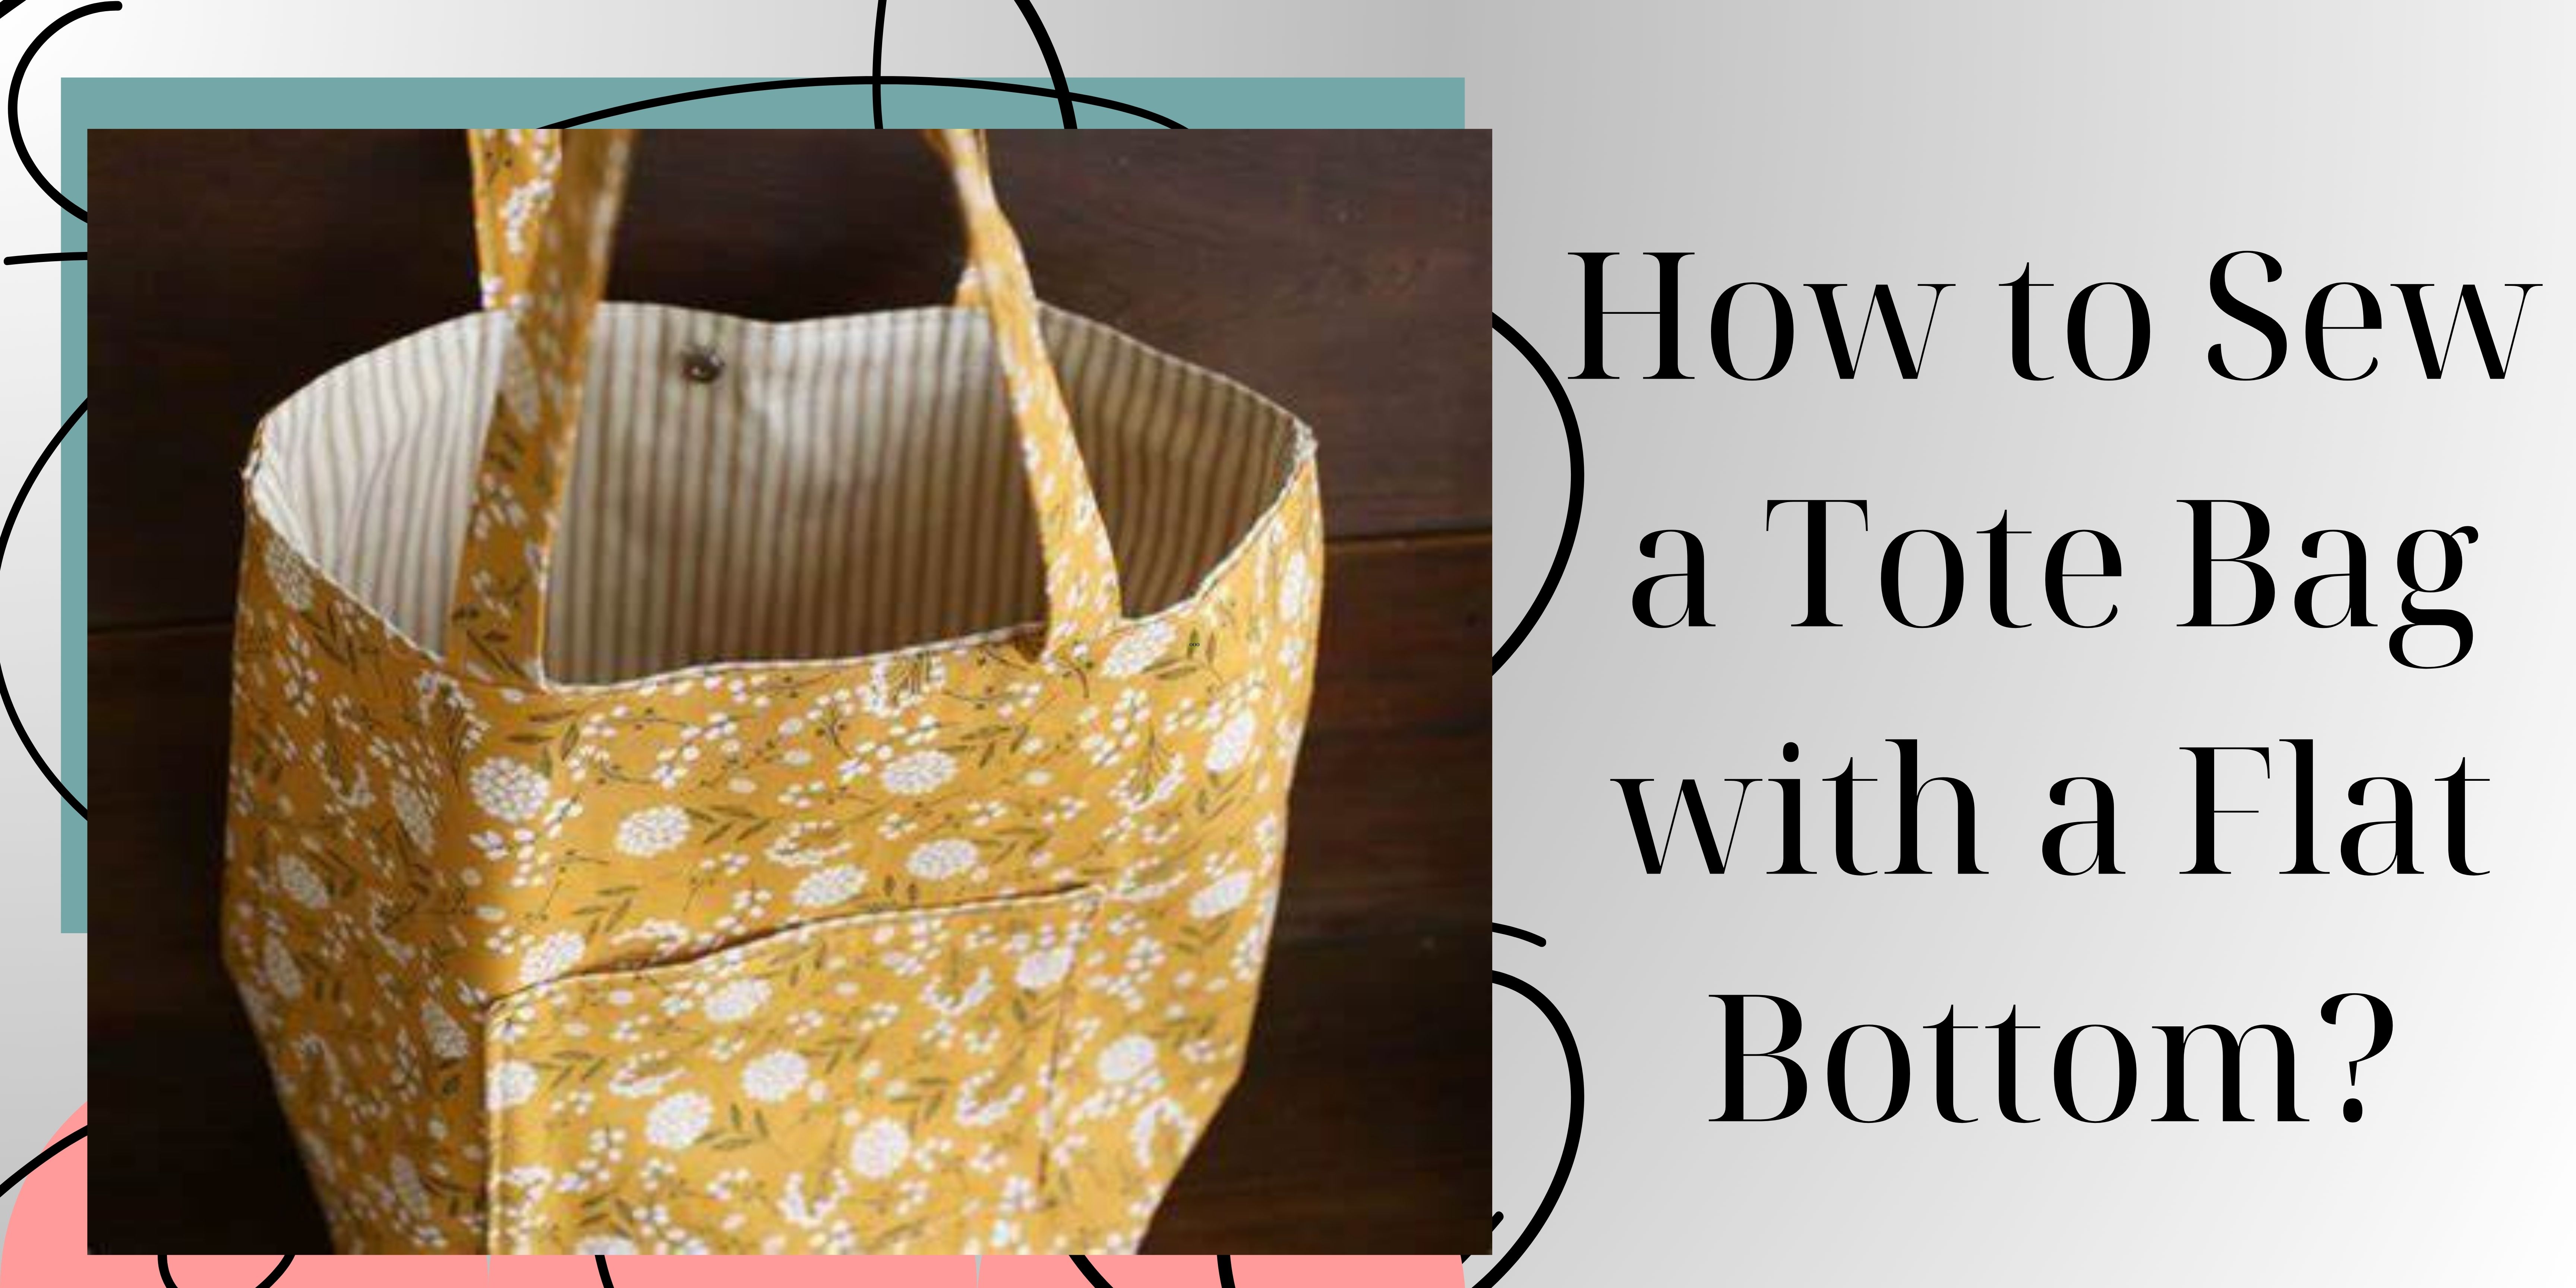
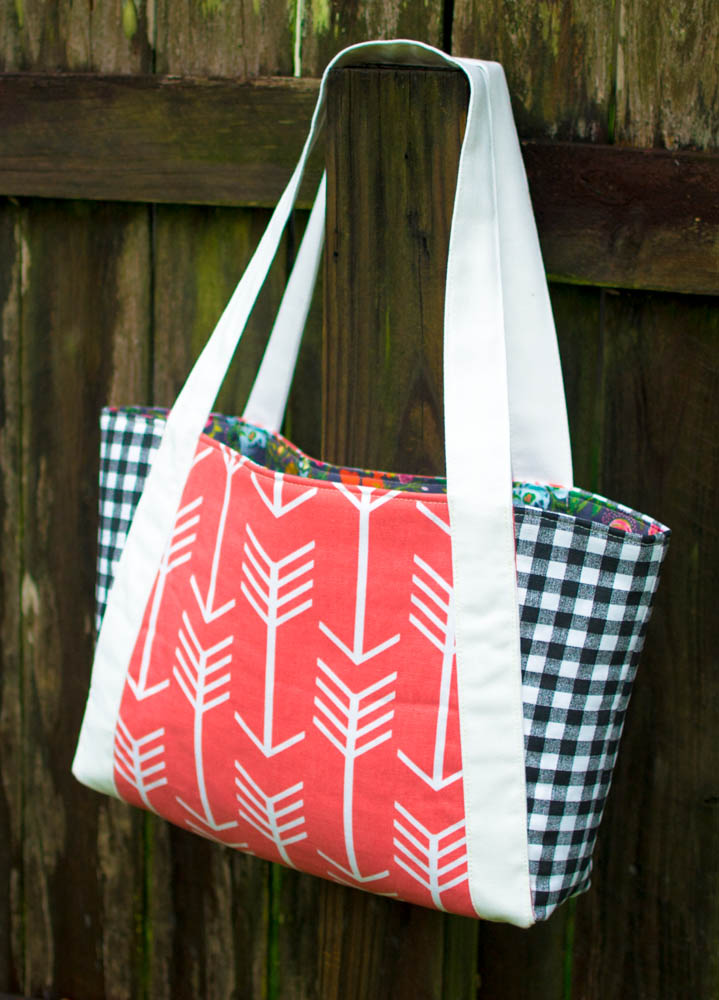
Embarking on the journey of sew a tote bag with flat bottom opens up exciting possibilities for creating a versatile and sturdy accessory.
Whether you’re an experienced seamstress or a novice looking for a straightforward instructions great project, this sewing tutorial provides detailed instructions how to sew a tote bag with a flat bottom to guide you through the process of making a stylish and functional tote bag tutorial.
Materials and Tools You’ll Need
Gather your materials before diving into this creative endeavor.
You’ll need a simple tote bag pattern, outer fabric (opt for durable options like duck cloth), lining fabric, fusible interfacing, tote bag handles (or fabric for making handles), a sewing machine, rotary cutter, cutting mat, marking tool, straight pin, and an iron with an ironing board.
Step-by-Step Instructions
Embark on the journey of crafting your perfect sturdy tote bag with flat bottom by commencing with the meticulous cutting of fabric. This essential step lays the foundation for a well-constructed and visually appealing accessory.
Strategically fold the fabric when crafting your bags to create features like pleats or gussets that add both style and functionality.

Materials at Your Disposal
Ensure you have the tote bag pattern, bag fabric, lining fabric, smooth interfacing, and essential tools such as a sewing machine, rotary cutter, marking tool, and straight pin.
When considering customizations for your tote bag, be mindful of any additional features that might incur an extra cost, such as special closures or personalized embellishments. To achieve a professional finish, it’s crucial to sew with precision, ensuring that each stitch contributes to the structural integrity of the bag.

Step 1: Outer and Lining Fabric Cuts
Begin by cutting two pieces of fabric for the outer bag, adhering to the two-dimensional bag specified in your simple tote bag pattern. This step sets the stage for the visual appeal of your tote.
Correspondingly, cut two pieces for the lining fabric, mirroring the dimensions of the same fabric. When you sew, pay careful attention to details, ensuring each stitch is accurate and secure for a polished final product.

Step 2: Incorporating Fusible Interfacing
Elevate the sturdiness of your tote by cutting two rectangles of smooth interfacing, each marginally smaller than the dimensions of the leftover fabric.
This additional layer enhances the durability and structure of grocery shopping.
Take the time to sew each bag with precision, ensuring that your stitches are even and secure for a professional finish.
Guidelines for Precision
To guarantee accuracy, continuously refer to your large tote bag pattern during the cutting process. Exercise caution when cutting to prevent any excess fabric, and be attentive to the seam allowance specified in your quilt patterns to maintain uniformity.
Strategically fold the fabric along predetermined lines to create defined edges and features, adding structure and style to your projects. You can sew beautiful creations that reflect your creativity and skill in the art of sewing.
Challenge yourself to sew intricate designs, pushing the boundaries of your sewing abilities and creating unique and eye-catching pieces. As you navigate through this DIY adventure, keep in mind the unique characteristics and features you envision for your DIY tote bag with flat bottom.
Your engagement contributes to a vibrant community of fellow crafting enthusiasts. With nimble fingers, she began to sew the delicate lace onto the hem of the dress. He found joy in learning how to sew simple stitches.
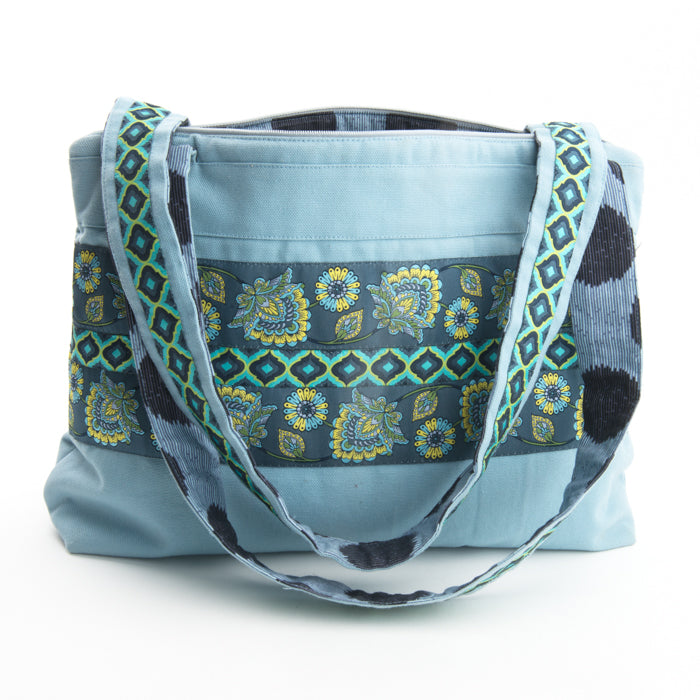
Preparing the Perfect Sturdy Tote Bag
Sew is a form of self-expression; that uses different fabrics and colors. Armed with a needle and thread, he set out to sew a patch onto the worn-out denim jacket.
The old sewing machine whirred to life as she began to sew together the pieces of the vintage-inspired dress. The fashion designer took great pride in her ability to sew unique and stylish garments for her clients. You would like to sew and create a beautiful bag.
Lay the fabric flat on your cutting mat before making any cuts to ensure accurate measurements and a smooth, flat foundation for your tote bag project. Before you start sewing, organize your bags of fabrics based on color or pattern to make the assembly process more efficient and enjoyable.
Selecting the Right Fabric Strips
The possibilities are vast, ranging from simple tote bags to larger, more elaborate creations. Refer to your super-easy-free pattern for precise measurements, ensuring that your fabric strips are cut with utmost accuracy.
If your selected fabric tends to be on the lighter side seams, consider reinforcing the handles with interfacing. This additional layer not only adds strength but also prevents the handles from succumbing to the wear and tear of everyday use.
Mindful Sewing and Attachment
Seam allowance plays a crucial role in the overall durability of your easy-tote bag tutorial. Take note of the recommended seam allowance in your sewing tutorial to achieve professional-looking results.
The handles of your DIY tote bag can be more than just functional; they can be a design element. The comment section of your simple tote bag sewing tutorial might be a source of inspiration for unique handle variations.
Final Touches and Testing
Ensure that the sewing is secure, the lengths are consistent, and any additional design elements are in place. This meticulous approach guarantees that your tote bags not only look great but also easily stand the test of time.
Create a polished look by neatly folding the edges of your simple tote bag, paying attention to ensure that the folds are even and consistent. Reinforce the seams of your tote bag, especially those that will bear the most weight, to enhance durability and make the bag suitable for carrying heavier items.
Guide to Affixing Tote Bags
Embarking on the pivotal step of attaching the belts to your tote bag requires a meticulous approach to ensure both functionality and aesthetic appeal.
This comprehensive guide breaks down the process, ensuring that your flat-bottom tote bag not only stands out but also serves its purpose with utmost efficiency.

Pin with Purpose
Begin by strategically placing the belts onto the wrong sides of the smooth fabric. Take your time to ensure that they are precisely positioned, considering both the visual balance and the practicality of the handles.
Once the belts are impeccably pin, proceed to stitch them down onto the fabric. This stitch process serves a dual purpose – it not only secures the handles firmly in place but also adds a decorative element to your tote bag.
Functionality Meets Style
The handles of your tote bag should seamlessly blend functionality with style. Consider the intended use of your tote – whether it’s a reusable grocery bag for practicality or a chic everyday farmhouse accessory for style.
The sewing should not only be secure but also contribute to the overall aesthetic appeal of your creation. Pay attention to the raw edge of the belts.
Depending on your design preferences, you can leave them exposed for a more rustic look or incorporate techniques like French seams for a polished finish. The choice of how you handle the long edges adds a personal touch to your tote bag.
Strategic Folding and Seams
As you attach the belts, be mindful of the folds and french seams. The art of pin is often underrated but plays a significant role in the success of your tote bag project.
Utilize this step to experiment with different placements, ensuring that the handles are not only securely fastened but also positioned in a way that enhances the bag’s overall design. This step guarantees that your tote bag is not only visually appealing but also a reliable companion for various occasions.
Strive for seam perfection by using the appropriate seam allowance and employing techniques like backstitching to secure your stitches. Consider adding a concealed pocket to your tote bag for a discreet and functional space, perfect for stashing keys, phones, or other small items securely.
Assembling the Simple Tote Bag
In this crucial phase of sew a tote bag creation journey, precision is key when attaching the belts. Follow these meticulous steps to guarantee not only the secure placement of the handles but also an aesthetically pleasing outcome for your simple tote bag with flat bottom.
Step 1: Pinning with Purpose and Precision
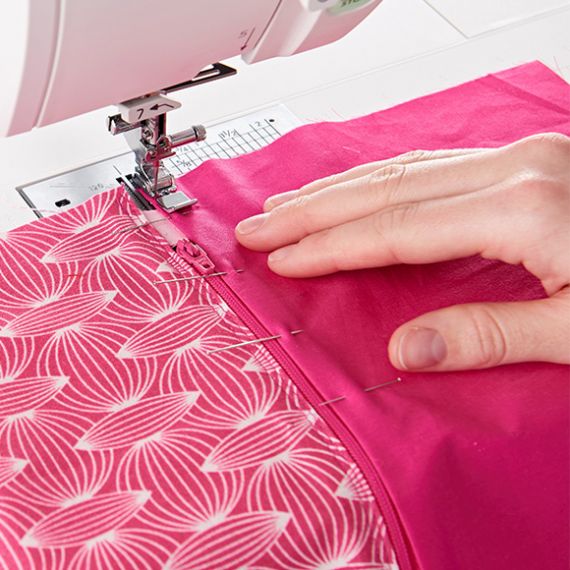
Begin by strategically placing the tote bag belts onto the wrong side of the outer fabric. Once the sew a tote bag belts are meticulously pinned in place, progress to the sewing phase.
Stitch them down onto the fabric, employing your sewing machine with precision. This sewing not only ensures the functional integrity of the handles but also contributes to the overall aesthetic appeal of your tote bag.

Step 2: Creating Handles of Dual Purpose
The stitching process is pivotal, as it transforms the simple tote bag belts into functional handles that serve a dual purpose. Not only do they securely fasten to the fabric, but they also add an appealing decorative element to your tote bag.
Consider experimenting with different stitching patterns to elevate the overall design. Pay close attention to the raw edges of the sew a tote bag straps.
This is an opportunity to infuse artistic expression into your creation. Depending on your design preferences, you can choose to leave the raw edges exposed for a rustic look or employ techniques such as French seams for a more polished finish.
Step 3: Strategic Folding and Seam Management
Be mindful of strategic folding and seam management as you attach the tote bag straps. The often underrated art of pinning plays a significant role in the success of your tote bag project.
Each fold and seam contributes to the structural integrity of the handles, ensuring they are not only visually appealing but also sturdy enough to withstand the weight of the bag, especially when carrying heavy items.
Utilize this step to experiment with different placements, ensuring that the tote bag handles are not only securely fastened but also positioned in a way that enhances the overall design and functionality of the bag.
Step 4: Aesthetic Testing and Final Adjustments
Before deeming your tote bag project complete, conduct a thorough aesthetic test. Ensure that the tote bag straps are securely attached and contribute positively to the overall visual appeal. Make any necessary final adjustments to perfect the look and functionality of your tote bag.

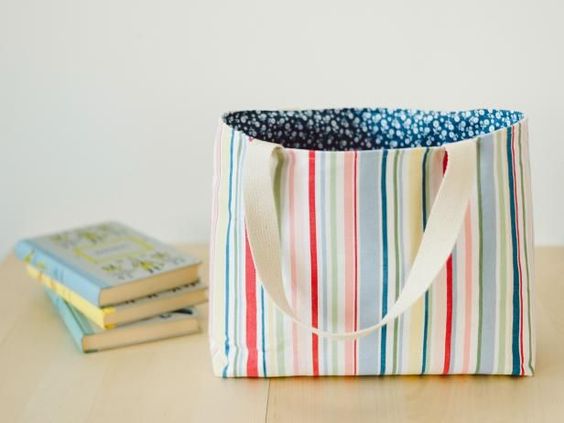
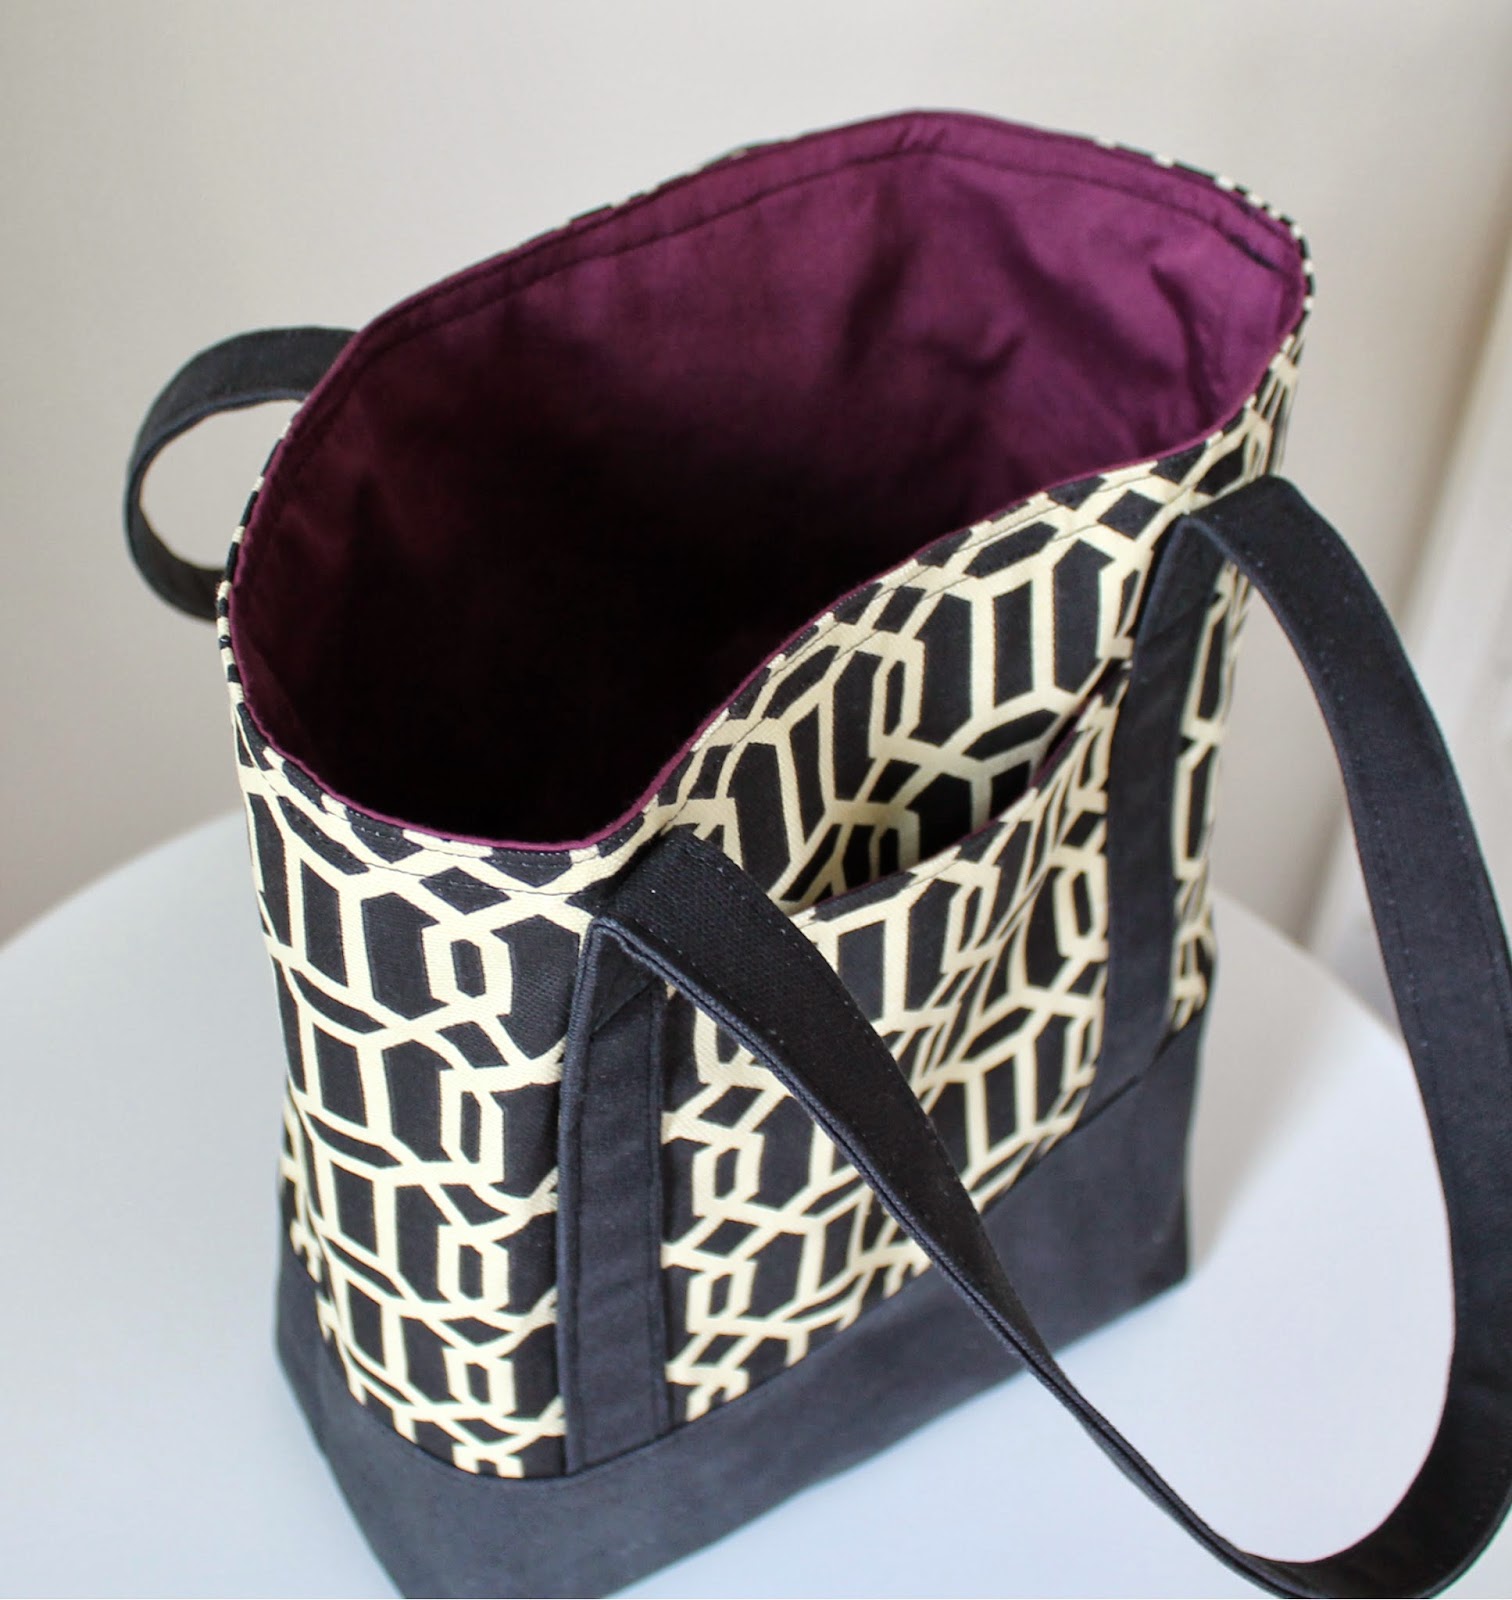
Creating the Flat Bottom
Elevate the structural integrity of your tote bag with a thoughtful approach to creating a flat bottom. Follow these detailed steps to add a touch of sophistication to your design, making it a perfect candidate for great gift wrap or personal use.
Ensure that different fabrics blend seamlessly into your design, creating a cohesive look that enhances the visual appeal of your tote bag. Take your time to sew each seams with care, ensuring that every stitch contributes to the overall strength and durability of your bags.
Forming Corners for Stability
Begin by transforming the flat bottom of your tote bag into a structured masterpiece. Carefully fold the bottom seam to meet the side seam, forming a triangular shape.
This strategic folding technique lays the foundation for a sturdy and well-defined flat bottom. Take a moment to ensure precision in your measurements as you form the triangular shape.
Measure and mark a line approximately 2 inches from the point of the triangle. The stitching not only adds strength but also contributes to the visual appeal of the flat bottom.
Repetition for Consistency
To maintain consistency and ensure a polished finish, repeat the process for the other corner of your tote bag. Embrace the opportunity to infuse aesthetic charm into the raw ends of the boxed corners.
Pay attention to the strategic folding involved in the creation of boxed corners. Each fold contributes to the overall symmetry of the flat bottom, ensuring a harmonious blend of functionality and style.
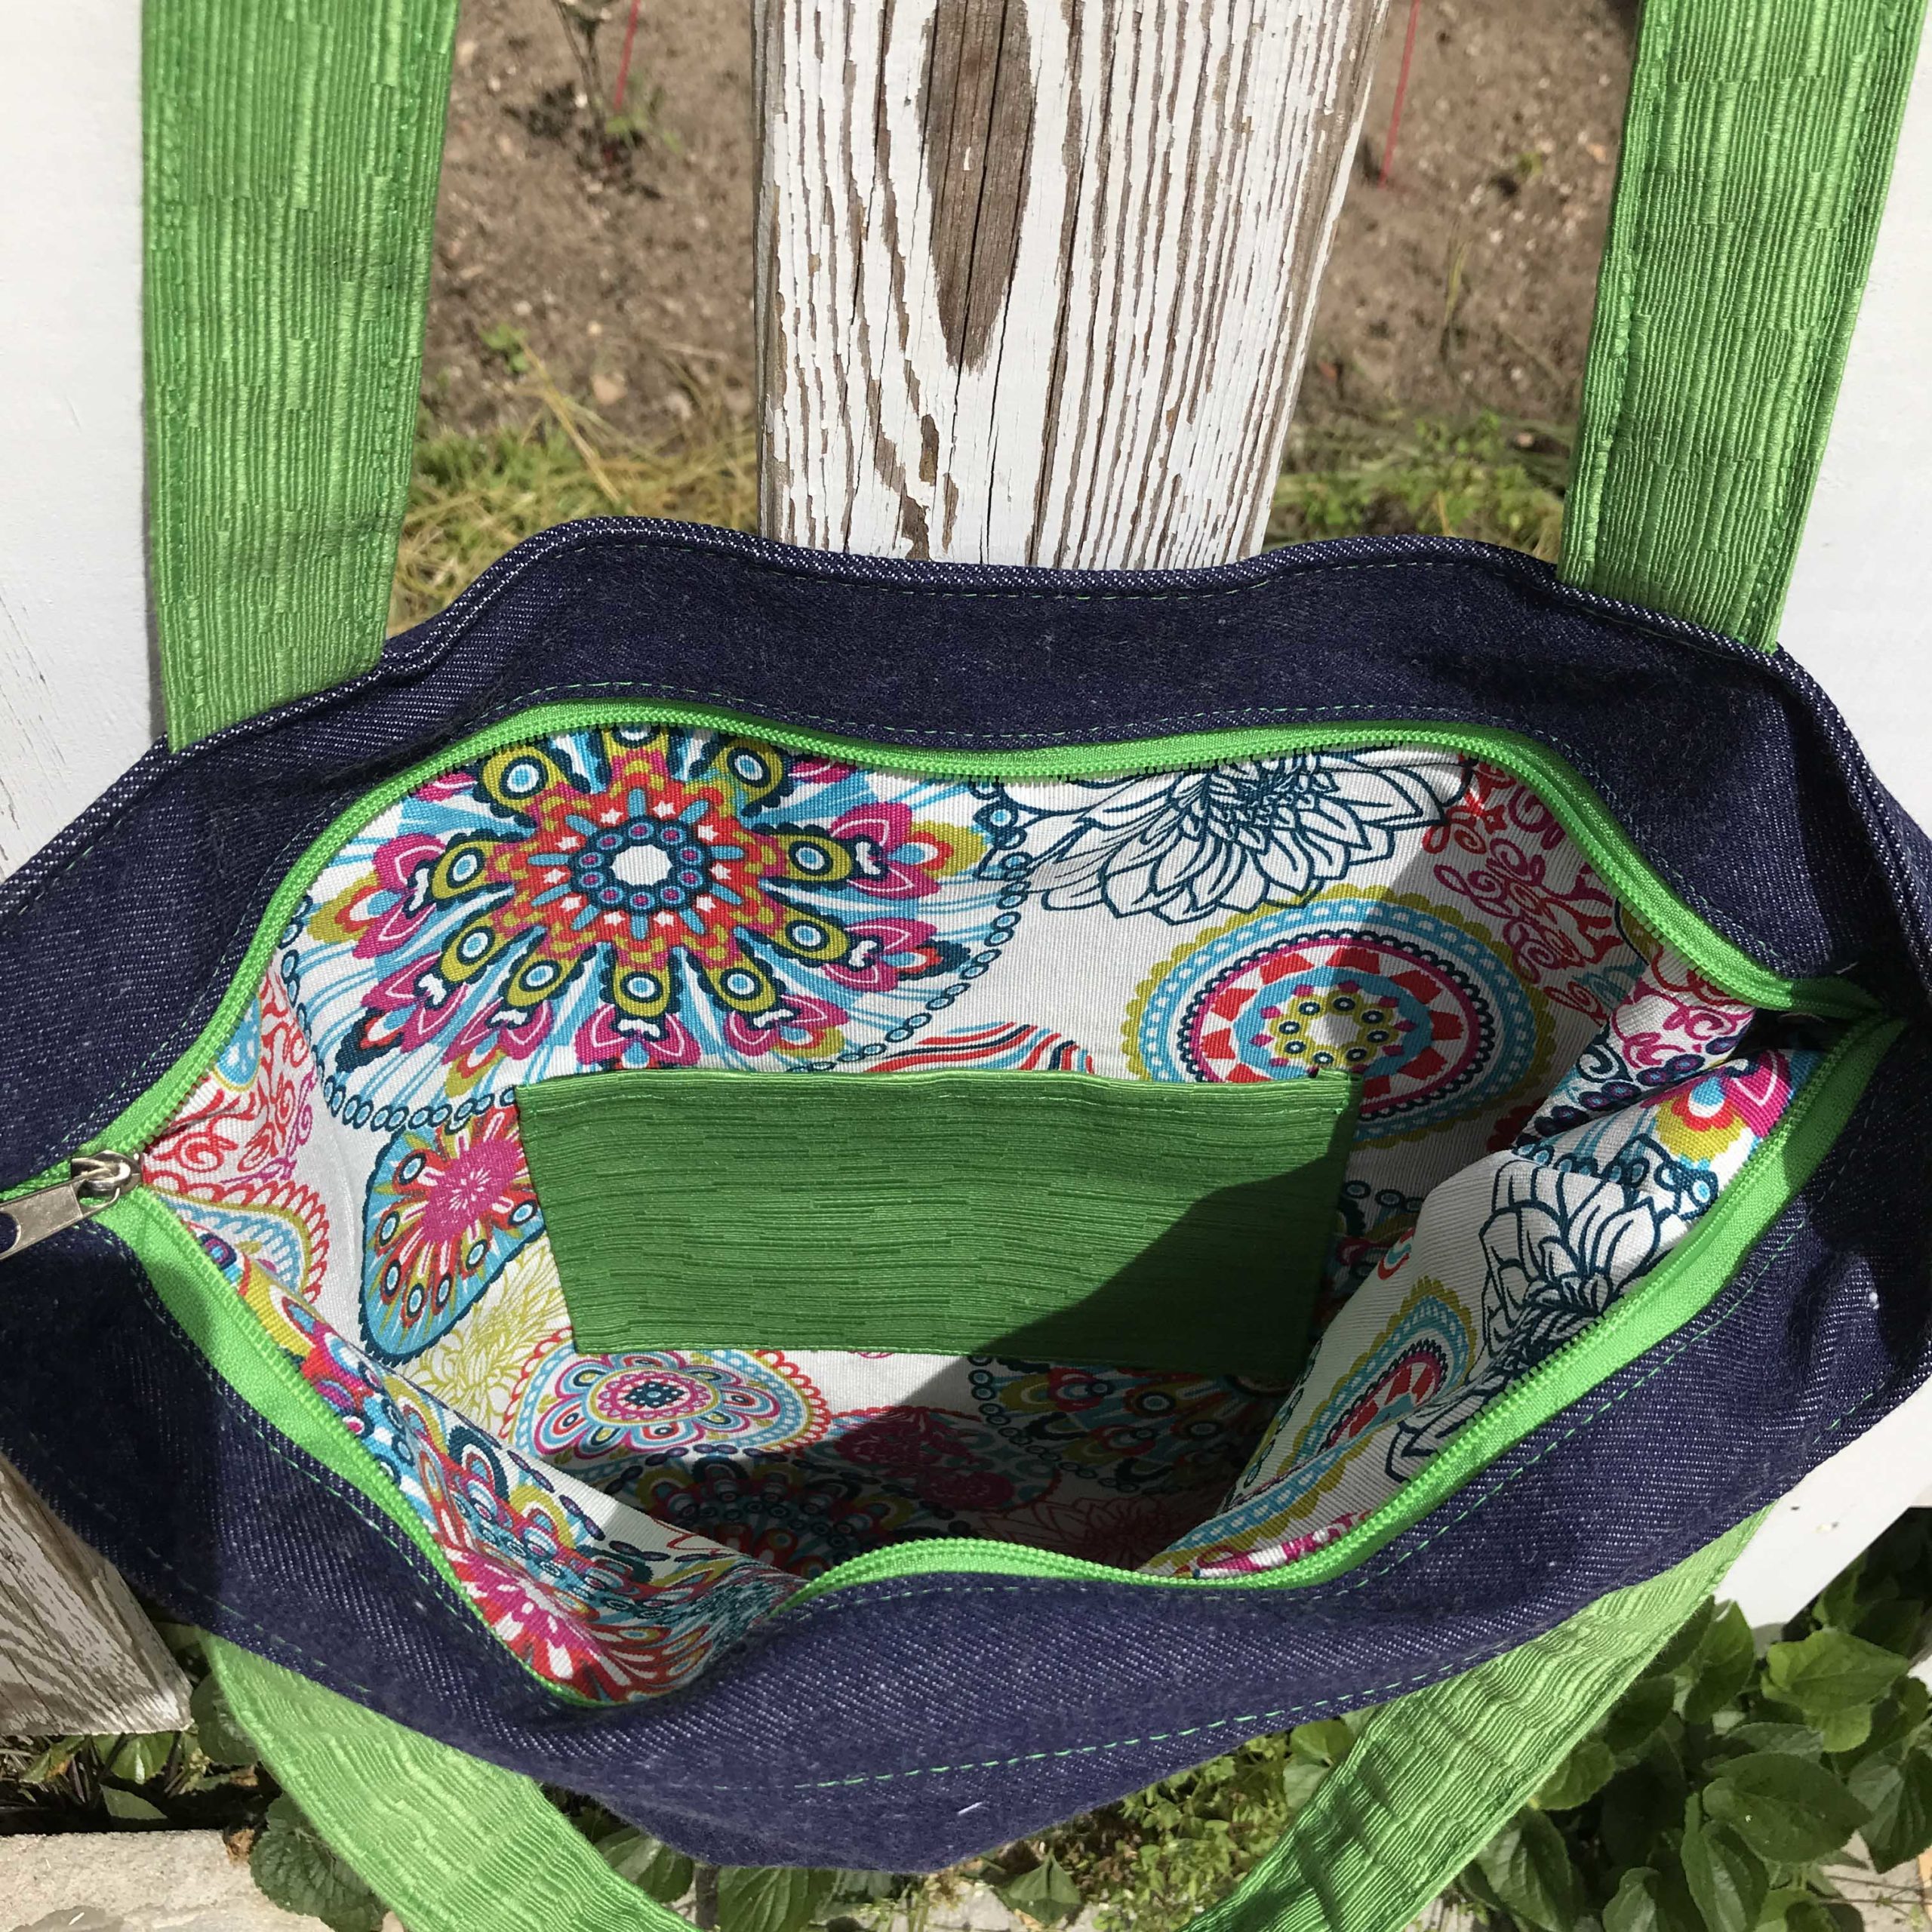
Consider adding a concealed pocket to your bags for a discreet and functional space, perfect for keeping small items secure and easily accessible.
When working on your bags, fold the fabric strategically to create features like pleats or gussets that add both style and functionality.

Half for Structural Brilliance
The concept of creating a flat bottom involves a meticulous balance. Ensure that each half of the boxed corners is crafted with equal attention to detail. This balance not only enhances the structural brilliance of your tote bag but also contributes to its overall aesthetic appeal.
Seamlessly integrate the creation of boxed corners with the existing pattern of your tote bag. This thoughtful integration ensures that the structural enhancement aligns seamlessly with the overall design, resulting in a cohesive and well-executed final product.

Repeat for the Lining
Follow the same steps for the lining fabric, making sure to leave a small opening for turning the bag right side out later in the process.
Turn the bag right side out through the opening. Press the top edges meticulously for a polished finish. Stitch around the top edge to close the opening and reinforce the structure of the bag.
Press the entire bag, paying close attention to the seams and corners. Consider topstitching around the top edge for added durability and a professional touch.
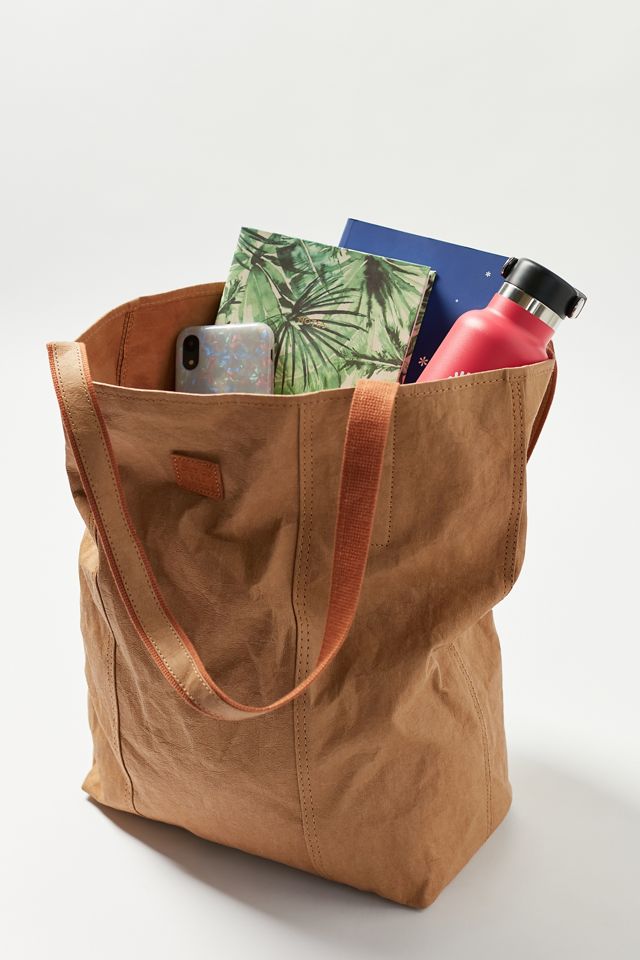
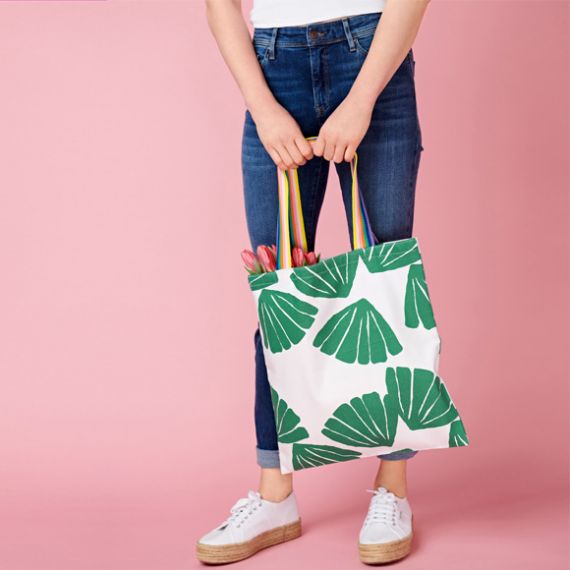
You’ve successfully navigated the process of sewing a tote bag with a flat bottom. This versatile accessory is not only practical for everyday use but also customizable to suit your personal style.
Don’t hesitate to experiment with different fabrics and patterns to create a tote bag that perfectly reflects your creativity. Should you have any questions or wish to share your tote bag creations, feel free to leave your thoughts in the comments section below.
Related Posts
How To Sew On Velcro Strips With Sewing Machine?
How To Sew Tulle By Hand?
How To Sew Fishnet Fabric?
How To Sew Quilt Squares Together By Hand?

How To Sew Polyester Fabric?

How To Sew Spaghetti Straps?
How To Do A Closure Sew-In?

How To Do A Full Sew-In Weave?
Uilt Sqhow To Sew Quares Together?