
How To Sew Quilt Squares Together By Hand?
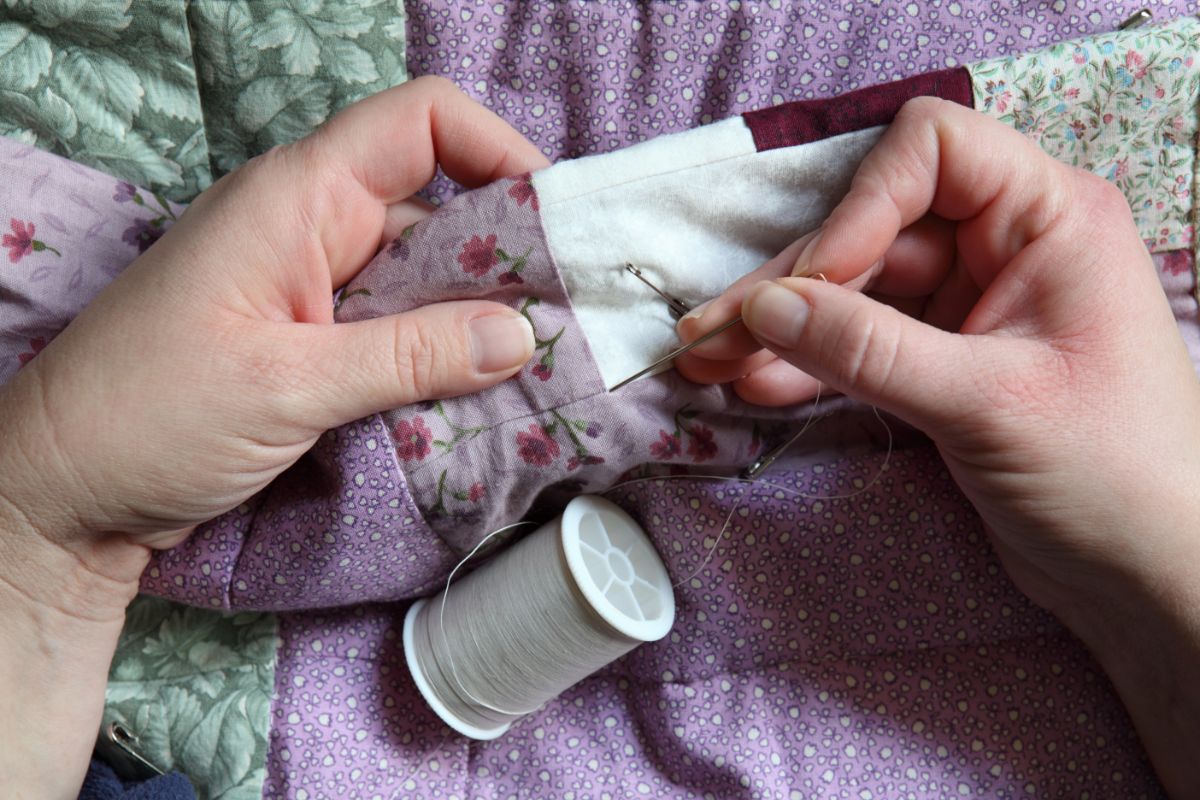
Embarking on the journey of sewing squares for quilts by hand is a delightful and rewarding experience, allowing you to infuse your personal touch into stitches.
Whether you’re a seasoned quilter or a novice eager to explore the art of quilling, the process of sewing quilt squares together offers a unique opportunity for creativity and self-expression, and you can find out how to sew quilt squares together by hand.
Prepare Your Materials
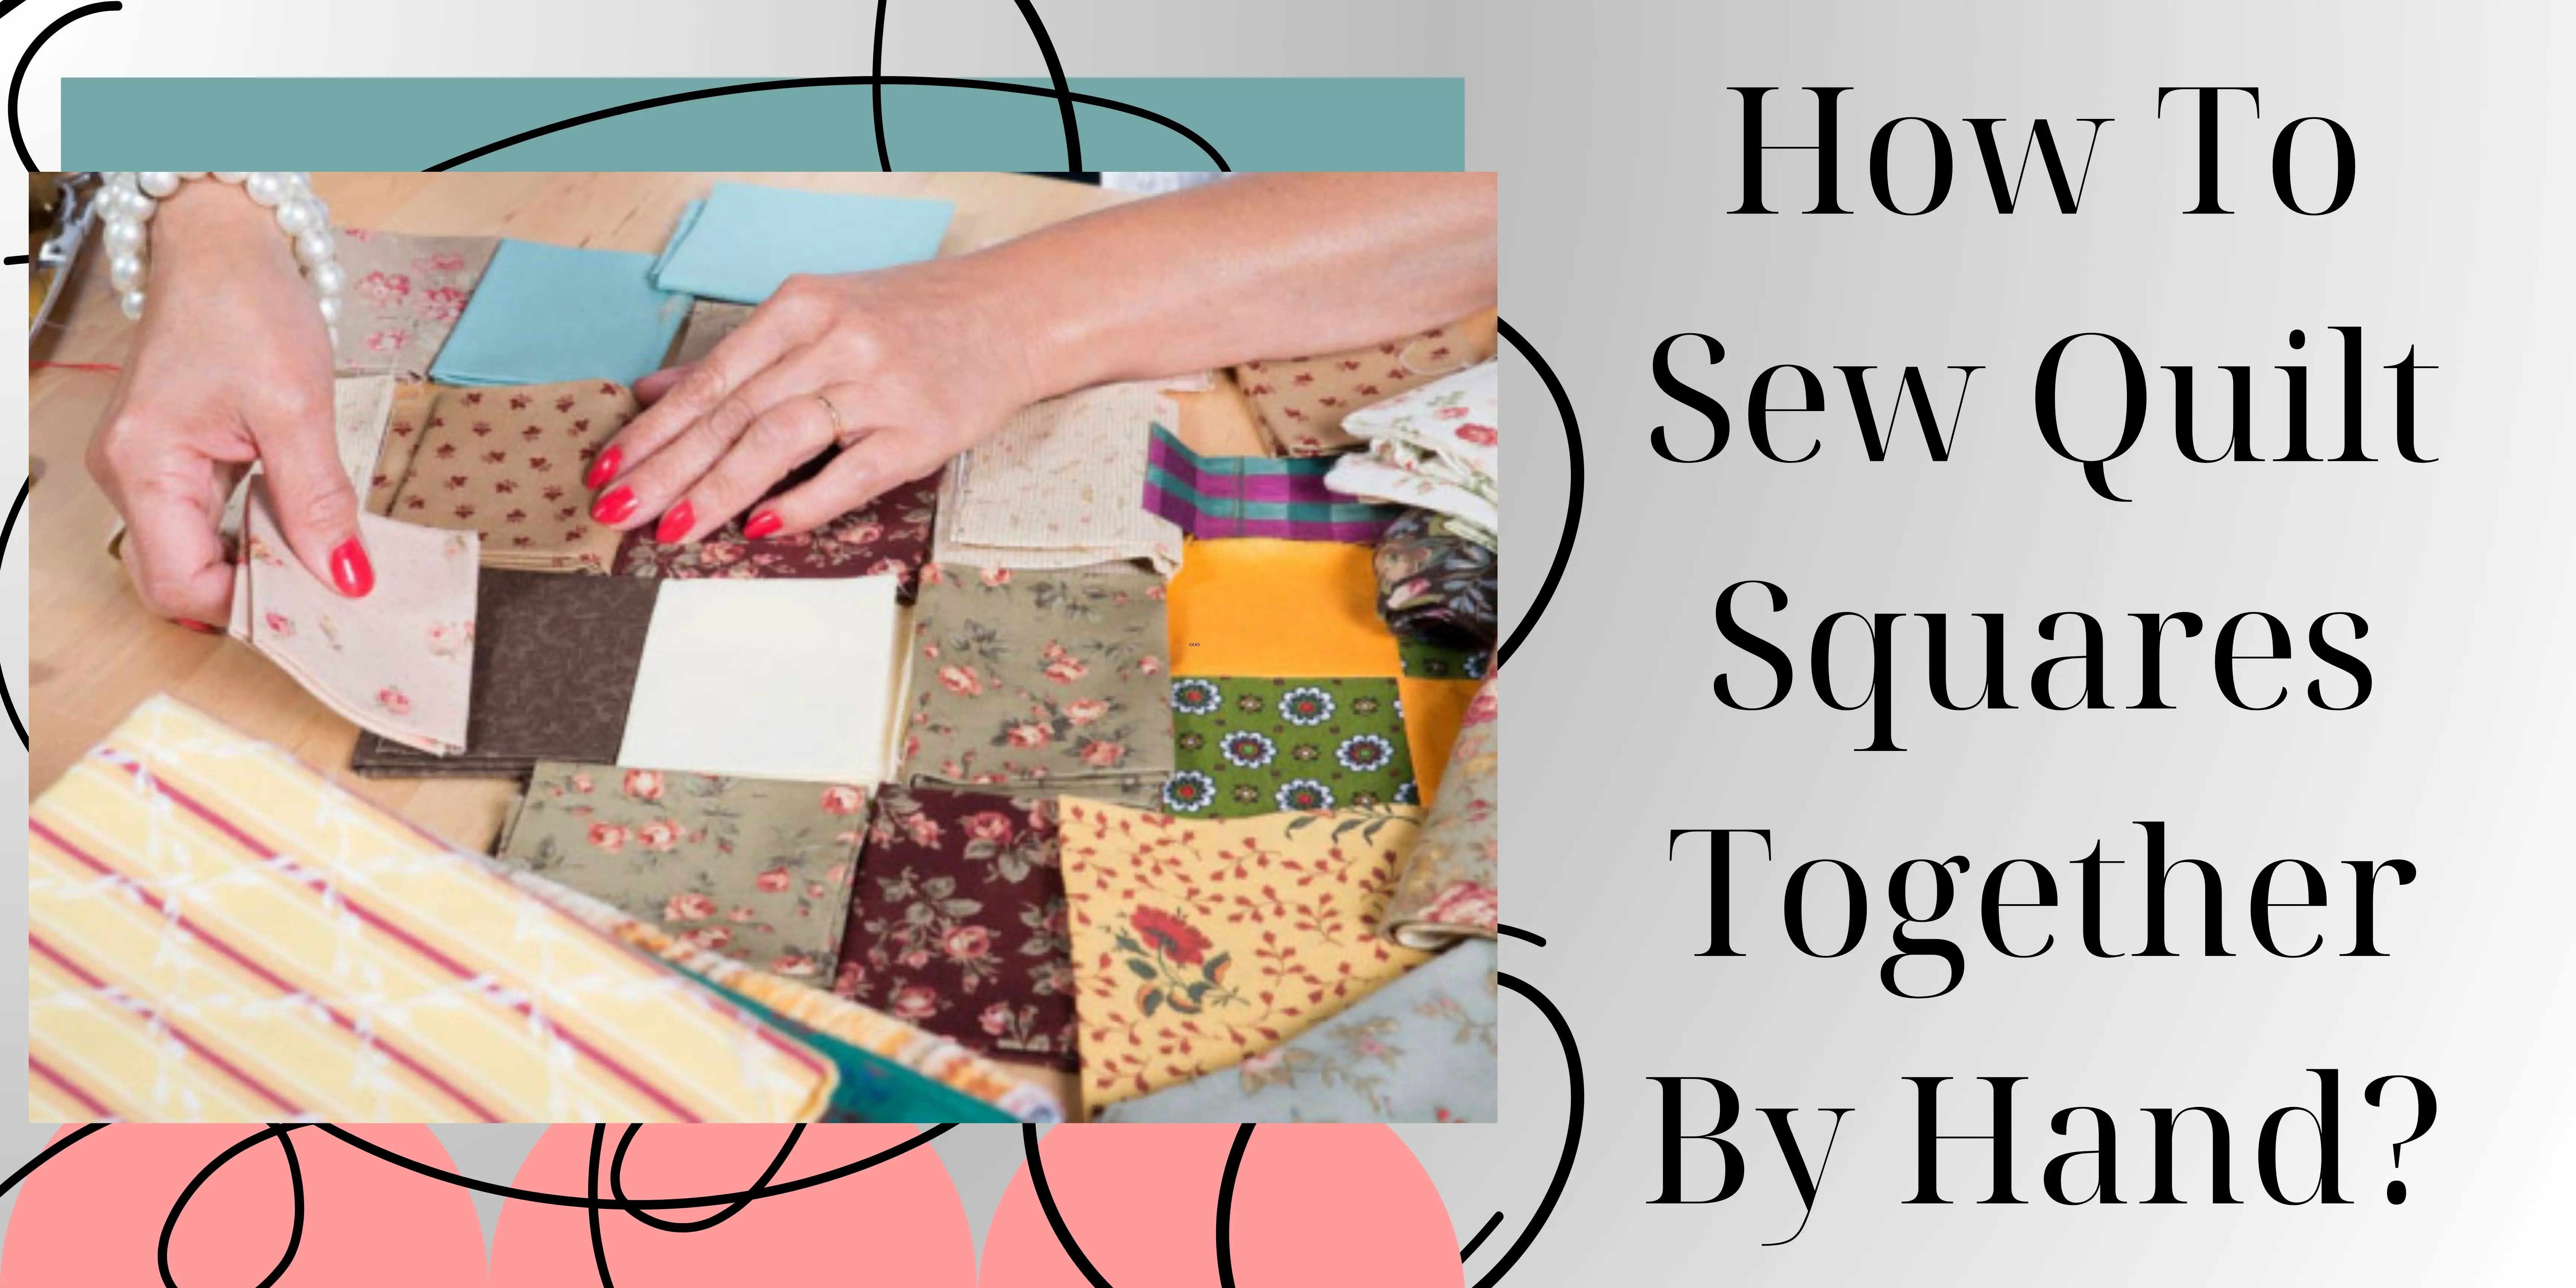
Explore your local fabric store to assemble a diverse collection of fabric squares. Choose colors, patterns, and textures that resonate with your creative vision, adding depth and character to your quilt blankets.

Attention to Detail: Seam Allowances and Nesting Seams
Prioritize uniform seam allowances as you delve into the sewing process. Pay close attention to nesting seams with precision, creating a polished finish that enhances the overall aesthetic of your quilt.
Embrace the quarter-inch stitches, guided by a trusty presser foot. Meticulously sew each fabric square, ensuring a consistent and professional-looking finish.
Place your quilt squares strategically in the desired arrangement, allowing your creativity to flow in one direction or explore diverse orientations. Pin the squares with care, ensuring the right sides face each other for a flawless assembly.
Expressing Creativity: Your Quieting Adventure Begins
In this quilling adventure, let the joy unfold as you bring together fabric squares, sewing each one with precision and passion. Craft a quilt that tells your unique story, where each square contributes to the artistry of your handmade creation.
As you sew the first row, pay meticulous attention to the alignment of seams and edges. Lay the foundation for a beautifully interconnected quilt that sets the tone for the entire project.
Arrange Squares
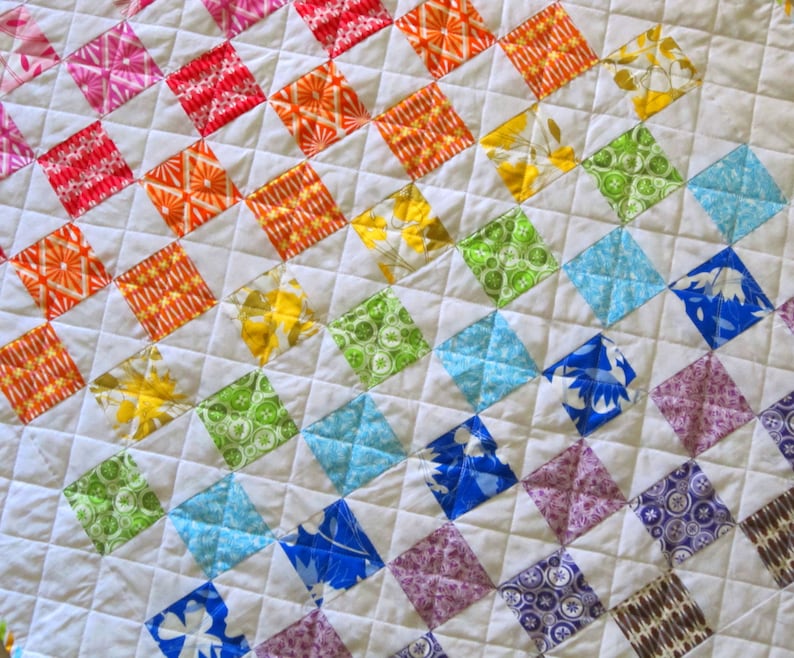
Ensure that each quilt square aligns seamlessly with its counterparts, emphasizing uniformity in both size and color. Pay meticulous attention to detail, allowing your artistic vision to manifest through the careful arrangement of fabric squares.
Visit your favorite fabric store to curate an eclectic mix of cloth squares. Immerse yourself in the diverse textures, patterns, and colors available, selecting pieces that resonate with your creative instincts. The right fabric choices will contribute to the overall charm of your quilt blocks.
Equip yourself with a rotary cutter, tools needed that allow for precise cutting and shaping of fabric squares. This essential instrument enhances your ability to create clean edges, contributing to the professional appearance of your quilt blankets.

Delving into the Artistry: Quilling Thread and Sewn Rows
As you arrange your quilt squares, envision the role of quilting thread in enhancing the cohesion of your creation. Explore different thread options, considering both color and texture. Begin threading rows with care, allowing the thread to weave its magic and bring your quilt squares together in a harmonious blend of craftsmanship.
Consider quilling through all layers using a stitching machine or by hand to enhance the durability and visual appeal of your quill. Regardless of the path you choose, the act of quilling involves navigating through all layers of the quill, weaving a tapestry of craftsmanship that binds the top, batting, and backing together. This intricate interplay of stitches not only fortifies the quill but also adds a layer of visual depth and texture, turning it into a tactile work of art.

Create Rows
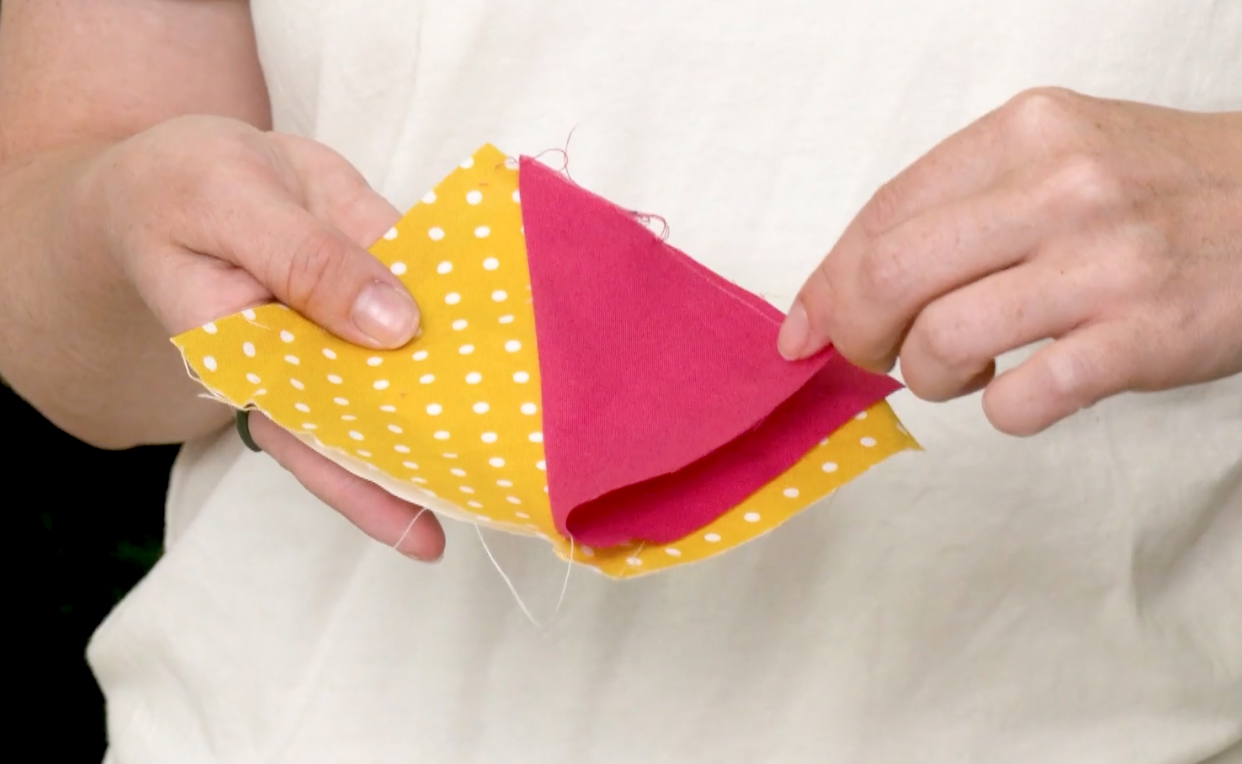
Sew quilt squares into rows by placing two squares right sides together, aligning the edges. Use a quarter-inch seam allowance. Begin by selecting two squares, ensuring they boast the same size, same color, and aesthetic resonance.
Seamless Alignment and Precision
Initiate the row-building process by delicately placing the chosen quilt squares right sides together. Pay meticulous attention to aligning the edges with precision, emphasizing the seamless fusion of colors and patterns. Achieve a professional touch by incorporating a quarter-inch seam allowance, a subtle yet crucial detail that contributes to the overall craftsmanship of your quilt block.
In the same manner, repeat the process across multiple squares, gradually building rows that echo your artistic vision. Employ safety pins strategically to secure the alignment and prevent any unintended shifts during the subsequent stages of the quilting process.
Attention to Presser Foot and Seams Using the Sewing Machine
Navigate the threading machine with finesse, employing the presser foot to guide your fabric through stitches. Let the machine work its magic, creating neat and secure seams that bind the quilt squares together. This attention to detail ensures the structural integrity of your quote blocks, elevating them from mere squares to cohesive elements of a larger artistic tapestry.
As the first row takes shape, marvel at the foundation you’ve laid for a quote of brilliance. The carefully chosen fabric squares, aligned with precision and sewn with dedication, set the stage for a textile masterpiece. Embrace the potential of your quote as it unfolds, each row contributing to the larger narrative of your creative expression.
Stitch Rows
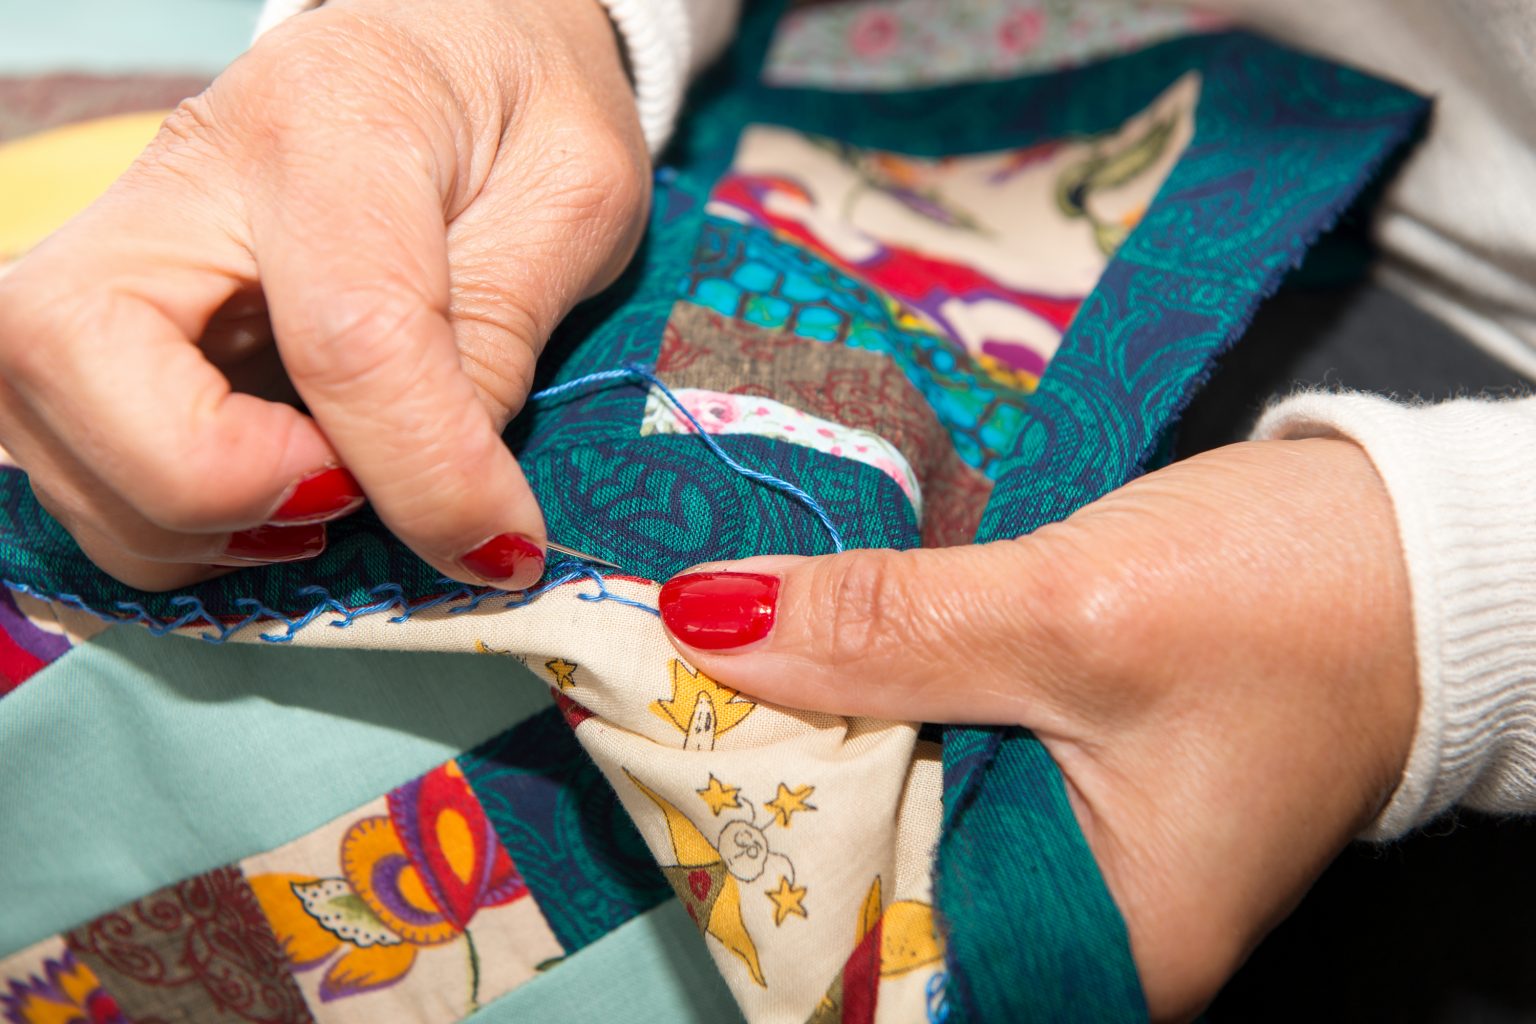
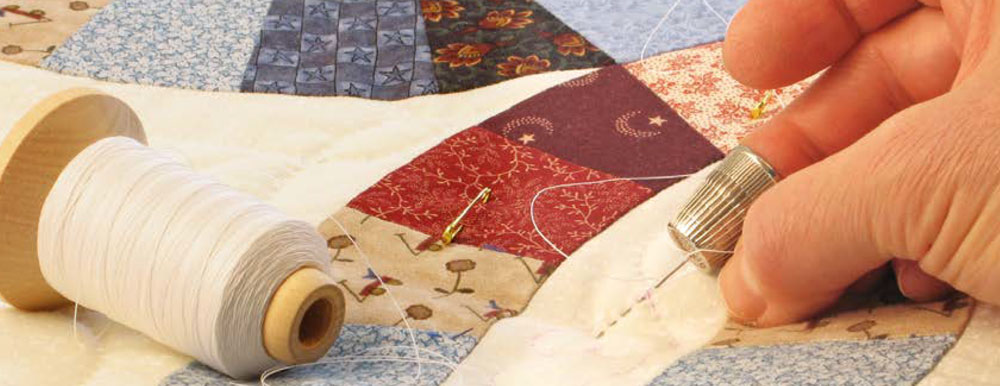
Begin stitching along the edge of the fabric, threading the squares together in the direction. Use a sewing machine or sew by hand. As you delve into this step, you’ll find yourself at the edge of the fabric, ready to bring together the carefully chosen squares into a harmonious ensemble.
With a keen eye for detail, initiate the threading process, guiding your threading machine or tools needed along the edge of the fabric. The squares, thoughtfully selected for their size, color, and visual appeal, seamlessly unite in the same direction, forming a cohesive visual narrative. This intentional approach ensures a professional touch and elevates your quilts from a mere collection of squares to a work of textile art.
Whether opting for the precision of a threading machine or the handmade touch of manual threading, the tools at your disposal become extensions of your artistic expression. Every stitch binds the squares together, creating a tangible representation of your creativity and craftsmanship. The careful use of seam allowances accentuates the overall aesthetic, contributing to the seamless fusion of individual elements.
Navigating Edges with Artistic Finesse
As you progress along the fabric’s edge, consider the significance of each stitch and its role in shaping the quilt’s visual landscape. Attend to the other edge with the same precision, ensuring that every square is thoughtfully incorporated into the larger tapestry. This deliberate approach transforms the act of threading into a nuanced and artistic endeavor.
The completion of this threading process unveils the beauty that emerges when squares come together with purpose and creativity. Your quill, now adorned with meticulously stitched rows, reflects the dedication and passion invested in its creation. It stands as a testament to the art of quilling, where every stitch tells a story and every square contributes to a larger masterpiece.
Press Seams
Press seam allowances open or to one side using an ironing board. As you approach the intricacies of pressing seams, consider the artistry involved in delicately handling each section of fabric. The squares, thoughtfully sewn together, are now ready for the transformative touch of the pressing tool.
Whether you choose to press seam allowances open or align them to one side, this decision becomes a reflection of your artistic sensibilities and contributes to the visual harmony of the final quill.

Tools as Artistic Instruments: A Symphony of Craftsmanship
Your chosen tools become instruments in this symphony of craftsmanship, playing a pivotal role in refining the details of your quill. The precision afforded by these tools elevates the overall quality of your work, ensuring that every seam is not only secure but also aesthetically pleasing. The combination of the board, pins, and your careful touch transforms the seemingly mundane act of pressing into a delicate dance of artful creation.
In preparation for pressing, the strategic placement of pins becomes a guide, ensuring that seams align seamlessly and contribute to the quilt’s overall cohesion. Each pin serves as a marker, guiding the cloth with precision and allowing for an even distribution of heat during the pressing process. This strategic approach further emphasizes the artful nature of quilling, where attention to detail is paramount.

Elevating the Aesthetic: Crafting a Neat Finish
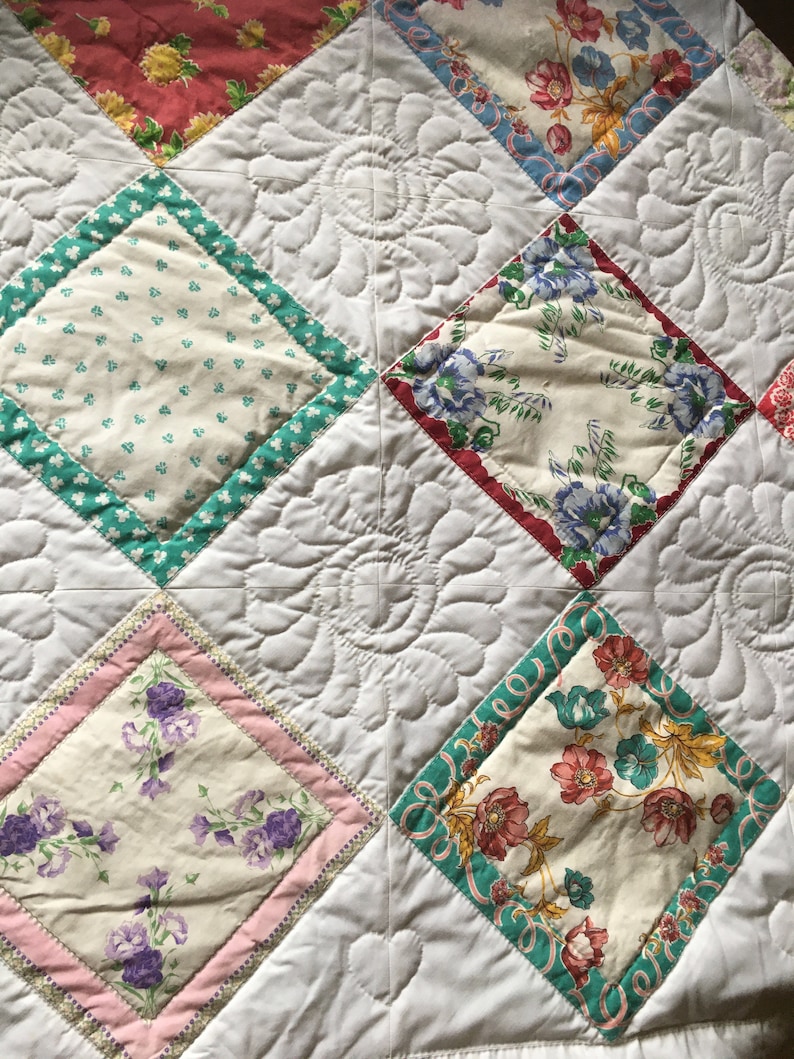
The culmination of this phase results in quilts with a refined and polished finish. The carefully pressed seams not only contribute to the overall neatness of the quilt but also showcase the craftsmanship inherent in the art of quilling. As you proceed with this intricate task, revel in the knowledge that each press of the iron brings you one step closer to unveiling a textile masterpiece that seamlessly marries function and beauty.
Align the rows and sew them together, ensuring the seams match for a cohesive look. Use straight pins to secure the squares in place. Repeat the process for the remaining rows, stitching and pressing each row to create a visually appealing quilt top. After threading all the rows together, add any additional quill blocks or elements as desired. Secure the layers with safety pins for quilling.
Sewing Quilt Squares
To create a stunning quill, skillfully sew quilt squares together in a harmonious arrangement. The beauty of quilting lies in the precise and artful joining of individual quill squares. Seamstresses often find joy in the process of threading quill squares, transforming them into cohesive and beautiful designs. Whether by hand or machine, the act of threading brings quill squares together to form a cohesive and delightful quill.
The magic of quilting unfolds as each meticulously sewn square contributes to the overall charm of the quill. Immerse yourself in the creative journey as you sew quill squares, giving life to your unique vision and design. With each stitch, the quill squares come together, creating a textile masterpiece that tells a story of craftsmanship and creativity.
Quilting enthusiasts revel in the therapeutic process of threading quill squares, turning fabric into a work of art. Witness the transformation as you sew, uniting quill squares to form a quilt that reflects your passion and dedication. By following these steps, you can successfully sew quill squares together by hand and create a beautiful and personalized quilt.