
How To Sew A Flag?
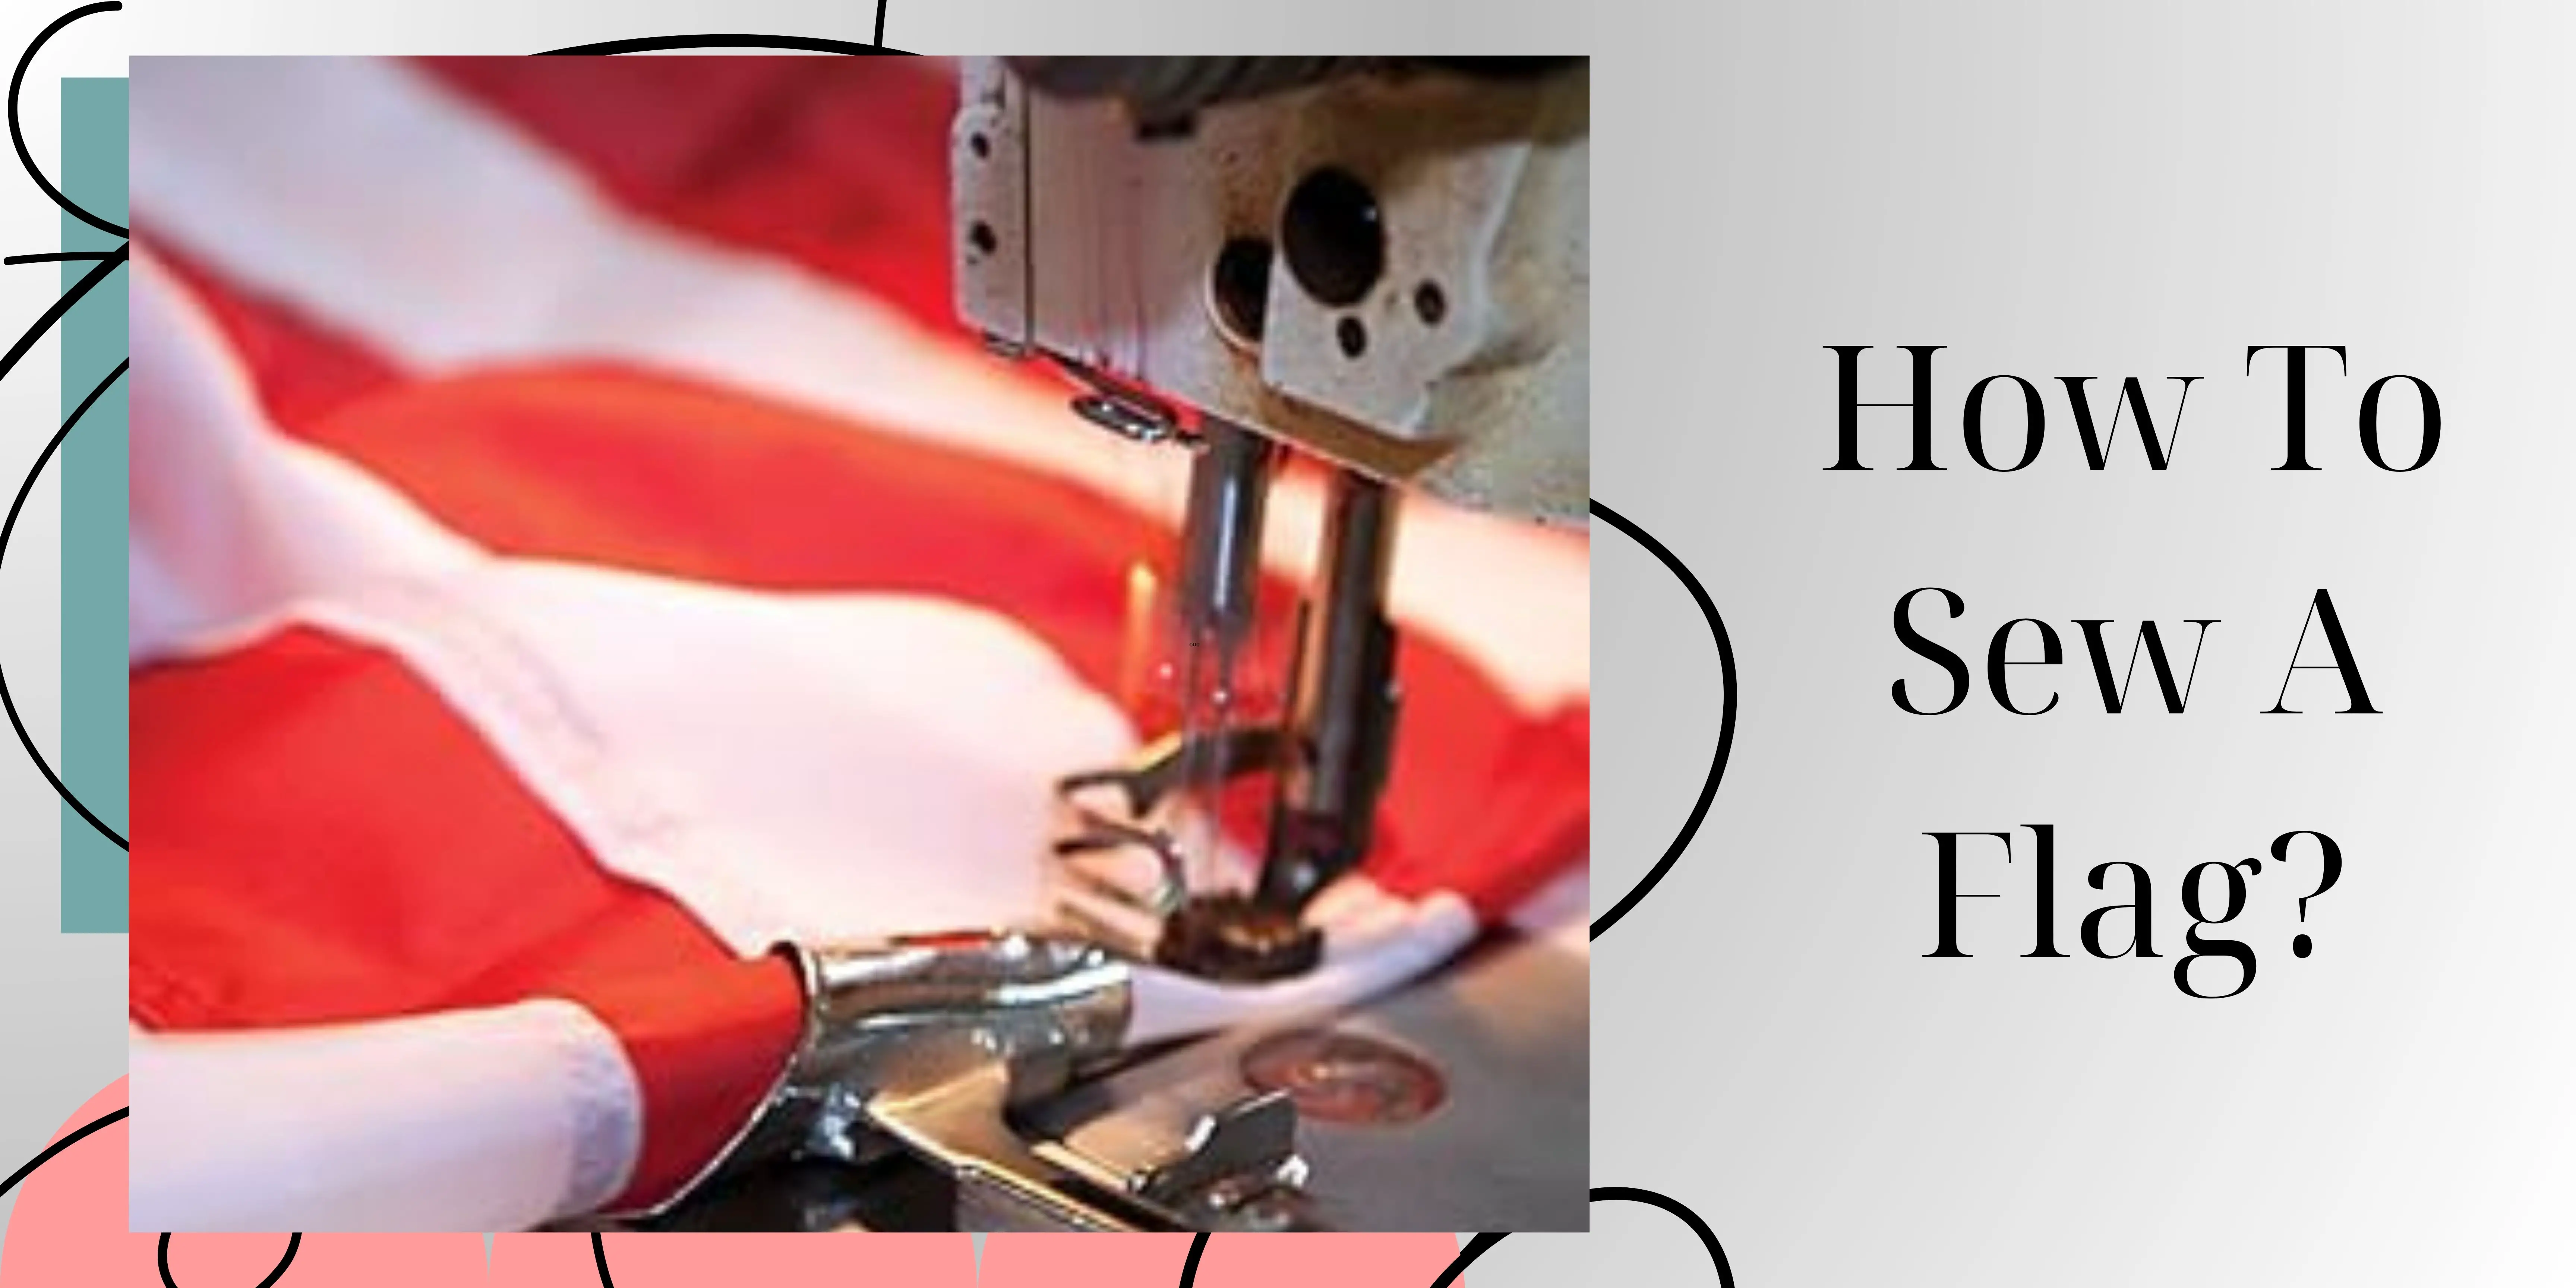
Let’s look at how to sew a flag by hand requires precision and care. Choose durable fabric, follow a carefully measured pattern, and employ various basting techniques to ensure resilience against put-on.
As you work inch by inch, envision the final flag flying with hubris, and address any tears promptly. Hand-sewing allows for a personal touch, creating a unique and enduring symbol and prevent fraying.

How to choose the right fabric for a flag?
Choosing the right fabric for a flag is a crucial step in ensuring its longevity and visual appeal.
Consider the purpose of the flag and select strong materials
- Determine the intended use of the flag. Flags designed for outdoor display may require stronger fabric to withstand weather conditions.
- Flags are often subjected to various elements, so opt for strong materials such as polyester or nylon. These fabrics are known for their resilience.
Understand the weight of the fabric and evaluate color vibrancy
- Consider the weight of the fabric based on where the flag will be flown. Lightweight fabrics work well for indoor flags, while heavier fabrics may be suitable for outdoor flags.
- Assess the color vibrancy of the fabric. Flags should be made from materials that hold color well to maintain a bright and visible appearance.
Examine UV resistance and consider hemming and stitching
- UV-resistant fabrics are essential for outdoor flags, as they resist fading caused by prolonged exposure to sunlight.
- The chosen fabric should be suitable for hemming and stitching. Understanding how to sew a flag involves selecting a fabric that can withstand the basting process without fraying excessively.
Use factors in mind, you can make an informed decision on the fabric for your flag, ensuring that it aligns with the purpose of the flag and is suitable for the sewing process. Understanding how to sew a flag is closely tied to the fabric selection, marking, and considerations for the intended use of the flag.
Are there any special sewing techniques for large flags?
Constructing large flags introduces unique challenges that demand special sewing techniques. In the construction of oversized flags, understanding how to sew a flag becomes crucial for a successful outcome. Reinforcing seams is a key aspect of the construction process, ensuring durability against wind stress. Additionally, meticulous marking and measuring are repeated steps in large flag creation, essential for maintaining precision across the expansive fabric. By emphasizing these construction techniques in how to sew a flag, one can navigate the complexities of crafting a resilient and visually striking large flag.
Tutorial 1: Basic sewing machine technique
Selecting fabric
– Choose a sturdy cotton fabric for your flag.
Cutting and pinning
– Measure and cut the fabric according to the chosen template.
– Fold the fabric in half lengthwise, with the right sides facing each other.
-Fix the fabric edge carefully.
Sewing edges and hemming
– Using a stitch on your sewing machine, sew along the pinned edges, leaving one short side open.
– Turn the flag right side out.
– Hem the open short side by folding the fabric twice and basting it with a stitch.
Attaching the pole sleeve
– Measure the middle of the closed short side and mark it.
– Sew a stitch along the mark to make a sleeve for the post.
– Slide the pole through the sleeve.

Tutorial 2: Zigzag stitch and fabric paint
Pattern and cutting
– Choose a flag template and carefully cut the fabric.
– Fold the fabric in lengthwise and pin the edges.
Zigzag stitch edges and fabric paint
– Use a zigzag stitch on your sewing machine to sew along the fabric edges for added durability.
– Apply fabric to the right side of the fabric to make a unique design or pattern.
– Let the paint dry completely.
Hanging mechanism and securing with a zigzag stitch
– Follow the previous method to create a post sleeve for hanging.
– Sew a zigzag stitch around the flag, securing both the fabric edges.
Tutorial 3: Half-fold technique
Folding technique and straight basting
– Fold the fabric in half widthwise instead of lengthwise.
– Pin the edges and leave the top open.
– Use a straight stitch to sew along the pinned edges, leaving the top open.
Hanging mechanism and trimming
– Attach the flag to the post to sew a stitch along the top edge, creating a sleeve.
– Trim any excess fabric and press the flag for a polished look.

Method 4: Strip design and straight stitch
Lane design and straight basting strips
– Cut the fabric into strips and arrange them in a desired pattern.
– Sew the strips together using a stitch on the sewing machine.
Creating the flag and pressing and hanging
– Follow the basic basting instructions to complete the flag.
– Press the flag and attach it to the post for hanging.
Method 5: Careful Measurements and Presser Foot
Precise measurements and presser foot technique
– Meter the fabric carefully according to the selected pattern.
– Use the presser foot on your basting machine to guide the cloth evenly as you sew along the edges with a stitch.
Adding a hemp and pressing, attaching the post sleeve
– Hem the open short side for a polished finish.
– Use measurements to place the post sleeve in the middle of the closed short side.
– Press the finished flag with an iron for a professional and crisp look.
These five methods provide a variety of techniques to sew a flag, incorporating zigzag and straight stitches, measurements, and the use of a presser foot for a polished finish. Enjoy the fun and hubris of creating your unique flag!
Types of flag sewing by hand from fabric edge
Hand-sewing flags offer a range of techniques, each addressing specific considerations.
Basting for durability
– Choose a cotton fabric to combat put on and rapture.
– Use inch-by-inch basting to reinforce the fabric’s strength.
Custom patterns for personalization and rapture prevention
– Experiment with various basting patterns to make a unique design and shape for your flag.
– Sew with a needle and thread, paying special attention to potential weak points to prevent tears.
Flying high with secure stitches; fun and creative basting
– Ensure each stitch is securely sewn to withstand the forces when the flag proudly flies.
– Turn the hand-stitching process into a creative endeavor by incorporating imaginative patterns and designs.

Sliding post mechanism and wear-resistant techniques
– Design a sleeve by carefully basting a channel for the post to slide through, combining both function and aesthetics.
– Use marks to identify significant points in the template, guiding your hand-stitching process with precision.
– Implement specific basting methods in high areas, ensuring the flag remains resilient over time.
By incorporating these techniques, hand-stitching a flag becomes a meticulous and enjoyable process. The attention to patterns, shapes, securing stitches, rupture prevention, and put-on-resistant strategies guarantees a flag that not only flies proudly but also showcases your creativity and craftsmanship.

Advantages of hand-stitching flag
Hand-basting a flag presents several advantages, emphasizing attention to detail and personalized craftsmanship:
Control over the fabric edge and customization of flags
– Hand-stitching allows meticulous control over the fabric edge, ensuring precision and neatness in the final product.
– When you sew a flag by hand, you have the freedom to customize it according to your preferences, creating a unique and personalized design.
Enhanced fabric care and preventing fraying
– Hand-basting is gentle on the fabric, reducing the risk of damage and preserving the integrity of the material.
– Hand-basting enables handling of fabric edges, effectively preventing fraying and extending the flag’s lifespan.

Attention to hemming and delicate basting on the edge
– Hand-basting allows for meticulous hemming, creating a polished finish that adds to the overall aesthetic appeal of the flag.
– The process of hand-basting enables delicate basting along the edges, contributing to the flag’s refined appearance.
Thread selection for durability and hang with pride
– Hand-stitching allows for the use of specific threads that enhance durability, ensuring the longevity of the flag.
– Hand sewed flags often carry a sense of hubris and accomplishment, as the maker invests time and effort into crafting a symbol that holds personal significance.
Cloth preservation and connection to tradition
– Gentle hand-basting is particularly beneficial for delicate or specialty fabrics, preserving the cloth’s integrity throughout the basting process.
– Basting a flag by hand connects you to traditional craftsmanship, adding a sense of history and authenticity to the finished piece.
In conclusion, hand-basting a flag offers advantages such as meticulous control over fabric edge, customization options, prevention of fraying, delicate basting, and the ability to use specific threads for durability. It allows for a more personal and meaningful connection to the creation of flags, fostering a sense of hubris in the finished product.
Disadvantages of hand-sewing flag
While hand-sewing flags have its merits, there are certain disadvantages to consider:
Time-consuming process and limited basting length
– Hand-basting can be a time-consuming endeavor, especially for larger flags, due to the meticulous nature of each stitch.
– The length of stitches may be limited when basting by hand, potentially affecting the overall speed of the basting process.
Challenges in securing stitches and hemming difficulties
– Ensuring consistent and secure stitches may pose challenges, as it can be more difficult to maintain uniform tension compared to machine basting.
– Achieving a perfectly even hem can be more challenging when hand-sewing, potentially leading to variations in the finished product.
Thread limitations and difficulty in preventing fraying
– Hand-sewing may restrict the use of thicker or specialized threads that are easily manageable with sewing machines, limiting design options.
– Hand-sewn flags may face greater challenges in preventing fraying along the edge, as machine-sewn hems can be more effective in securing the material.
:max_bytes(150000):strip_icc()/Sewingamericanflag-GettyImages-74867126-59acb14faad52b00101c6e04.jpg)
The strain on material and difficulty in basting large flag
– Consistent hand-sewing may subject the material to more handling, potentially causing wear and tear over time.
– Basting large flags by hand can be impractical and may result in inconsistencies in basting and material tension.
Hanging challenges and limited cloth choices
– Achieving a perfectly balanced and symmetrical hang can be more demanding when hand-basting, affecting the overall presentation of the flag.
– Some fabrics, particularly those that require specialized techniques or equipment, may be challenging to work with when basting a flag by hand.
In summary, while hand-sewing a flag offers a personal touch, it comes with disadvantages such as the time-consuming nature of the process, limitations in basting length, challenges in securing stitches and preventing fraying, and potential difficulties in achieving a uniform hem. Consider these factors based on the size, material type, and desired finish of the flag.
What’s the hardest part of sewing the flag?
Basting a flag involves several intricate steps, and mastering each element is crucial for a successful outcome. The challenge intensifies when dealing with the material itself. Here’s a more detailed exploration of the difficulties involved:
Fabric selection and prevention of fraying
The choice of material is crucial. Some fabrics may be prone to fraying, making it challenging to prevent unraveling along the edges. Selecting a sturdy material that can withstand wear and tear becomes a key decision.
Preventing fraying requires not only skillful basting but also an understanding of the fabric’s properties. Fraying can compromise the integrity of the flag, making it essential to secure the edges effectively.
Needle and thread considerations and edge and hem precision
The choice of needle and thread is critical. A needle that is too large or too small may damage the material or result in uneven basting. Similarly, the thread’s strength and thickness must be appropriate to ensure a secure and strong finish.
Achieving a clean edge and an even hem is a delicate process. Hand-basting demands precision, and inconsistencies in the edge or hem can affect the overall appearance of the flag.
Marking for accuracy and balancing delicacy and security
Marking the material accurately is essential for maintaining symmetry and proportionality. Misalignment or inaccuracies at this stage can lead to visible imperfections in the final product.
The challenge lies in finding the right balance between delicately handling the cloth and ensuring that each stitch is secure. Too much force may damage the material, while insufficient tension may result in loose stitches.
Consistency across flag and tension and control
If you sew multiple flags, maintaining consistency in basting, edge treatment, and hemming across all pieces becomes challenging. Achieving uniformity contributes to a polished and professional look.
Maintaining consistent tension while you sew it is critical. Uneven tension can lead to puckering or distortion of the material, affecting the overall quality of the flag.
Hubris in craftsmanship
While challenging, the process to sew a flag by hand also offers a sense of hubris in craftsmanship. Overcoming these challenges results in a unique, handcrafted flag that carries a personal touch and embodies the dedication of its maker.
In summary, the difficulty in sewing a flag lies in the nuanced balance between preventing fraying, achieving precise edges and hems, selecting appropriate needles and thread, accurate marking, and maintaining consistency. Each of these factors contributes to the overall quality and durability of the hand-sewn flag.
How much to sew flags?
Learning how to sew a flag involves mastering various techniques to ensure a polished and sturdy result. To sew a flag successfully, it’s crucial to pay attention to preventing fraying along the edges of the cloth. This involves carefully selecting the right fabric and employing precise basting methods to save the edge.
When you sew a flag, consider marking key points on the fabric to guide your stitches and maintain the intended shape. The edge of the flag must be meticulously stitched to prevent unraveling and enhance the overall longevity of the finished product.
In summary, when learning how to sew a flag, focus on preventing fraying by paying attention to the basting along the edge. This ensures that the flag maintains its shape and durability, resulting in a finished product that can be proudly displayed for years to come.
Why we may sew a flag?
Sewing a flag is a skillful and purposeful endeavor that allows individuals to make a symbol of identity, representation, or expression. Knowing how to sew a flag empowers individuals to craft a unique and meaningful piece of cloth that embodies their values and hubris.
Flags, when sewn with care and precision, become more than mere pieces of cloth. They carry the craftsmanship of meticulously sewn seams and marked details, transforming into symbols that can proudly fly in the breeze. Understanding how to sew a flag is a means of translating ideas, beliefs, or affiliations into a tangible and visible form.
Flags, when carefully stitched, not only represent the physical cloth but also embody the aspirations, identity, and pride of those who make and display them. Knowing how to sew a flag allows individuals to engage in a timeless practice, contributing to the tradition of flag-making and enabling their symbols to fly high, telling a story that goes beyond mere threads and fabric.
How long does it take to sew a flag?
The time it takes to sew a flag can vary widely based on factors such as the complexity of the design, the size of the flag, and the sewer’s skill level. When learning how to sew a flag, the process typically involves marking key points, basting along the borders, and ensuring that the final product is ready to fly with hubris.
Efficiency in sewing a flag improves with practice and experience. As one becomes more adept at marking, stitching, and handling the cloth, the time required may decrease. Additionally, having a well-thought-out plan, including a clear design and an understanding of the basting techniques needed, can expedite the process.
In summary, the time it takes to sew a flag depends on various factors, including the complexity of the design, size, and the sewer’s proficiency. Learning how to sew a flag involves mastering techniques that, with practice, can contribute to a more efficient and enjoyable flag-making process.

Are there any recommendations on the use of paint or other materials for additional flag decoration?
When considering additional decoration for a flag, it’s important to choose materials that complement the overall construction.
Fabric for personalization and consider the material type
– Material is an excellent choice for adding personalized designs to your flag. Before you begin, mark the areas where you plan to apply the paint, ensuring precise and intentional decoration and mark.
– Different fabrics may respond differently to paints and dyes. Before decorating, consider the type of material used in the flag construction to ensure compatibility.
Test in a small area and embroidery for dimension
-Before applying paint on the entire flag, conduct a test in a small, inconspicuous area. This allows you to assess how the material reacts to the paint and helps you avoid any unwanted surprises in the final result.
– If looking for a more textured and durable option, consider using embroidery as part of the flag construction. Mark the areas where embroidery will be applied to maintain symmetry and balance.
Coordinate with stitching
– Ensure that the decorative elements coordinate with the flag’s stitching. Mark the areas where decorative stitching or embroidery will complement the overall design.
By incorporating these recommendations, you can successfully add decorative elements to your flag, marking and enhancing its construction in a way that aligns with your design vision and how to sew a flag effectively.
Conclusion
Sewing a flag may not necessarily be inherently hard, but it does require attention to detail and precision. Knowing how to sew a flag involves mastering techniques to create clean edges and accurate markings.
While it may not be inherently difficult, sewing a flag does demand patience, practice, and an approach to achieve a polished and professional result. With the right techniques and understanding of how to sew a flag, even those new to sewing can successfully create a beautiful and well-crafted flag.