
How To Sew On Sleeves?
A sleeve is a part of a garment that covers the arm, extending from the shoulder to the wrist or other lengths, depending on the style. Sleeves come in various designs, each contributing to the overall look and function of the clothes. How to sew on sleeves and their types are described in this article.
Common types include set-in sleeves, which are inserted into a pre-cut armhole, raglan sleeves with diagonal seams, kimono sleeves that are part of the bodice, and Dolman sleeves that are wide and extend from the neckline to the underarm.
The sleeve cap is the curved upper part of the sleeve that corresponds to the shoulder shape. Correctly sewing the sleeve cap is crucial for a comfortable fit.
Sleeve stitches are the lines of stitching that connect the sleeve to the bodice, contributing to the garment’s structure.
The pattern piece for a sleeve is a template used to cut the fabric in the shape of the sleeve, including important markings like notches for alignment.

Sewing sleeves involves aligning them with the armholes and stitching the seams according to instructions. Sleeves provide functionality by allowing arm mobility and contribute to the garment’s design and style.
Sleeve variations may include cuffs, pleats, gathers, or unique shapes like bell sleeves, adding individuality to the garment. Understanding different types of sleeves and mastering attachment techniques is essential for creating well-fitted and stylish clothing.
In general, sewing a sleeve is a key step in clothes construction, and the approach varies based on the sleeve style specified in the sewing pattern.
Whether it’s a set-in sleeve or a raglan sleeve, start by cutting out the sleeve pattern piece following the provided instructions.
Align the sleeve with the armhole, matching notches and distributing any sleeve cap ease evenly. Pin in place before sewing, adhering to the recommended seam allowance.
For raglan sleeves, follow the pattern’s instructions for attaching along the diagonal stitches.
The final step involves sewing the sleeve stitches to ensure a secure and polished finish, contributing to the overall structure and appearance of the clothes. Always refer to the referencing pattern for specific guidelines tailored to the chosen sleeve style.
Types of sleeves
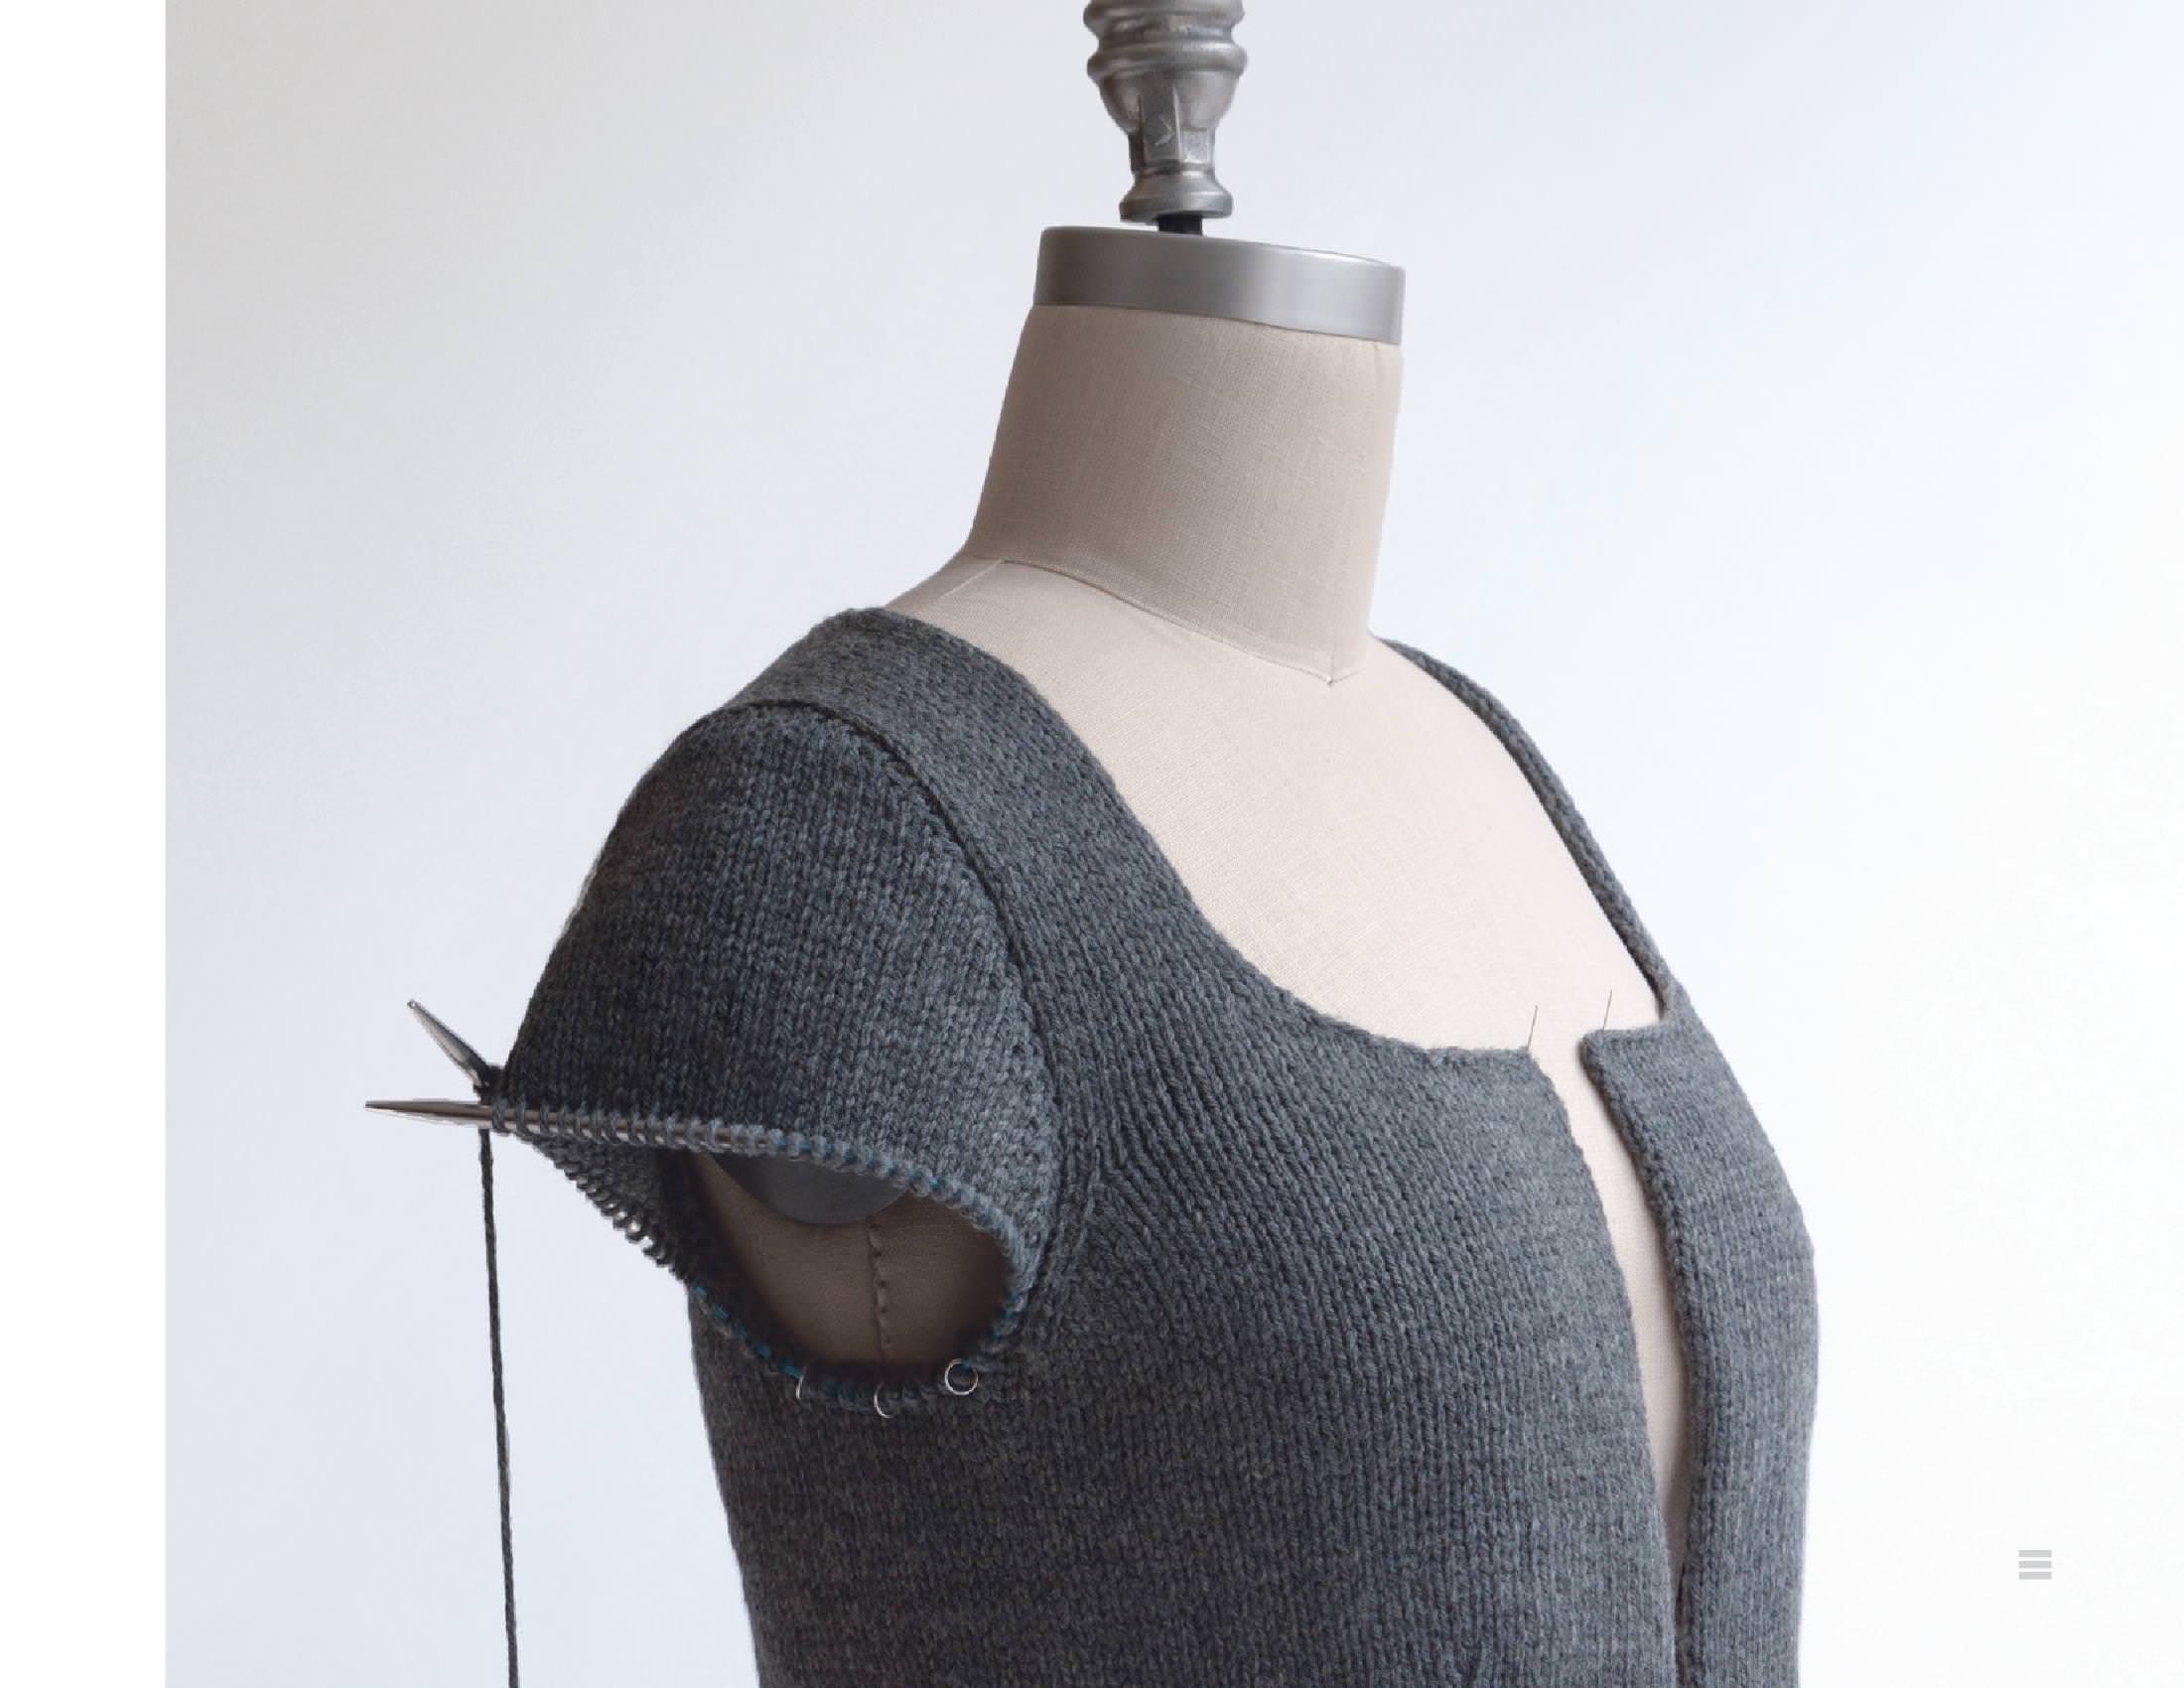
Cap sleeve: a very short sleeve that covers only the shoulder, ending above the armpit.
Elbow-length sleeve: extends to the elbow, providing more coverage than a short sleeve but less than a three-quarter sleeve.
Three-quarter sleeve: extends to about the forearm or three-quarters down the arm.
Bell sleeve: flared toward the bottom, resembling the shape of a bell.
Puff sleeve: fabric gathered at the shoulder or upper arm, creating a puffed appearance.
Kimono sleeve: a wide, loose sleeve that extends from the shoulder to the wrist.
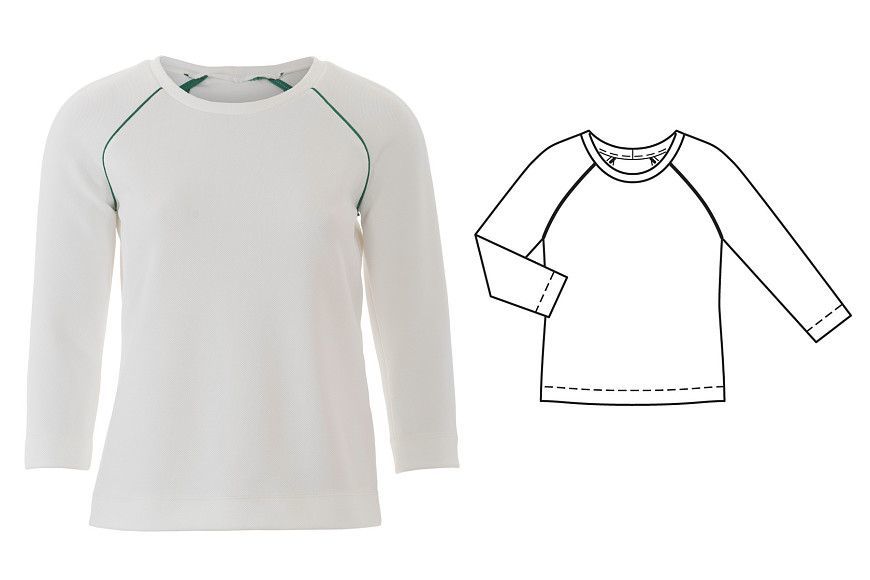
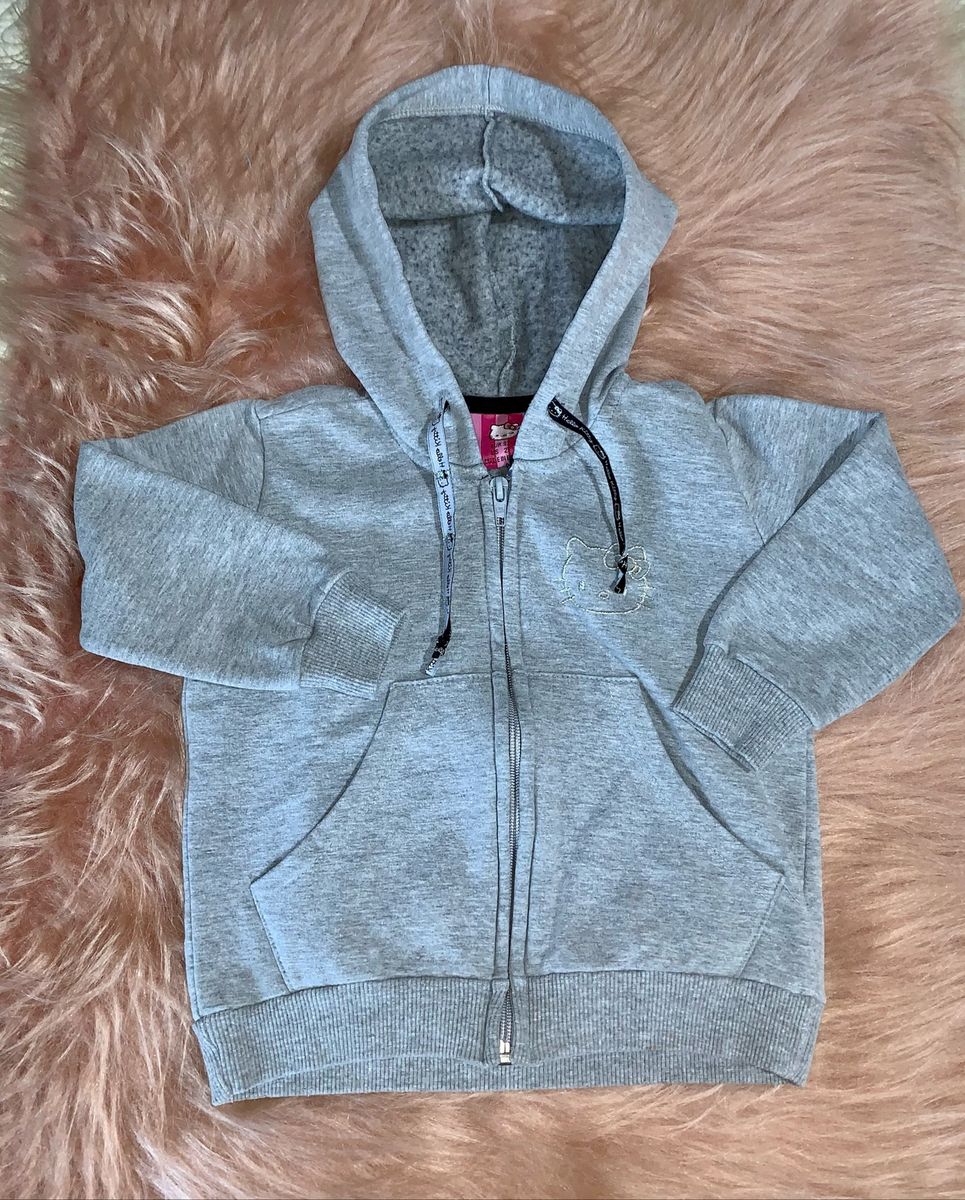
Raglan sleeve: extends in one piece to the neckline, creating a diagonal seam from the underarm to the collarbone.
Dolman sleeve: a long, wide sleeve that is not separately set into the bodice.
These are just a few examples, and fashion trends can introduce new styles over time. The choice of style can significantly impact the overall look and feel of a clothes.
Sew on sleeves by sewing machine
Sewing sleeves on sleeves using a sewing machine involves several steps to ensure a professional and secure attachment.
Below is a step-by-step guide using the terms you provided:
Prepare fabric pieces and sew the shoulder seam
– Cut out the bodice and sleeve pieces according to your sewing pattern. Ensure you have marked notches, grainlines, and other important points.
– Place the front and back bodice pieces on the right shoulder and sides together.
– Align the shoulder stitch and pin them in place.
– Sew the shoulder using the recommended seam allowance mentioned in your sewing pattern.
Prepare sleeves attach sleeves and sew underarm seam
– If you’re working with set-in sleeves, finish the edges of the sleeve cap with a zigzag stitch or overlock to prevent fraying.
– Place the bodice right side up.
– Turn the sleeve inside out and slide it into the armhole, matching the notches and aligning the underarm seam with the bodice side seam.
– Pin the sleeve in place, easing any excess fabric around the sleeve cap if needed.
– Sew the sleeve to the bodice, starting at the underarm seam and working your way around the armhole.
– With the sleeve still inside out, match the underarm edge stitch of the sleeve and bodice.
– Pin and sew the underarm seam, ensuring a smooth transition between the sleeve and bodice.

Finish the hem of the sleeve and raglan sleeve variation
– Fold the sleeve hem twice to the wrong side and press.
– Stitch the hem in place using a straight stitch or a decorative stitch.
– If you’re working with raglan sleeves, follow a similar process, matching the raglan seams instead of the shoulder and side seams.
– Press the shoulder seams and underarm stitch to set the stitches and ensure a neat finish.
– Trim any excess threads, turn the clothes right side out, and press the entire clothes to give them a polished look.
Remember to consult your specific sewing pattern for any variations or additional steps tailored to the design you are working on. Following these steps should help you successfully sew on sleeves using a machine.
Why do you need to know how to sew sleeves?
Knowing how to sew a sleeve is crucial in clothes construction, especially when working with fabrics and patterns. The process involves various key terms and techniques, each serving a specific purpose:
Shoulder seam and attaching sleeves
The seam by the shoulder is the horizontal seam joining the front and back bodice pieces at the shoulders.
It provides structure to the clothes and determines the fit around the shoulders.When you sew the sleeve involve attaching sleeve pieces to the bodice.
This step is essential for creating the arm openings in clothes. Properly if you sew sleeve ensures a comfortable fit and ease of movement.

Sleeve cap and seam allowance
The sleeve cap is the curved upper part of the sleeve that corresponds to the shoulder shaper. When you sew the sleeve cap correctly is crucial to avoid puckering or pulling and to achieve a smooth and comfortable fit.
Seam allowance is the area between the stitch line and the raw edge of the fabric. Following the specified seam allowance in your sewing pattern ensures accurate construction and proper fitting of the clothes.
Set-in sleeve and sleeve hem
A set-in sleeve is a traditional sleeve style where the sleeve is sewn into a pre-cut armhole. The method is common in tailored garments and provides a more structured and defined shoulder.
The sleeve hem is the finished edge at the bottom of the sleeve. Hemming the sleeve adds a polished look to the clothes and prevents fraying.
Raglan sleeve and side seam
Raglan sleeves are characterized by diagonal seams that extend from the underarm to the neckline. Understanding how to sew raglan sleeves is essential when working with patterns featuring this design, as it differs from set-in sleeves.
The side seam runs vertically along the side of the clothes, connecting the front and back pieces. It contributes to the overall shaping and fitting of the clothes.

Woven fabrics and sewing patterns
Woven fabrics have minimal stretch compared to knits. When you sew sleeves in woven fabrics, it’s important to consider ease and ensure that the sleeves allow for comfortable movement.
You sew patterns and provide templates and instructions for creating garments. Knowing how to sew is a fundamental skill when following patterns, as sleeves contribute to the overall silhouette and functionality of the clothes.
Bodice side seam
The bodice side seam connects the front and back bodice pieces along the sides. Properly aligning and sewing the bodice side stitch is crucial for achieving well-fitted clothes.
Sewing sleeves is essential for anyone involved in clothes construction.
It involves mastering techniques related to shoulder stitch, sleeve caps, seam allowances, set-in sleeves, attaching sleeves, sleeve hems, raglan sleeves, and side stitch, and understanding how these elements work together in the context of woven fabrics and the need to sew patterns.
Sew on sleeves by hand
You sew on sleeves by hand involves careful attention to detail and precision. Follow these steps using the mentioned terms:
Prepare the fabric and pin the sleeve:
Cut out the separate sleeve piece following the instructions, making sure to mark armhole notches.
Pin the sleeve to the armhole, aligning the gathering stitches and matching the notches. Ensure that the sleeve side and the bodice side are the same length.
Set-in sleeves and raglan sleeves:
If you’re working with set-in sleeves, gently ease the sleeve cap into the armhole. Pin it in place, distributing any sleeve cap ease evenly.
If you have raglan sleeves, follow the pattern instructions to attach the sleeve along the diagonal raglan gathering stitches.

Tulip sleeve and sleeve stitches:
For flashlight sleeves or tulip sleeves, gather or pleat the fabric as specified in the instructions. Pin and distribute the fullness evenly.
Pin sleeve gathering stitches, aligning them with the bodice side stitches. Make sure the edges match and follow the instructions for any specific details.
Shoulder seam and seam allowance:
Pin the shoulder seam, ensuring that the sleeve is attached evenly to both the front and back bodice pieces.
Sew the sleeve to the bodice using the recommended seam allowance mentioned in the instructions. Stitch carefully, securing the sleeve in place.
Press the seam and armhole stitches:
After that, you sew, and press the seam to set the stitches. Pressing is crucial for achieving a professional finish and ensuring that the sleeve lies flat.
If you are attaching to clothes with separate side pieces, sew the armhole gathering stitches, and join the front and back bodice pieces.
Pattern instructions and same length:
Follow the instructions closely to ensure you are correctly attaching the sleeves. Different sleeve styles, such as set-in sleeves, raglan sleeves, puff sleeves, or tulip sleeves, may have specific techniques to follow.
Double-check that the sleeve and bodice sides are the same length, and adjust if necessary before you start sewing to avoid any distortion in the fit
When pinning the sleeve cap, distribute any ease evenly. Take your time to ensure a smooth and even attachment.
Remember, when you sew by hand allows for more control and precision, especially when dealing with intricate sleeve styles like puff sleeves or tulip sleeves. Following instructions and taking care with each step will result in a beautifully attached sleeve.

Tips for sewing sleeves
Sewing sleeves can be a delicate process, but with attention to detail and some helpful tips, you can achieve a professional finish. Here are tips using the specified words:
Pattern piece
Cut out the sleeve pattern piece accurately, following the instructions. Check for any markings, such as notches or centre points, that guide you in attaching the sleeve.
Sew a sleeve
Pin to the bodice, starting at the edge and working your way up to the sleeve cap. Sew the sleeve in place, following the seam allowance specified in the pattern.
Press the seam
After pressing the seam with an iron. Pressing helps set the stitches and gives the sleeve a clean, professional look.
Center point
Find the centre point of the sleeve cap and match it with the seam or the central point of the armhole. This helps distribute the ease evenly when setting in the sleeve.
Opposite sides
Remember to repeat the process for the opposite side of the clothes. Consistency in pinning and pressing will contribute to a balanced and well-finished look.

Another
Pay close attention to the seam while you sew. Ensure that it is straight, and check for any adjustments needed as you go along.
Double notches are often used to indicate the back of a clothes. Match the notches on the sleeve to those on the back armhole for correct alignment.
When you sew set-in sleeves, start by matching the double notches on the sleeve with the corresponding notches on the armhole. This helps ensure the sleeve is correctly positioned.
Armhole notches on the sleeve and bodice indicate the points where the sleeve should be attached. Align these notches carefully to maintain the proper fit and ease.
When pinning the sleeve to the bodice, make sure the side of the sleeve is facing the wrong side of the bodice. This ensures that the right sides will be together when sewn.
Begin pinning the sleeve at the bottom edge of the armhole, securing it in place before easing into the sleeve cap. This approach ensures a stable start to the attachment.
Leave long thread tails when you sew the sleeve. These can be used to tie off a secure knot, preventing the stitches from unravelling.
By incorporating these tips and paying attention to the details specified in the instructions, you can confidently sew with precision and achieve a polished result.
What should not be done when you sew sleeves?
It’s crucial to avoid common mistakes to ensure a successful and professional outcome. Here’s a list of what should not be done, using the specified words:
Avoid neglecting instructions for tulip sleeves. Incorrect attachment can distort the shape and affect the overall look of the tulip sleeve.
Don’t rush when you sew pattern set-in sleeves. Take your time to align the sleeve with the armhole correctly.
Avoid ignoring sleeve cap ease. Failing to distribute the ease properly can result in puckering and an ill-fitting sleeve.
When working with raglan sleeves, do not overlook matching the raglan stitches accurately. Misalignment can disrupt the flow of the design.
Don’t neglect the specified seam allowance. Deviating from the recommended allowance can affect the fit and overall construction of the clothes.
Avoid confusing double notch on the sleeve with single notches. Each notch has a specific purpose, and misinterpretation can lead to incorrect placement.
Armhole notches: do not disregard armhole notches. They guide the proper alignment of the sleeve, ensuring a comfortable fit.
Correct sleeve: avoid attaching the wrong sleeve to the wrong armhole. Always double-check that you are stitching the correct sleeve to the correct side.
Two notches: do not assume that two notches always indicate the back of the clothes. Check the instructions, as some designs may use two notches for different purposes.
Shoulder Line: don’t ignore the shoulder line when attaching the sleeve. Incorrect placement can affect the balance and symmetry of the clothes.
Front and back notches: avoid confusion between front and back notches. Accurate matching ensures that the sleeves are correctly positioned for a well-balanced fit.
Most set-in sleeves: while some set-in sleeves may require a few pins, don’t rely on too few. Inadequate pinning can result in shifting during stitching, leading to misalignment.
Remember, attention to detail and adherence to instructions are crucial/. Avoiding these common mistakes will contribute to a smoother process and professionally finished clothes.

How long does it take to sew on the sleeve?
The time it takes to sew on a sleeve can vary depending on factors such as the complexity of the sleeve design, your sewing proficiency, and the type of clothes you are working on.
Here’s a general overview using the specified words:
Raglan sleeve/set-in sleeve/tulip sleeve
When you sew typically takes a moderate amount of time. You’ll need to carefully match armhole notches, distribute sleeve caps easily, and ensure a smooth attachment.
Attaching raglan sleeves may take a bit longer due to the diagonal stitches. Precision is essential to achieve a clean and balanced look.
Stitching on tulip sleeves can be time-consuming, especially if there are additional steps such as gathering or pleating to create the tulip effect.

Armhole seams/armhole notches
When you stitch armhole sleeve seams, whether for set-in sleeves or other sleeve styles, is a necessary step and contributes to the overall construction of the clothes.
Taking the time to accurately match armhole notches ensures proper sleeve placement and well-fitted clothes.

Double notch/opposite sides/sleeve cap
Double notchs may add a bit of time to the process, as they often indicate specific points for alignment, especially in more intricate designs.
Sewing the sleeve cap requires attention to detail to avoid puckering. Distributing the ease evenly across the cap contributes to a polished finish.
Sleeves to the opposite side of the clothes involve repetition but are crucial for maintaining symmetry. This step requires careful consideration to prevent mistakes.
Pattern piece and sewn sleeve
Cutting out the sleeve pattern piece accurately is the first step in ensuring a smooth sewing process. Taking the time to do this properly can save time in later stages.
The time it takes to stitch on sleeves can also depend on the simplicity or complexity of the sleeve design. Basic sleeves may be quicker, while more elaborate designs may require additional steps.
The speed at which you sew each seam and attach the sleeves depends on your stitching experience and proficiency. Practice and familiarity with the process can lead to more efficient stitching.
When you sew on sleeves can take anywhere from a relatively short amount of time for simple set-in sleeves to a longer duration for more intricate designs such as tulip sleeves or raglan sleeves.
Taking the time to understand the specific requirements of your pattern and working carefully will contribute to a successful and well-executed stitching project.
Sleeve cap
The sleeve cap is a critical element in clothes construction, particularly in designs like the raglan sleeve, where unique lines and distinctive features come into play.
The sleeve cap refers to the curved upper portion of the sleeve that corresponds to the shoulder’s natural shape.
When stitching sleeves, meticulous attention to the sleeve cap is essential. The sleeve cap is a key factor in determining the overall fit and aesthetics of the clothes.
Ensuring a well-executed sleeve cap results in a smooth, tailored appearance and contributes to the overall comfort of the clothes.
Stutching the sleeve cap requires precision, especially when dealing with sleeves, where the cap extends diagonally from the underarm to the neckline.

This distinctive design demands careful consideration of the sleeve stitches that connect the sleeve cap to the rest of the clothes.
Once the sleeve cap has been carefully pinned in place, it is sewn to the bodice, ensuring that the stitches are secure and that the fabric is evenly distributed.
This sewing process is crucial in achieving a polished finish and maintaining the structural integrity of the sleeve.
In summary, the sleeve cap plays a pivotal role in the construction of sleeves, particularly in designs like the raglan sleeve.
The success of sewing sleeves is intricately tied to the precision with which the sleeve cap is handled.
By understanding the unique characteristics of the sleeve cap and paying meticulous attention to the sleeve stitches, a well-sewn sleeve cap contributes not only to the functionality but also to the visual appeal of the final clothes.

Conclusion
In conclusion, mastering the art of sewing patterns is essential for any aspiring or seasoned seamstress. Whether you’re working with a set-in sleeve, a raglan sleeve, or any other style specified in stitching patterns, the process follows a fundamental set of principles.
Start by carefully cutting out the sleeve pattern piece and familiarizing yourself with the guidelines provided. When attaching the sleeve, pay particular attention to the sleeve cap, ensuring proper distribution of ease and alignment with the armhole.
For sleeves, follow the designated diagonal stitches to achieve the desired design. Pin in place before you start to sew, adhering to the recommended seam al lowance.

Throughout this process, the importance of precision is evident, especially when you sew the sleeve stitches.
Each stitch contributes to the overall structure and fit of the clothes, highlighting the significance of a well-executed sleeve attachment.
The sleeve cap, in particular, demands attention to detail to avoid puckering and ensure a smooth finish. When you stitch sleeves is a skill that combines technical expertise with creativity.

Whether you are following a classic set-in sleeve design or venturing into the distinctive lines of a raglan sleeve, the principles of pattern cutting and attention to the sleeve cap are universal.
As you navigate the world of sewing, each sleeve you sew becomes a testament to your growing proficiency and mastery of clothes construction techniques.
So, embrace the art of sewing sleeves, and let your creations showcase the beauty and functionality of well-executed sleeve designs.
I hope this article has been useful and will help you cope with your work. I wish you success in your future work!
