
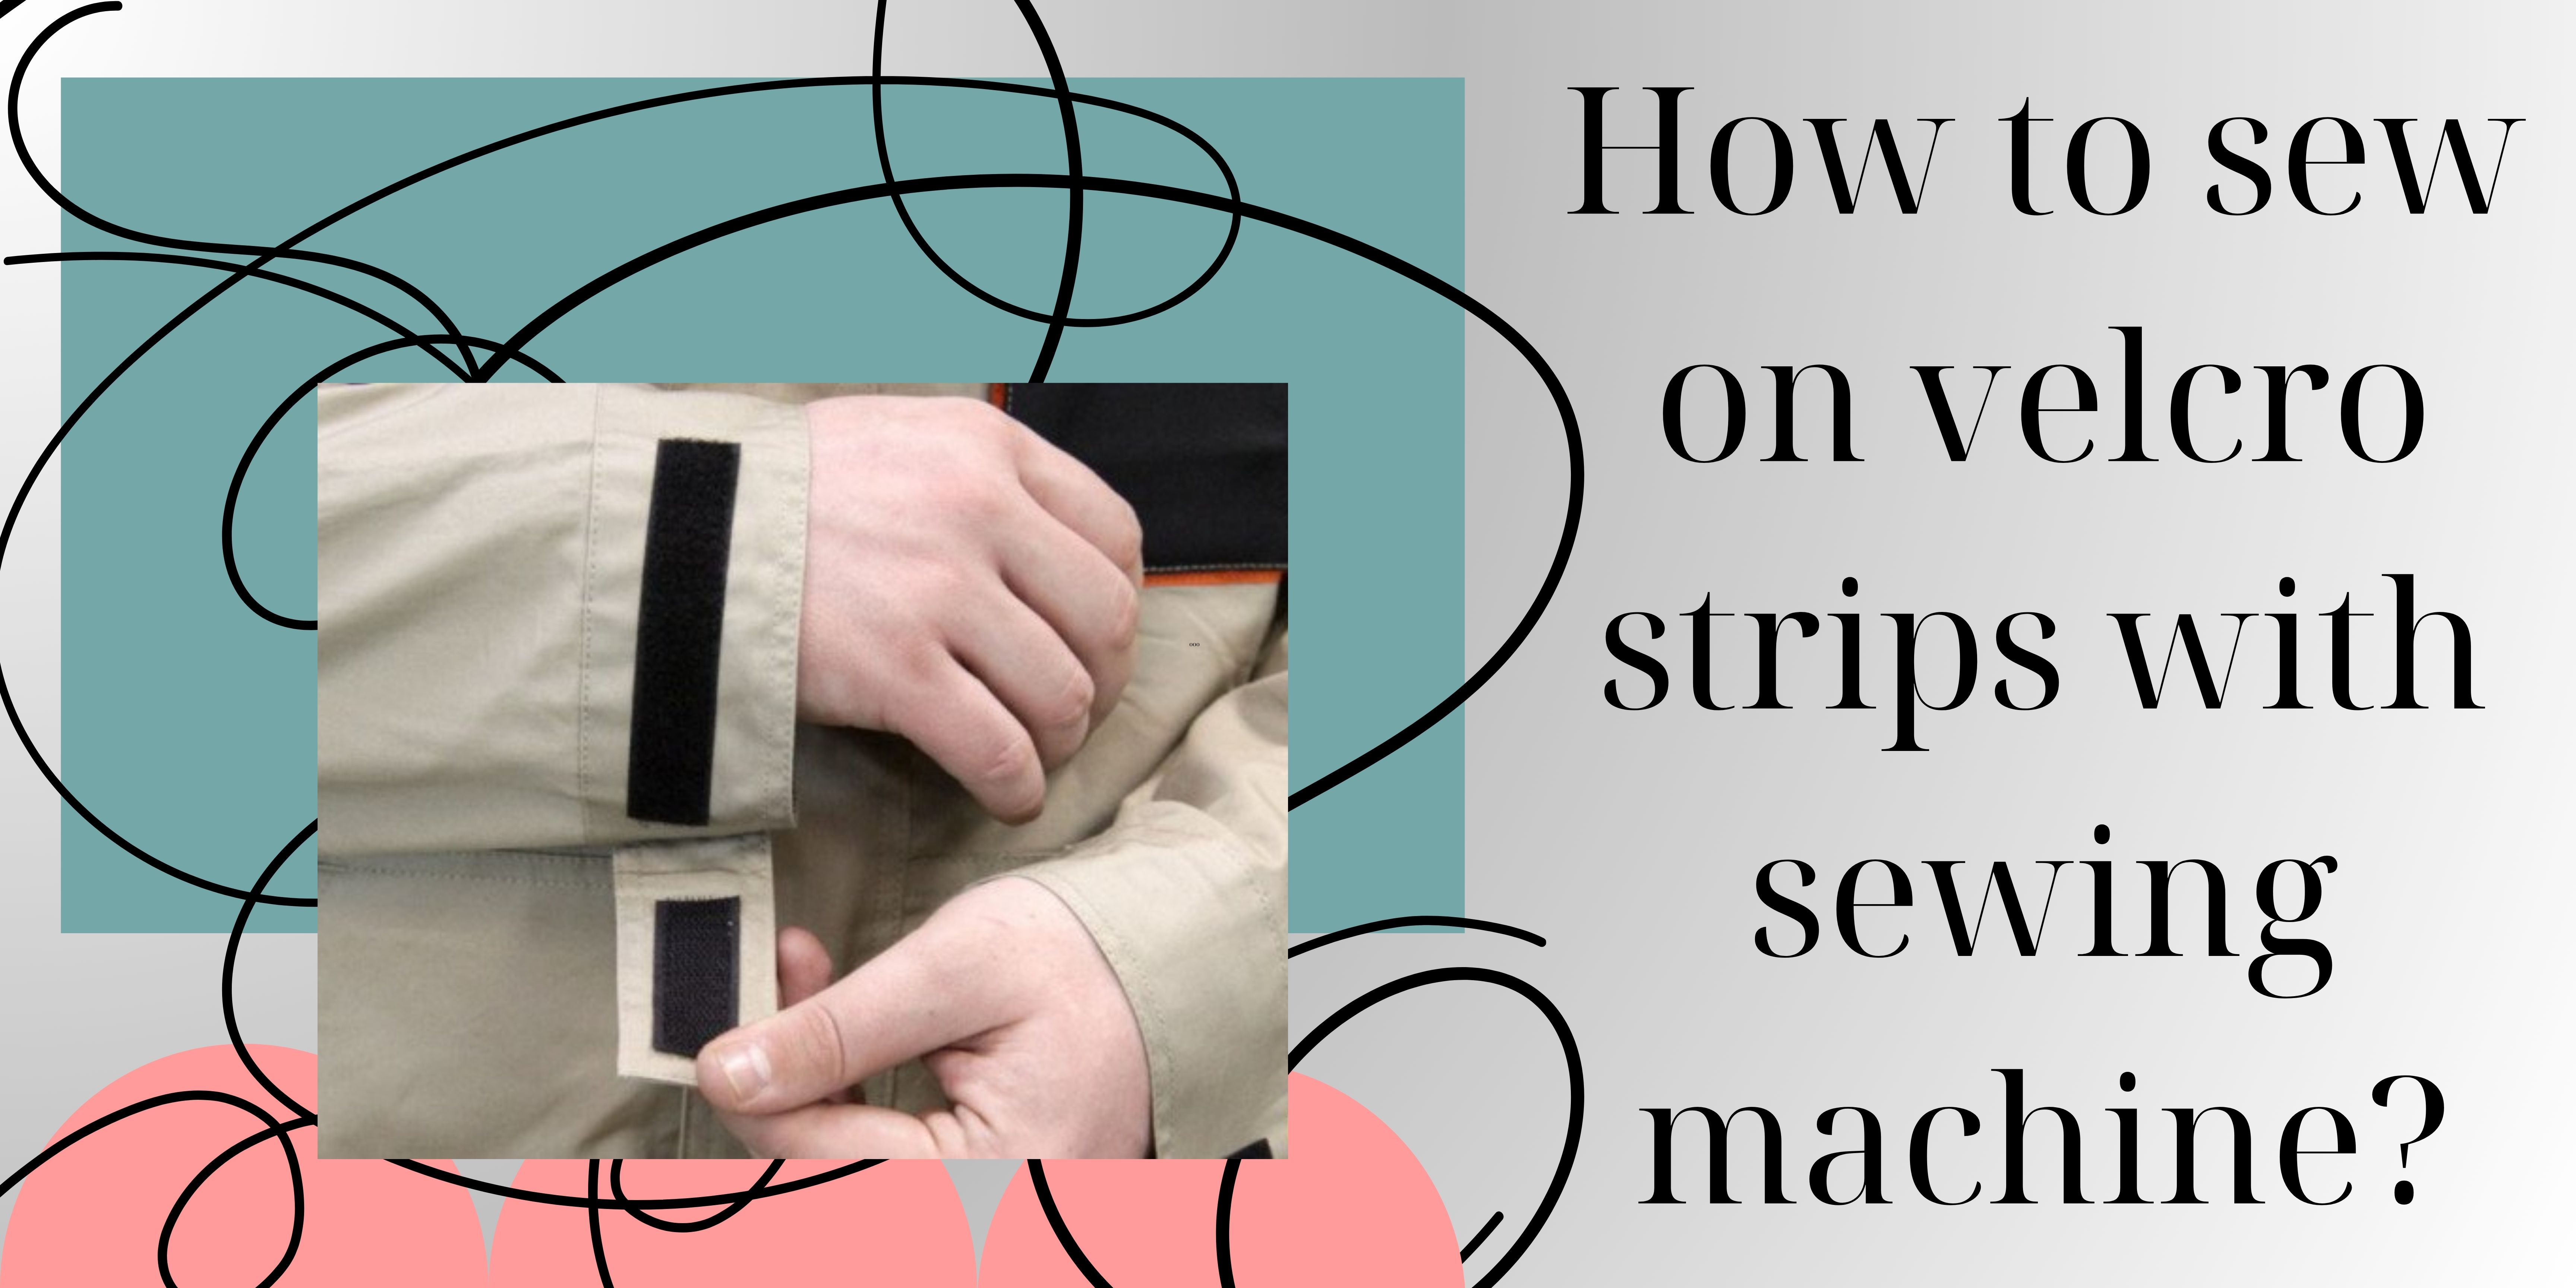
How To Sew On Velcro Strips With Sewing Machine?
Breathe life into your projects with sewn-on velcro! Sewing machines handle velcro, but the focus is key. Use the rough side strong stitches, and needle for tough material.
A special presser foot helps sew close to the edge – crucial for that grip on constantly pulled closures! Practice on scrap fabric first, and your projects will have secure velcro attachments in no time.
With the right preparation and a bit of practice, you can create long-lasting velcro attachments that add functionality and convenience to your sewing creations!
Here is the information how to sew on velcro strips with sewing machine.

Where can velcro strips be sewn on?
Sew velcro strips can be sewn onto a variety of materials using a sewing machine, offering a strong and secure way to create closures or attachments.
Here’s a breakdown of where velcro is commonly sewn and some helpful tips:
Suitable materials:
Fabrics: soft velcro is a great choice for a wide range of fabrics, from lightweight cotton to heavier canvas. Just ensure you choose a sharp needle appropriate for the cloth weight (e.g., a leather needle for thicker materials).
Clothing: velcro is often used on garments like jackets, backpacks, shoes, and baby clothes due to its easy “hook and small loop” closure.
Home decor: sew velcro onto pillows, throws, or curtains for detachable covers or creative closures.
Important considerations:
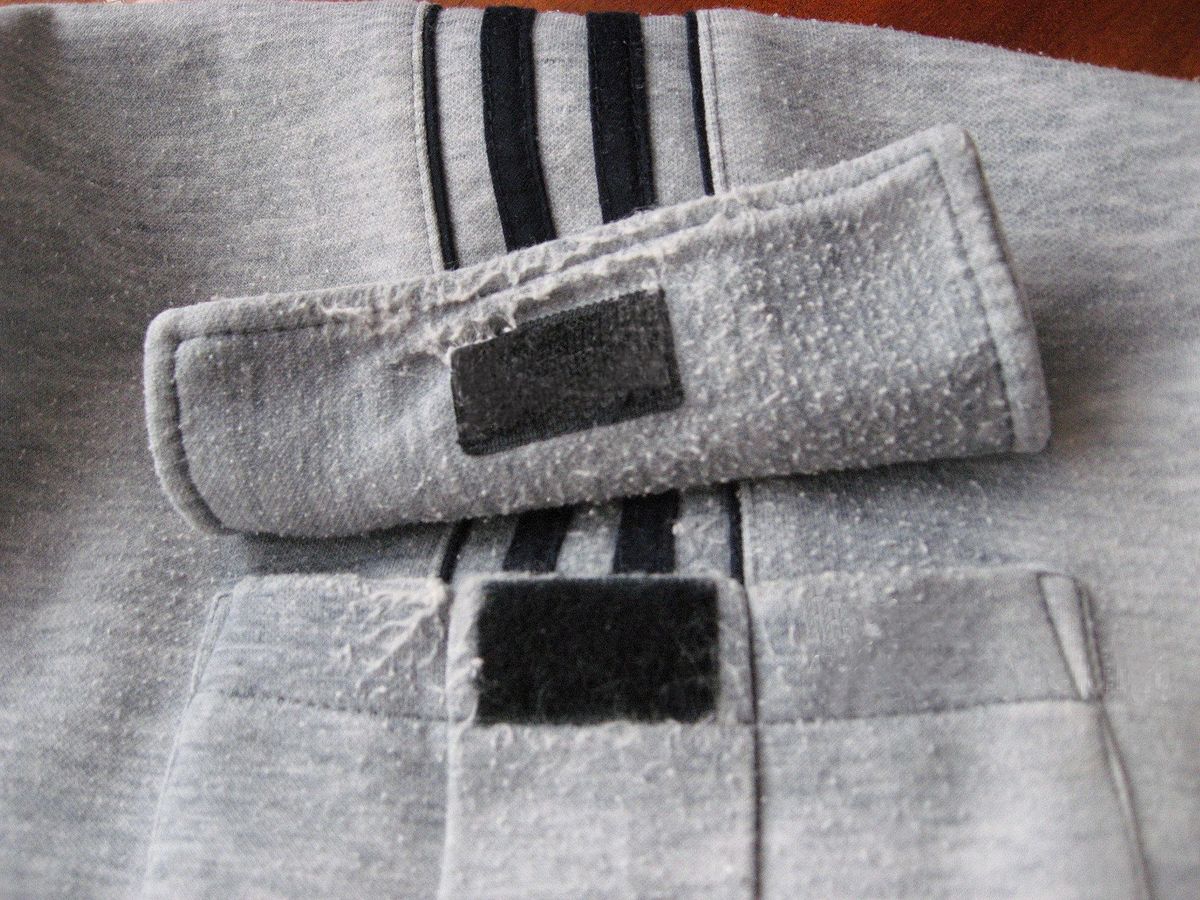
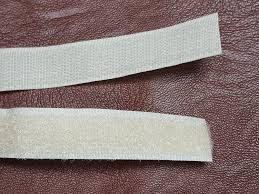
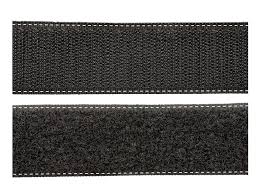
Soft vs. hook side: sew the rougher hook side of the right velcro to your chosen material. The softer loop side usually attaches to the opposing surface for fastening.
Needle choice: use a sharp needle suitable for the fabric and velcro thickness. You might need a thicker needle for heavy-duty velcro. Consider using beeswax or needle lubricant to prevent snags on the rough velcro texture.
Stitch choice: a strong straight seam is the preferred choice for sewing velcro. You can sew velcro and multiple straight stitches close together for extra reinforcement. Avoid skipped stitches for optimal strength.
Alternatives: for delicate fabrics or temporary applications, consider using fabric glue specifically designed for velcro or the sticky back velcro option (if available).
While velcro can be sewn onto many materials, avoid using it on:
Delicate fabrics: the rough velcro might snag or damage delicate fabrics like silk or chiffon.
Leather (without proper tools): sewing velcro onto leather requires special needles and techniques. It’s best left to professionals or those with advanced sewing skills.
Test your sewing technique and chosen materials on a scrap piece of fabric before tackling your final project. With the right preparation and a bit of practice, you can securely sew velcro using your sewing machine for various purposes!
How to sew on velcro strips with sewing machine
Velcro, that ubiquitous friend of convenience, can be a lifesaver for creating secure closures and attachments on various projects.
Preparation is Key before you start to sew:
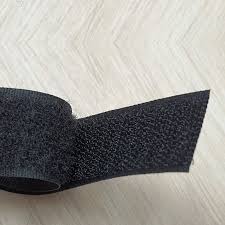
Know your velcro: there are two sides – the scratchy hook side (sewn) and the soft loop side (attached). Choose good quality velcro with a stronghold.
Needle selection: a sharp, sturdy needle is crucial. Use a heavy-duty needle (size 16 or 18) for thick velcro, and a leather needle for tougher materials like leather jackets (consult a professional for leather sewing).
Thread matters: opt for strong polyester thread that is resistant to the constant pulling required velcro experiences. Ensure your thread matches the thread for even tension.
Machine tension correctly: play with your tension on a scrap fabric with velcro attached. The steam should be secure without puckering the fabric.
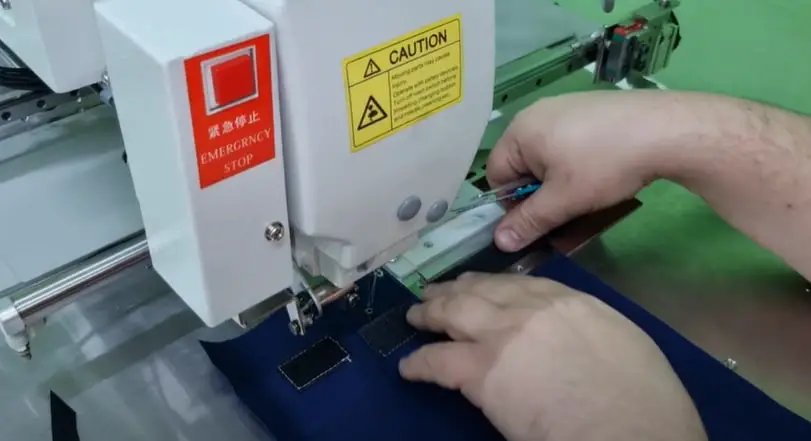
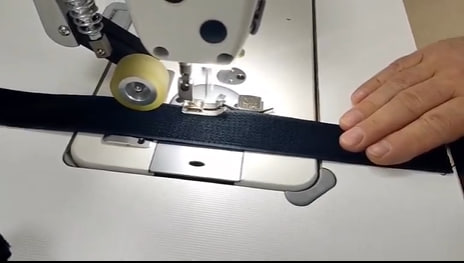
Foot choice: while a regular presser foot works, a special zipper foot might offer better guidance when sewing close to the velcro edge.
Taming the beast: use masking tape to temporarily hold the velcro in place and prevent it from shifting while sewing.
You sew like a pro:
- Small stitch selection: a strong straight seam is your best bet. Consider a zigzag stitch for added flexibility on stretchy materials. Avoid stitches for maximum strength.
- Sewing technique: start sewing at the edge of the hook velcro, catching only a tiny bit of the velcro itself and the fabric underneath. Sew velcro perimeter for a secure attachment.
- Double the strength: sew velcro twice (backstitching at the beginning and end) to reinforce the stitching. Tie knots at the ends for extra security.

Sewing tips:
- Test: always practice your sewing technique on a scrap fabric with velcro attached before moving to your final project.
- Beware the scratchy side: the scratchy velcro can snag your thread. Consider using beeswax or needle lubricant to make the process smoother.
- Alternatives: for delicate fabrics or temporary applications, consider using fabric glue specifically designed for velcro, or try the sticky back soft velcro tape option (if available).
- Not for the faint of heart: if you sew velcro onto tough materials like leather requires special needles and techniques. It’s best left to professionals or those with advanced sewing skills.
Beyond the basics:
- Heavy projects: for projects to sew requiring constant pulling (like backpack straps), consider using reinforcement techniques like sewing a box-shaped pattern around the velcro for added strength.
- Creative freedom: velcro can be used for various projects besides closures. Sew velcro pieces onto cushion covers for detachable options, or create organizers with velcro compartments for easy customization.
Sewing velcro takes some practice, but with the right preparation and these helpful tips, you can create secure and functional velcro attachments on your sewing projects, replacing unreliable hand-sewn velcro methods and frustrating press studs with the reliable strength of your sewing machine.
Do I need to sew around the velcro?
Yes, for a secure and reliable attachment, you should hand sew around the perimeter of the velcro piece. Here’s why sewing the entire edge is crucial:
Hook and loop closures and skipped stitches
Velcro relies on the tiny hooks catch on the rough side (hook piece) to grip the soft loop piece. Sewing only a portion of the velcro might leave some edges unsecured, compromising the overall strength of the closure.
Leaving any gaps or skipped stitches can create weak points where the velcro might pull away from the fabric, especially with regular use.
Long stitches and tough materials
Sewing only a section with long stitches can lead to the thread unravelling over time, especially on fabrics prone to fraying.
Sewing all the way around with small stitches (around 2-3mm) creates a more secure hold for the thread.
Sewing the entire edge gives a clean and finished look to your project. Leaving raw edges exposed can look unprofessional and might fray over time.
Even for tough materials like denim, sewing around the velcro is crucial. A denim needle can be helpful for thicker fabrics, but complete stitching ensures a strong bond between the velcro and the fabric.
Tips for sewing all the way around by zipper foot
Use a strong polyester thread for optimal sewing on velcro.
Consider using a zipper foot on your sewing machine for better control when sewing close to the edge of the velcro.
Maintain proper foot pressure to avoid puckering the fabric.
Start sewing at the side seam of the velcro piece and continue around the perimeter, ensuring you catch a tiny bit of the velcro and the fabric underneath with each steam.
By taking the extra time to sew velcro, you’ll guarantee a reliable and professional-looking hook and loop closure on your projects.
How many times should I sew and go over the velcro with the sewing machine?
When you sew velcro with your sewing machine, you should typically go over the velcro twice. Here’s why:
First pass: Sew velcro and a single line of straight stitches with proper tension.
You can use a regular presser foot for this, but a foot might offer better guidance when sewing close to the edge.
Ensure your bobbin thread matches the top thread for even tension.
Sew close to the edge of the velcro, catching only a tiny bit of the velcro itself and the fabric underneath.
Second pass: Once you’ve completed the first line of stitches, backstitch over the beginning and end of the stitching line.
Backstitching essentially sews in reverse, creating a secure lock that prevents the thread from unravelling.
Alternatives for extra strength:
- Double stitching: for projects experiencing significant stress or frequent use, consider sewing two parallel lines of stitches close together, essentially going over the velcro four times in total.
- Zig zag stitch: while less common, a zig-zag stitch can offer some additional flexibility, especially on stretchy fabrics. However, it’s not as strong as a straight seam to sew velcro applications.
Avoid sewing over the velcro more than twice, as it can create unnecessary bulk and potentially damage the hooks on the velcro.
Focus on sewing a flat border around the velcro for a clean and functional finish.
Regardless of the stitching method, ensure you use a single sewing needle skewered in good condition to avoid it getting skewered by the velcro hooks.
By following these tips, you can ensure your sewn velcro fastenings are secure and long-lasting on your sewing projects.
What stitch should I use?
When it comes to sewing velcro, the stitch choice is crucial! While you might be tempted to use your go-to stitch, sewing velcro requires a bit more strength.
The straight seam is king: for most sewing velcro projects, a straight seam is your best friend. It offers a strong and secure hold that can withstand the pulling and tugging velcro often experiences.
Double the strength: consider sewing the velcro twice using a straight stitch. This creates a double layer of stitching for extra reinforcement, especially important for projects that see a lot of wear and tear.
Skip the fancy stuff: while decorative stitches might be tempting, avoid them when sewing velcro. They often lack the strength needed for a secure hold. Stick to the simple and strong straight seam!
Remember, the key to successful sewing velcro is using the right stitch. By sticking with the straight seam and maybe even doubling it up, you can ensure your velcro attachments last as long as your projects!
How close to the edge of the velcro should I sew?
When sewing velcro with your sewing machine, you should aim to sew right next to the edge of the rough side, but be mindful of not catching the soft loop side or damaging the velcro itself.
Here’s a breakdown for optimal results:
Precision is key and additional tips
Use a strong needle appropriate for your fabric weight. Regular sewing works for most fabrics, but consider a stronger needle for thicker materials. Ensure your bobbin matches the top thread for even tension.
Many sewing machines come with a regular presser foot. This can be used for sewing velcro, but a special zipper foot might offer better guidance when sewing close to the edge.
Practice sewing on a scrap fabric with velcro attached before moving to your final project.
Pulling is a reality for velcro closures (think backpack straps or pouches). Sewing close to the edge ensures the velcro has a strong grip on the cloth to withstand this stress.
Avoid using excessively thick thread, as it can create bulk and potentially damage the velcro.
By following these guidelines and practising your technique, you can successfully sew velcro close to the edge for a secure and functional attachment on your projects!
Conclusion about sewing Velcro
Sewing velcro with a sewing machine takes a little extra effort, but the results are worth it! By using the right tools and techniques, you can create secure and long-lasting closures on your projects.
Remember, practice makes perfect, so don’t be afraid to experiment on scrap cloth before tackling your final project. With a little practice, sewing velcro will become a breeze!