
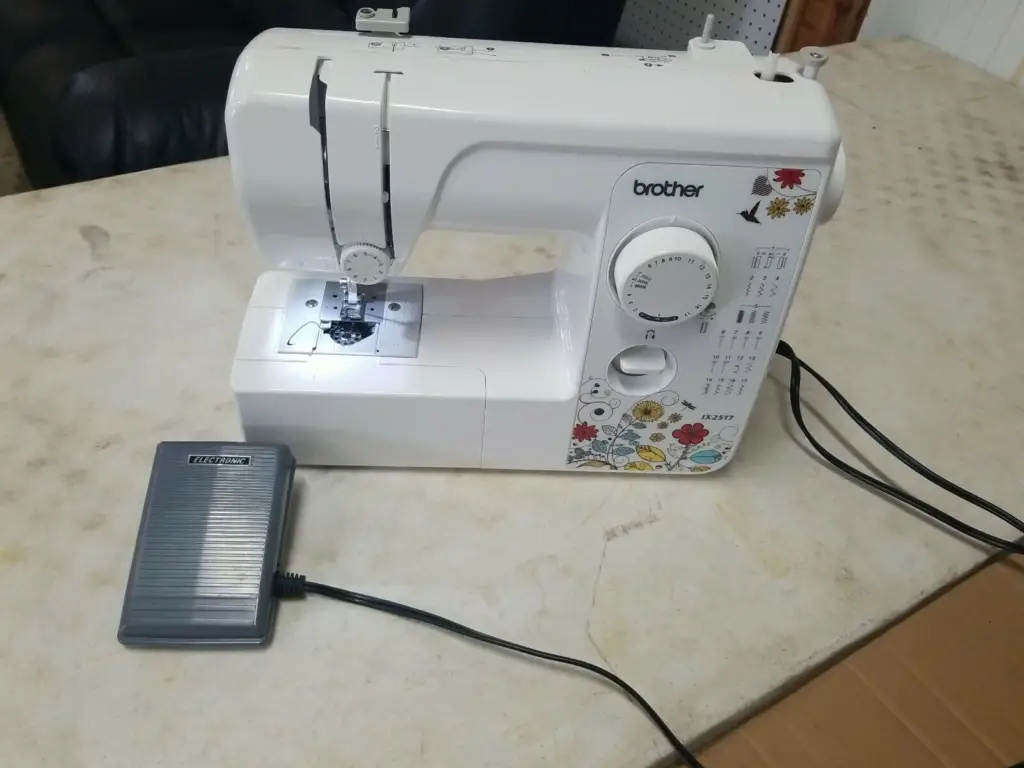
How To Change The Needle on a Brother Sewing Machine in 2023
If you are reading this article, then you might have some problems with How to change the needle on a brother sewing machine or bent needles on one of your Brother products.
In this detailed tutorial, we are going to discuss how to change or replace the needle on your sewing machine.
We are sure that after reading this article you will have no questions about replacing the needle.
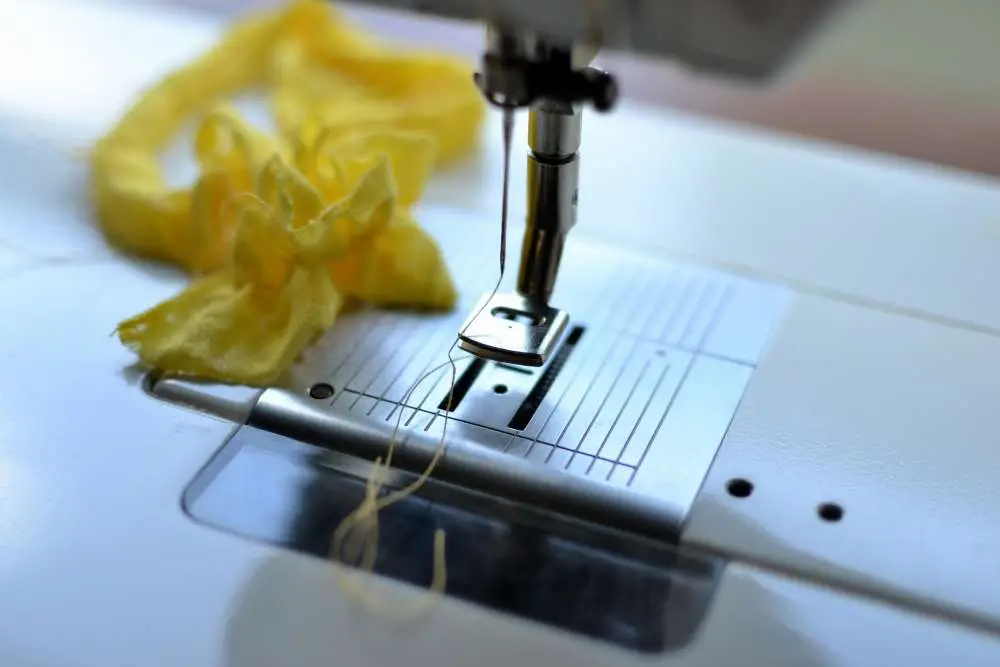
You have three extra needles included
Working when you have a bent needle is extremely dangerous as you can harm the machinery which you use to sew, and damage the fabrics of the products you work it. So, we recommend you remove the needle as soon as possible and change it to a new one. Otherwise, injuries may occur which is not good for your general health.
It must be very convenient for you, as together with your sewing machinery three additional needles come, so you do not need to make a purchase of the new needle, you can just remove the needle, replace it and then continue sewing.
What is more, as you have three needles included, you have an opportunity to change the needle several times in case you have broken it while sewing.
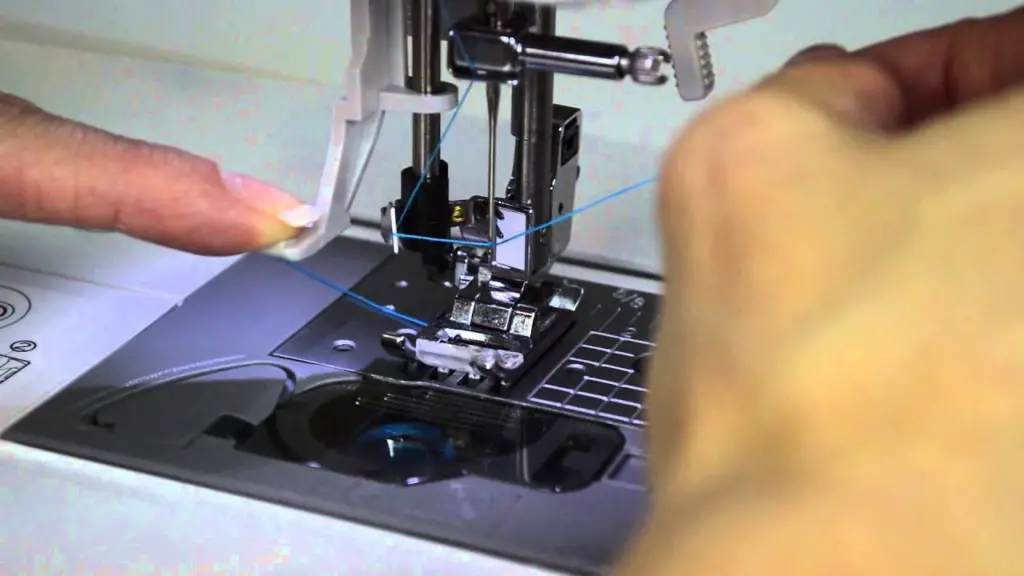
Also, for this replacing the needle method you can use a small, but the very useful thing that is called a needle clamp screw-driver. Basically Brother products, it has an oval shape, but it can vary from one manufacturer to another one.
Place it in the right place, and after that, you need to move your needle clamp screwdriver right toward us.
Next, you need to not securely tighten the needle clamp, just have it loose enough to let your needle have fallen out, as you do not need to have the whole thing have been loosening. So that is how you can put out your needle from the machinery.
Of course, you need to insert the needle back, so make sure that you can see the flat side of the needle when you are turning it in your hands. Also, make sure that the flat side of the needle is facing toward the back.
Step 1. Prepare to replace the needle
In the first place, you need to raise the needle by pressing the Needle position button on your sewing machine. You are recommended to press it once or even twice.
After that, you need to turn off your machinery. It is one of the most important steps in the entire tutorial, as it is a question of your safety. Also, reliably hold your needle clamp screw, otherwise, injuries may occur in case the presser foot lever will be pressed and the machine starts sewing.
At this stage of our guide, it will be necessary for you to place some fabric or paper. You need to have it right under your presser foot. It should be done right that way to cover all of the holes you have on your needle plate.
Another thing you will need to remember is that you ought to prevent your needle from being called apart right in the needle plate. You can achieve that result by before replacing the needle and placing fabric or paper under the presser foot.
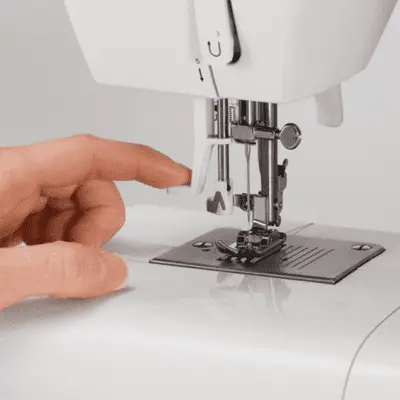
Step 2. Move the presser foot lever
As the second step described in our article you need to have your presser foot lever lowered, right in the way it is described in the picture below.

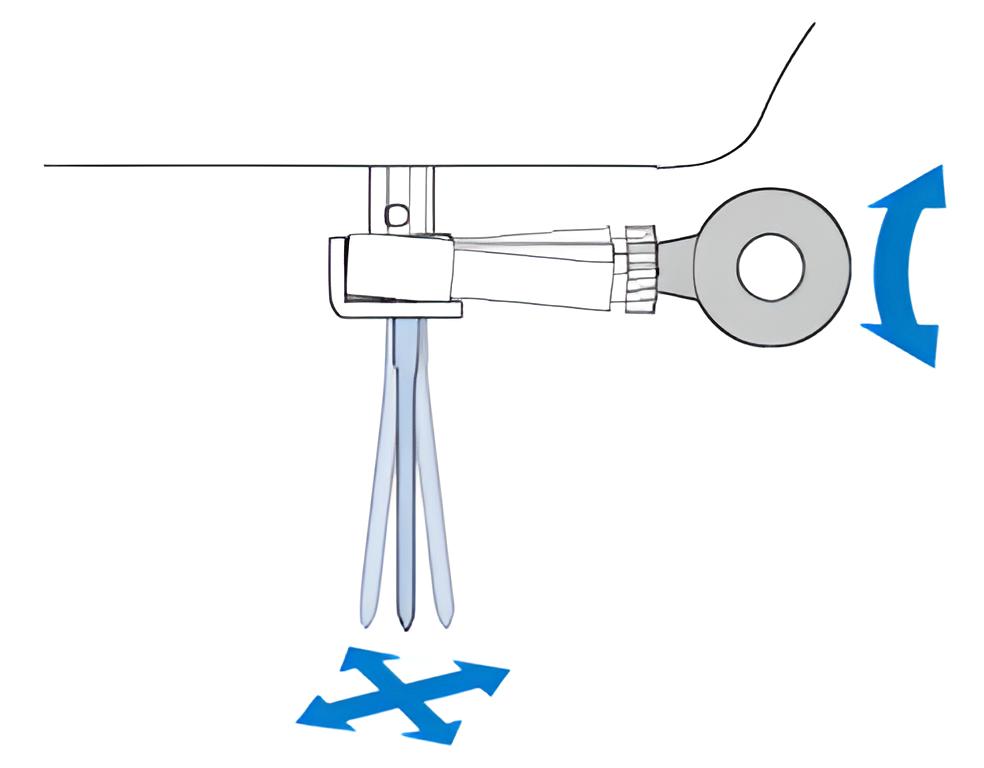
If by chance for some reason the mechanics jump the peg that is located a bit higher the place, you need to put your needle clamp screw in. So all you need to do is manually raise the needle and then raise the presser, and turn it that way it is back in alignment.
Step 3. Use a needle clamp screw-driver
The third step in our tutorial is supposed that you need to hold your needle with your left hand, after that you ought to use a needle clamp screw-driver, which was prepared before start working. Actually, holding a needle with your left hand is more suitable for right-handed people, but why not give it a try, even if you are a left-handed one?
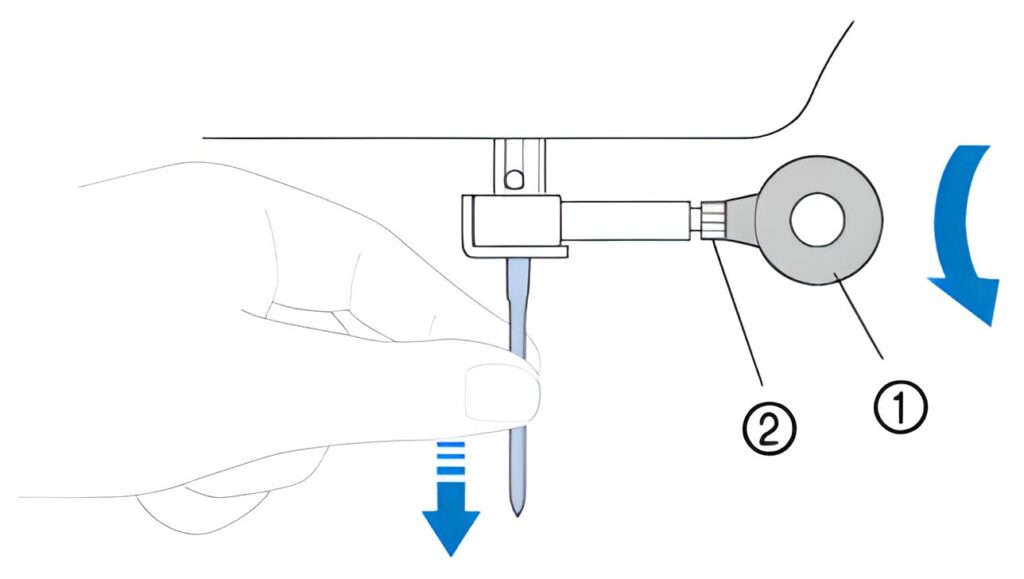
Using that screw-driver you will need to turn the needle clamp screw towards the side you are sitting by, in other words it is counterclockwise. In this way, you can remove your needle in the easiest way.
Important to remember, that you do not need to use your full force when you are losing or tightening the needle clamp screw, otherwise certain parts of your sewing machine could be damaged.
After that, use a flat side of the needle in the direction of the roar of your sewing machine. Next, with prepared your machine, insert the needle until it touches the needle stopper and securely tightens the needle clamp screw with the help of your screw-driver.
Step 4. Tightening the needle clamp screw
Do put away your needle from the left hand, while holding it with your left hand, you will be necessary to use a screw-driver to reach the needle stopper and securely tighten the needle clamp. Push your needle until it touches the stopper without any hesitations and doubts that it can fall away.
Remember to check that so fat you are not recommended to use your machine, insert the needle until it touches the needle stopper first. Maybe, you will need to put some extra effort into using your screw-driver to have fixed reliably your needle clamp screw, otherwise, certain damages may happen before the start button will be pressed and the machine will have been broken down.
How to change a needle on Brother JX2517?
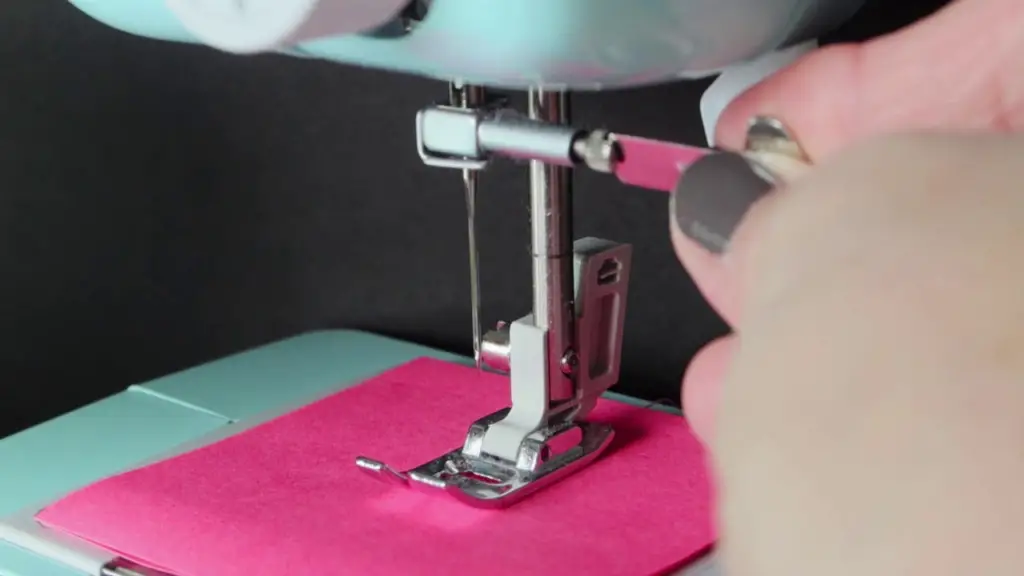
To replace a needle on your Brother JX2517 you need to take a little screwdriver that came with your sewing machine. It is better to use a standard T-shaped one, if it is not available, you can always you a classic mini screwdriver. Do not forget about a pair of tweezers. It will enable you to hold and grip your needle when you are removing the old needle in order to replace it with a new one.
Next, you need to take the universal pack of needles – it is great because it usually comes with three different sizes of needles.
Before you go on removing your needle, it is necessary to examine it by laying it down on the side to know where the needle will be removed from and the area you will insert a new needle.
Then turn off your Brother JX2517, take your screwdriver, and place it in the area of that spinner on your machinery. Grip the needle with your tweezers and turn the screwdriver away from us. The needle must be loosened, so you need to hold it with tweezers and then put it away. As you can see, the tweezers prevented the needle from dropping into the bobbin cavity.
The next step you need to do is take a needle you want to insert and take it the flat side away from you. Your machine will not properly, in case you put a needle with its flat side up.
To grip the needle you can also use tweezers or do it with your fingers. The needle’s round part is facing toward you and then it can be inserted. After, you should twist that screw away from me, but it can be easily done with a screwdriver.
How to change a needle on Brother CS6000i?
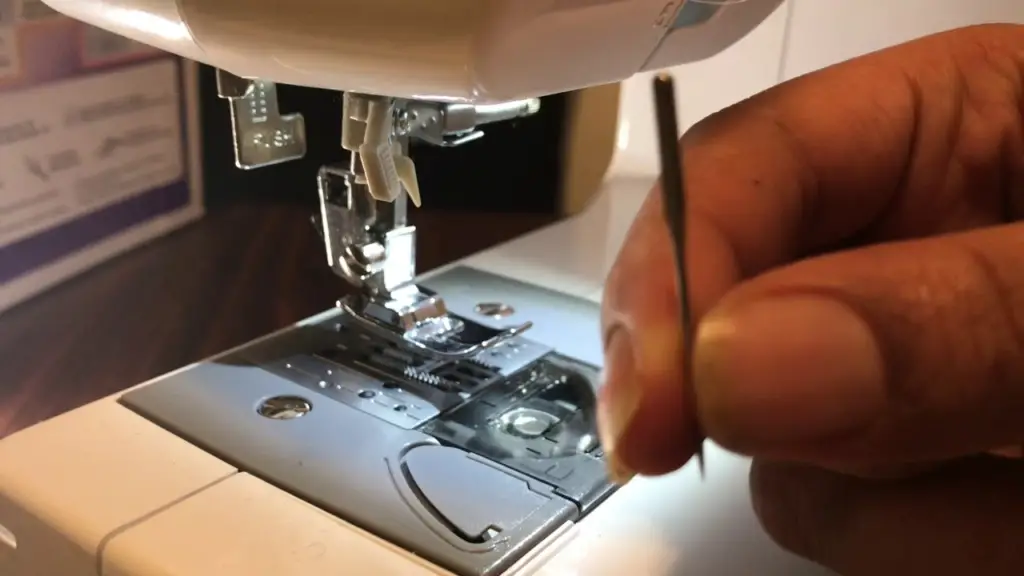
To change a needle on your Brother CS6000i take a pair of scissors and cut the thread up at the needle, after that put away your thread and you are ready for needle changing.
After that take your screwdriver and hold the needle, while you are making it loosen. It will be enough to make one full turn to take out the needle.
Next prepare a new needle and put it right on the spot you took away an old needle. Put it up into the machine. The needle has a flat side at the back, so you need to put it right into the machinery. With this side, you can easily know whether you did it correctly or not.
Gently tighten the screw, you do not need to put a lot of effort and do it carefully, as with a screwdriver you can move it more than you can with your fingers and it may harm your machine.
Make sure that a new needle on your Brother CS6000i matches the threads you work with, after that you can perform any of your sewing projects!
How to change a needle on Brother LX3817?
If you are an owner of a fantastic Brother LX3817, then changing the needle on your sewing machine will not be a huge challenge, as you can do it exactly in the same way as with other machines.
In the first place, have your machine turned off to not harm yourself. Bobbin cavity is not a joke on this machinery, so you are recommended to put some piece of paper under the foot.
Hold the needle with two fingers as we did before, it is necessary to put it from plopping out, as after it is loosened it drops. With a little gear named a screwdriver, you need to fit it into the slot in the screw. And turn it towards you while holding the needle.
After turning the slot with a screwdriver, you can put away your needle. The top part of your needle is not rounded – it has a flat side. Actually, this side is the back side of your needle. Also, there is a curve at its back called the scarf that goes to the back.
Inserting the needle into your Brother LX3817 is so simple. Find a hole inside and slip a needle right up in there with the flat to the back. Next, you start using a small screwdriver to have the needle tighten inside.
If the needle has a fixed position and is tightened securely, so you have changed your needle on a Brother LX3817.
Well, for Brother sc9500 or Brother sq9285, you may follow the above processes.
Conclusions
In this step-by-step tutorial on the topic of how you can replace and change needles for sewing on your machinery from Brother manufacturer.
This guide is followed by professional advice, all photographs, and videos, you can click for video instructions and check them out any time it will be convenient for you.
In event of you continue the use the site, it may be useful and entertaining for you to proceed to other sections of our website to read about various sewing techniques, sewing machinery reviews, and other and no less useful step-by-step tutorials.
Share this article with your friends and relatives who also have questions about needle replacement. It will be the best reward for our work. Best wishes!
March 1, 2023 at 5:36 pm
It is very important to change the needle in the sewing machine in good time. Otherwise you could damage the products. This review helped me learn how to change the needle.