
How To Hand Sew Elastic?
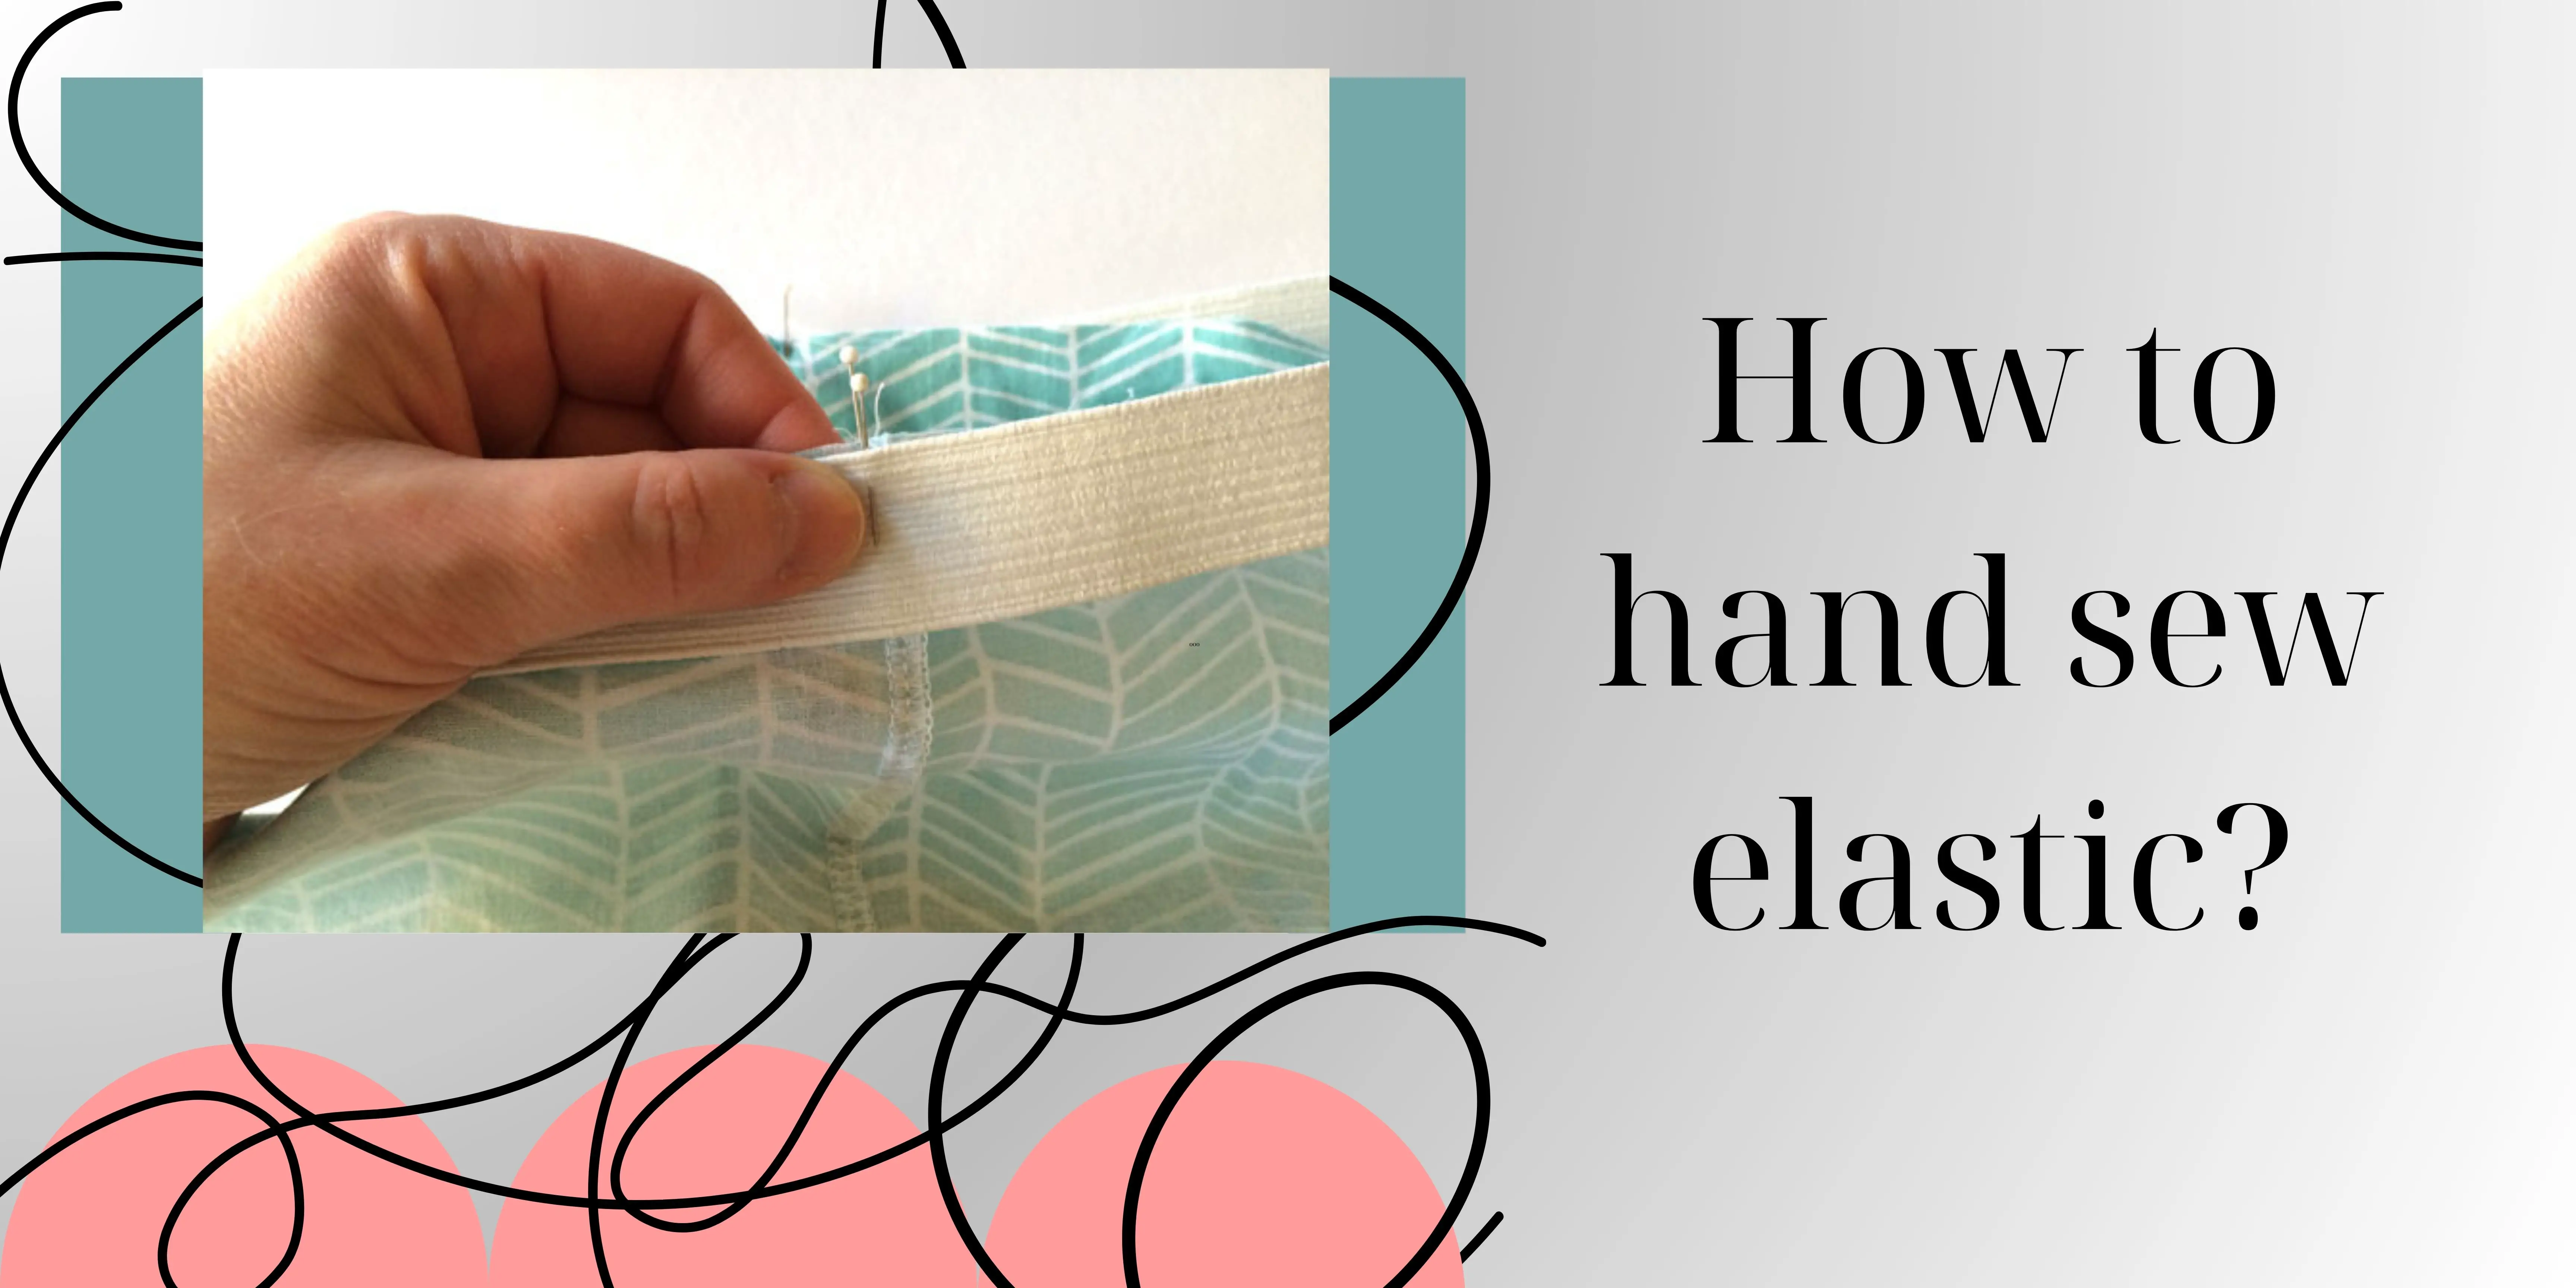
Elastic is a versatile material commonly used in sewing elastic to create stretchable elements in clothing. There are many different ways how to hand sew elastic. One popular application is the elastic waistband, which provides comfort and flexibility. When sewing elastic, it’s important to choose the right stitch length and technique to ensure a secure and professional finish. One common method is to create a casing for the elastic strip, allowing enough space for it to move freely.
To sew this, sew elastic a seam and then fold over the fabric to create a casing, pinning it in place before stitching. Overlocking the edge can help prevent fraying and reinforce the seam. Finally, overlapping the ends of the elastic strip and sewing them securely to the fabric completes the process, resulting in a functional and comfortable elastic waistband.
Types of elastic
Various types of elastic offer versatility in garment construction and design. Here are some commonly used types:
Stretch elastic
This is a general term encompassing elastics with stretch properties, commonly used in garment-making for flexibility and comfort.
Elastic сord
A flexible cord with elastic properties is often used in crafting, sewing elastic, or creating adjustable features in garments.
Elastic strips
Narrow bands of elastic, are suitable for various applications like gathering fabric or providing stretch the elastic of the elastic in specific areas.
Elastic thread
A thin, stretchable thread ideal for creating shirring or smocking effects in garments, adding texture and dimension.
Elastic waistbands
Wide bands of stretch elastic are used at the waistline to provide comfort and accommodate variations in waist size.
Seam allowance
The extra fabric is beyond the actual garment pattern, where elastic can be inserted to create gathered or fitted areas.
Waist measurement
The circumference of the waist determines the size of elastic needed for waistbands.
Twin needle by sewing machine
A needle with two needles used simultaneously creates parallel rows to sew often seen in elastic applications.
End of the elastic
The point where the elastic is secured ensures it stays in place within the garment.
Elastic stretches
The ability of elastic to extend and retract, providing flexibility and ease of movement in the cloth.
Elastic inside
Refers to the placement of the elastic within the garment, often between layers of fabric for a clean and finished look.
Elastic to the fabric
The process of attaching the elastic securely to the fabric, ensuring it stays in place during wear.
Elastic waistband size
The measurement around the elastic waistband determines the length of elastic needed for a comfortable fit.
Lies flat
Describes the desired result when the elastic is properly attached, laying flat against the fabric without twisting or bunching.
Understanding the characteristics of different elastic types allows for creative and functional use in garment construction, providing both aesthetic appeal and comfort.

Methods to sew elastic
When you sew, there are various methods to ensure a secure and flexible fit in your garments. Here are some techniques how to hand sew elastic:
- Sew elastic with zig-zag stitch or straight stitch
- Employ a zig-zag stitch to sew elastic on knitted fabrics or to allow for additional stretch the elastic. This zig zag stitch is ideal for creating durable and flexible seams. Combine the flexibility of a zig-zag stitch with the stability of elastic for sewing elastic on fabrics that require an additional stretch of the elastic.
- Use a straight stitch on a sewing machine to attach the elastic directly to the fabric. This method is suitable for elastic on items like waistbands.
- Sew elastic by hand and safety pin
- For delicate fabrics or intricate designs, sew the elastic by hand using a slip stitch or other to sew by hand techniques.
- Regular thread a safety pin through one of the elastic to help guide it through casings or channels, making the process of inserting elastic easier.
- Woven elastic or braided elastic
- A type of elastic suitable for straight stitching on woven fabrics, providing a secure hold and preventing excessive stretching.
- Braided elastic type of elastic is suitable for a variety of sewing applications, offering durability and flexibility. It can be sewn directly onto fabric using a sewing machine.
- Elastic and fabric
- When you sew elastic directly and fabric together, ensure that the fabric is securely attached to the elastic, preventing any shifting during wear.
- Elastic ends
- Secure the ends of the elastic before sewing elastic to prevent unraveling. You can use a simple straight stitch or reinforce it with a zig-zag stitch.
- Sewing machine sew elastic
- Utilize a sewing machine to sew directly, allowing for efficient and precise stitching, especially on waistbands or cuffs.
- Knitted elastic
- Ideal for sewing elastic onto knitted fabrics, this type of elastic offers a snug fit without compromising the stretch of the elastic.
- Elastic waistband
- Create a comfortable and secure elastic waistband to sew onto the fabric. This is commonly used in skirts, pants, and shorts.
- Wrong side or bottom edge
- Sew elastic on the wrong side of the fabric to ensure that the stitching is concealed on the garment’s interior.
- Secure the elastic at the raw edge of a garment to maintain the intended fit and prevent distortion.
Whether using a sewing machine or sewing elastic by hand, understanding the various methods of sewing elastic allows for versatility in creating garments with a comfortable and functional stretch and fold of the elastic.
Rules for sewing elastic
When you sew elastic into a cloth, it’s crucial to follow these rules to ensure a secure and comfortable fit:
- Cut the elastic to the desired length, ensuring it is the same length as the elastic waistband or the area it will be applied.
- Overlap the ends of the elastic slightly, securing them together to form a continuous loop and fold. Pin the overlapped ends in place.
- Start sewing from the overlap, using a regular thread that matches the fabric. Sew the elastic securely, using stitches that provide both strength and flexibility.
- Gently pull the elastic as you sew elastic to match the stretch of the fabric. This ensures an even distribution of stretch and prevents puckering.
- Create a casing by folding the edge of the cloth over the elastic. This casing provides a clean finish and encases the top edge.
- Position the elastic on the wrong side of the fabric, with the raw edges enclosed within the casing for a neat and polished appearance.
- Align the raw edge of the elastic with the edge of the cloth to maintain consistency and prevent twisting during wear.
- Leave within the casing to prevent the elastic from becoming too constricted, allowing for comfortable movement.
- Make the casing slightly wider than the elastic to ensure easy insertion and to accommodate the natural pull of the elastic.
- Pin the fabric and elastic layers together within the casing to hold them securely in place before starting to sew.
- Fold the raw edge of the cloth over the elastic and pin it down, creating a clean and finished fold edge.
- Sew along the edge of the fabric, securing the elastic in place. Ensure the stitches are strong and provide reinforcement.
- Align the edge of the fabric evenly to maintain a consistent appearance and prevent uneven gathering.
- Use shades that offer both strength and flexibility, such as a zig-zag stitch, to accommodate the stretch of the elastic.
- Keep the edges of the elastic enclosed within the casing to prevent fraying and ensure a professional finish.
By adhering to these rules, you can successfully sew into an elastic waistband or any other cloth, ensuring optimal stretch of the elastic, comfort, and a polished appearance.
Problems during the sewing of elastic
While you sew, you may encounter several problems that can affect the overall outcome of your project.
Here are some issues and potential solutions:
Uneven stretch
Problem: the elastic doesn’t stretch the elastic evenly along the fabric edge.
Solution: Ensure you consistently stretch the elastic as you sew to maintain an even distribution of stretch.
Twisted elastic
Problem: the elastic becomes twisted during the sewing elastic process.
Solution: pin the elastic securely at the beginning and periodically as you sew to prevent twisting. Align the edge of the elastic with the edge.
Puckering or gathering
Problem: fabric gathers or puckers around the shreades.
Solution: adjust the tension on your sewing machine, and consider using a zig-zag stitch instead of a straight stitch to prevent puckering.
Uneven elastic ends
Problem: the ends are not even after sewing elastic.
Solution: ensure the ends are cut to the same length before starting to sew. Overlap and secure them with shredded for a uniform finish.
Elastic cord tangling
Problem: elastic string becomes tangled while you sew.
Solution: straighten out the elastic string before inserting it into the casing, and use a safety pin to guide it smoothly.
Hand sewing issues
Problem: challenges with sewing by hand elastic, such as uneven stitches or difficulty maintaining tension.
Solution: practice hand-sewing techniques and maintain even tension for a neater finish. Consider using a thimble for better control.
Elastic thread breakage
Problem: elastic thread breaks during sewing.
Solution: ensure your sewing machine is compatible with elastic thread. Adjust the tension and use a larger needle to prevent breakage.
Fabric edge fraying
Problem: the edge frays when sewing elastic directly.
Solution: fold the edge over the elastic or encase the elastic within a casing to prevent fraying.
Starting sewing difficulty by zigzag stitch
Problem: start to sew, especially when using a zigzag stitch.
Solution: begin sewing with a few straight stitches to secure the elastic, then switch to a zigzag stitch for added stretching.
Choosing the best stitch
Problem: uncertainty about whether to use a straight stitch or zigzag thread.
Solution: for woven elastic, use a straight stitch. For knits or braided elastic, use an overlock stitch to accommodate stretching.
Elastic-to-fabric attachment
Problem: the elastic doesn’t securely attach to the fabric.
Solution: check the stitch tension and overlap the elastic ends slightly, reinforcing the connection with additional stitches.
Choosing the right elastic
Problem: using the wrong type of elastic for the fabric.
Solution: choose the appropriate elastic for your woven elastic for woven fabrics and braided or knitted elastic for stretchy fabrics.
Fabric stretching
Problem: the fabric stretches unevenly or excessively.
Solution: ensure the elastic is cut to the length of the area you’re sewing it to. Test the stretching before sewing to avoid overstretching.
By addressing these common problems and implementing the suggested solutions, you can overcome challenges encountered while sewing elastic and achieve a more successful and professional finish.
How much to sew elastic?
The process of sewing elastic involves several key steps that collectively contribute to the overall success of the project. To begin, carefully pin the elastic strip to the cloth, ensuring even distribution and alignment.
When sewing, employ techniques like overlapping the ends, creating a secure bond that withstands the test of wear. Consider the application – whether it’s sewing directly onto the fabric or enclosing the elastic within a casing.
For a well-fitted waistband, cut the elastic to match the desired length for the waistband, then sew it with precision and attention to stitch length. The threads should be strong yet flexible, allowing the elastic to extend comfortably.
Whether working on a waistband or attaching an elastic strip, the art of sewing elastic lies in the harmonious balance of technique and creativity and a sewn waistband. Through skillful pins, overlap of the ends, and expertly executed threads, the fabric transforms into a tailored piece that seamlessly integrates comfort and style.
So, dive into the world of sewing elastic, where each cut, pin, and stitch contributes to the creation of a garment that embodies both functionality and aesthetic appeal.
Creative Applications of Elastic
We’ve covered the essential techniques for sewing elastic, from basic casings to direct threading. But the world of elastic extends far beyond waistbands and necklines!
Let’s explore some creative ways to incorporate this versatile material into your sewing projects:
- Shirred accents
- Add romantic ruffles to sleeves, collars, or hems by shirring cloth with elastic thread. This technique involves gathering rows of stitches, creating a beautiful textured effect.
- Peek-a-boo windows:
- Elevate simple garments with peek-a-boo details! Sew elastic to the fabric channels along strategic seams and thread in contrasting fabric strips. The elastic will hold the cloth in place, creating playful peek-a-boo reveals.
- Adjustable headbands and wristbands
- Craft comfortable and customizable headbands or wristbands using a casing technique. Thread elastic through the casing and adjust the fit for perfect comfort. This is a great way to upcycle vintage scarves or create personalized gifts.
- Smocked bodices and sleeves:
- Achieve the chic-smocked look by sewing rows of elastic gathers onto your clothes. This technique is perfect for lightweight materials like cotton or voile and adds a touch of vintage charm to dresses, blouses, and even swimwear.
- Functional closures
- Ditch the zippers and buttons! Use elastic casings to create functional closures for pockets, pouches, or bags. This adds a touch of whimsy and makes for easy access.
- Bonus tip
- For a truly unique touch, try dyeing your elastic before sewing it into your project. This is a great way to add pops of color or create custom patterns.
Conclusion
To sew elastic is to skillfully combine practicality and aesthetics. Whether you’re fashioning a waistband or attaching an elastic strip to fabric, attention to detail is key.
Make sure to overlap the ends of the elastic strip; this step is more than a technique, it’s crucial for creating a secure and durable bond. As each stitch is carefully sewn, the elastic transforms from a simple strip into a vital component that enhances the garment’s form and wearability.
Don’t forget to fold the fabric neatly around the elastic, creating a polished finish. Sewing elastic is an art where every fold and stitch contributes to a comfortable and stylish outcome.