
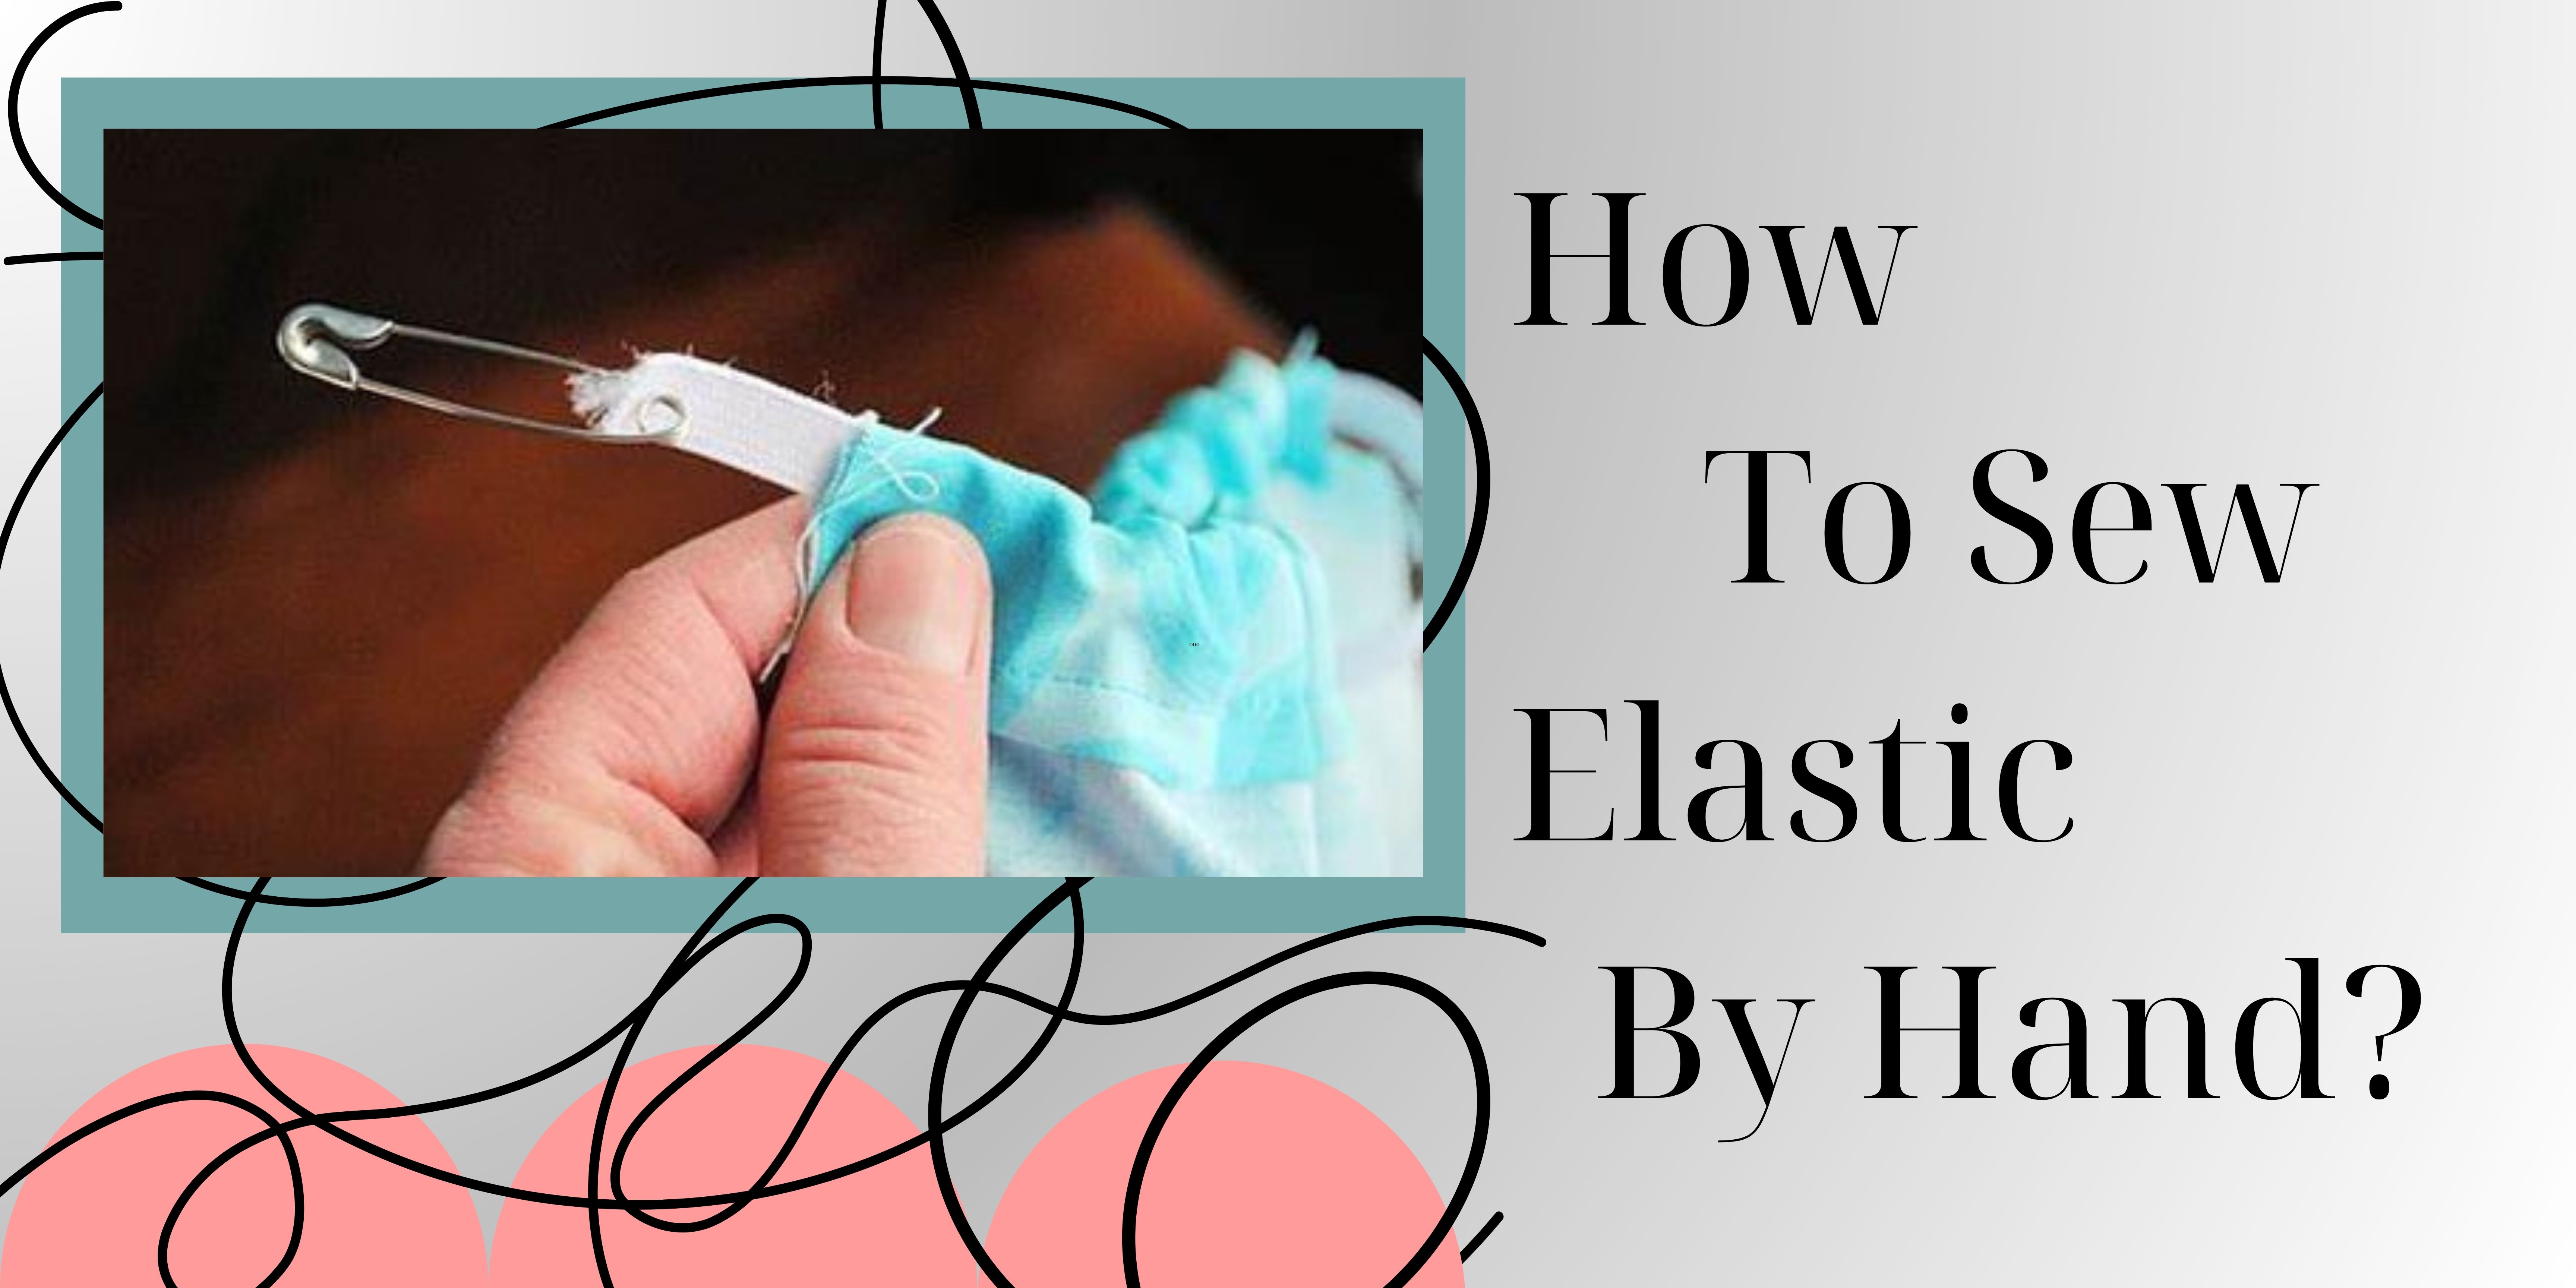
How To Sew Elastic By Hand?
Elastic is a flexible material used in sewing elastic to stretch and give to garments, and here it is told how to sew elastic by hand in a minutes. Woven elastic is created with fibers woven together, offering a more structured stretch. It works well with a straight stitch on a sewing machine, creating a secure but less adaptable attachment.
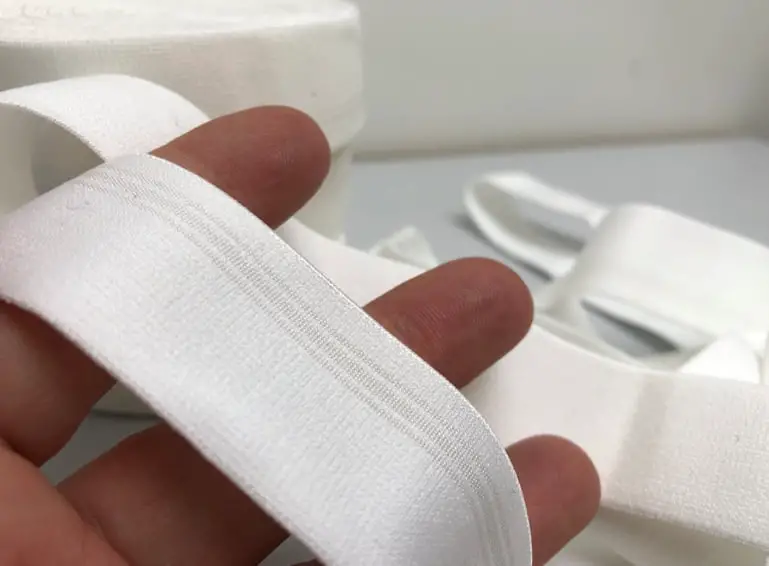
What does the elastic consist of?
Braided elastic consists of multiple strands, offering a softer. It often requires a zigzag stitch on a machine to accommodate its stretchiness and prevent the straight stitches from breaking when the elastic is extended.
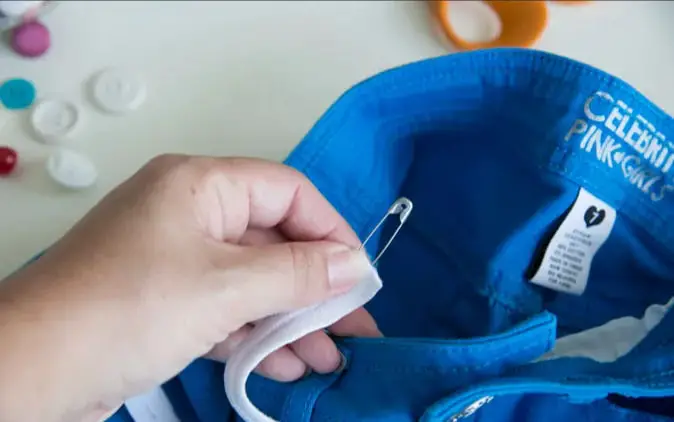
When you sew elastic onto pieces, it’s useful to secure one end of the elastic with a safety pin to manage and guide it.
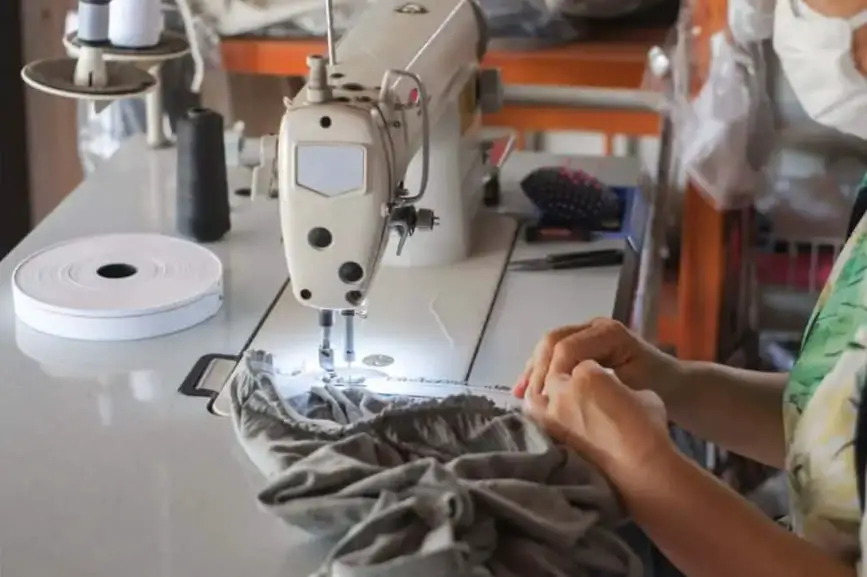
Sewing elastic onto the material can be done by hand or machine. Hand-sewing involves stretching the elastic slightly as you sew it to ensure it’s evenly distributed and avoids puckering.
How To Sew Elastic By Hand?
Using a machine to sew elastic onto fabric requires adjusting the straight stitch type based on the elastic type. A straight stitch is suitable for woven elastic, providing a secure hold. A zigzag stitch is preferred for braided elastic to allow for the elastic’s natural give while maintaining a durable attachment.
The choice between sewing elastic and using a machine depends on the project’s complexity and personal preference. Both methods can yield strong and durable results when sewing elastic.
Types by elastic
There are various types of elastic or elastics commonly used in sewing elastic:
- Knitted elastic: this elastic type is soft and suitable for waistbands or areas where comfort is essential. It’s often used in sewing projects that require a gentle elastic and a comfortable fit.
- Thick elastic: typically used in heavy-duty applications, thick elastics provide a stronghold and are ideal for more robust projects such as bags or heavy-duty clothing.
- Elastic cord: these cords are versatile and commonly used in projects requiring a more flexible and adjustable fit, like in drawstring bags or garments.
- Elastic thread: often used in smocking or shirring, the elastic thread is woven into the fabric and allows for a gathered effect. It’s ideal for creating a stretchy texture in specific areas of a garment.
- Elastic ends: when sewing elastic thread, managing the elastic ends is crucial to prevent fraying or unraveling. Properly securing the ends of the elastic ensures longevity and durability.
Different elastics cater to various sewing elastic needs, offering specific levels of stretch, durability, and comfort. Choosing the right type of elastic is essential to achieve the desired fit and functionality in your sewing elastic projects.
Materials for sewing elastic
Here are additional materials that might be helpful when sewing elastic to fabric:
- Measuring tape or ruler: for accurate measurements of both the fabric and the elastic.
- Seam gauge or marking tool: to mark or measure seam allowances, fold lines, or quarter points.
- Safety pins: particularly useful for threading the elastic through the casing or guiding it through the fabric.
- Elastic thread or clear elastic: these can be used in specific techniques for added stretch or support.
- Iron and ironing board: for pressing and setting seams or folds, ensuring a professional finish.
- Fabric marking tools: such as tailor’s chalk or washable fabric markers, to mark fabric for sewing lines or points.
- Seam ripper: for correcting mistakes or removing zig-zag stitch if needed.
- Pin: pin one end of the elastic to the fabric. The pin will anchor it in position as you start sewing.
Having these additional materials on hand can streamline the sewing elastic process and improve the accuracy and quality of your finished project.
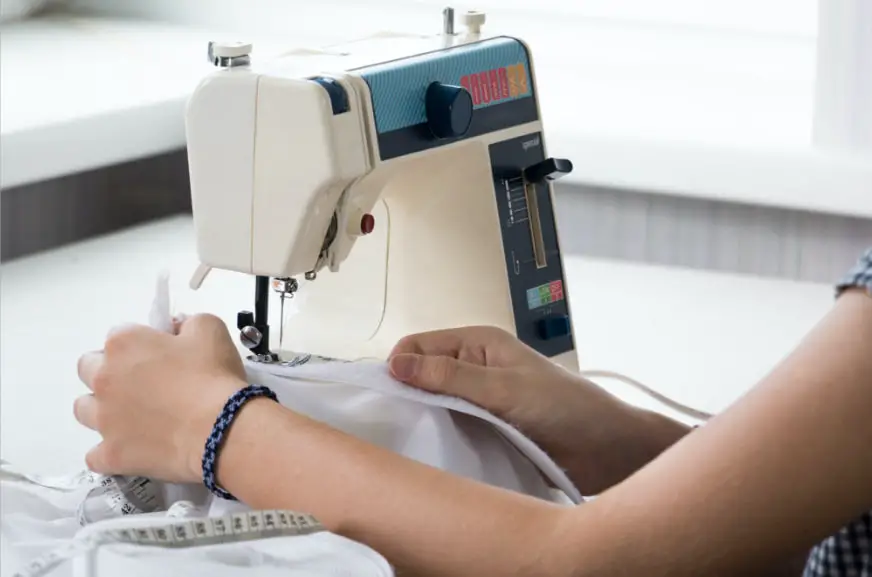
Detailed stages of sewing an elastic by sewing machine sew
To sew elastic onto fabric, especially for a waistband, involves several stages:
Prepare and create a casing for the elastic
Cut the elastic to the desired length. Determine the length of the fabric needed for the waistband. Fold over the top edge of the cloth (wrong side) to create a casing slightly wider than the elastic. Stitch along the bottom edge, leaving an opening to insert the elastic.
Attach elastic and thread elastic through the casing
When you sew elastic, use a safety pin to attach to one end of the cloth; this helps guide the elastic through the casing. Insert the safety-pinned end into the casing and guide it through by gently pulling the elastic through to the other end.
When you sew elastic, the choice of thread is pivotal. Whether creating a loop for elasticity, forming a stitch for strength loop, or ensuring a securely sewn project, the right thread is essential.
The type of thread you choose can impact the success of your stitch, influencing the overall durability and appearance of the item being sewn. Paying attention to the thread’s compatibility with your fabric and the technique you’re using ensures a well-crafted and professionally finished result.
Distribute elastic evenly and secure ends of elastic
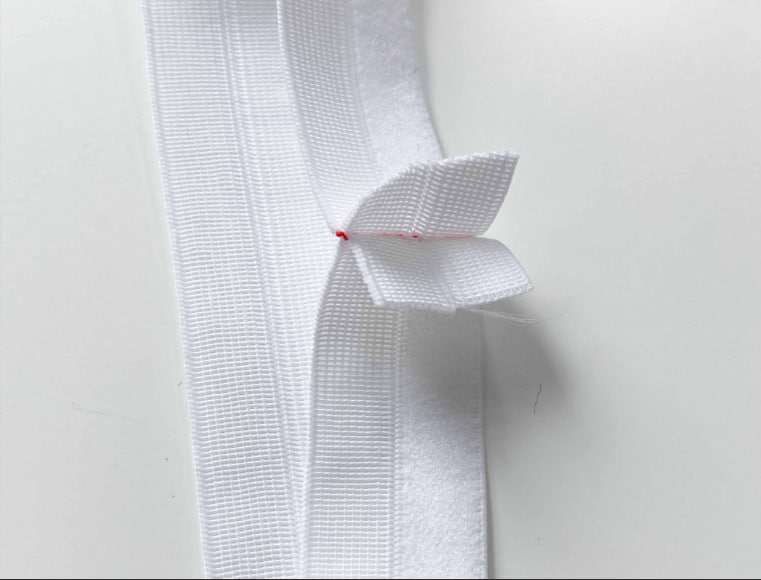
Once the elastic is pulled through, ensure it’s distributed evenly along the waistband, avoiding twists. Overlap the ends of the elastic and sew them together to create a loop. Fold the opening left in the casing, ensuring the elastic is fully encased.
Stitch the elastic to the cloth and mark the quarters
For added security, especially with woven elastic, sew the elastic at the side and back seams using a straight stitch. Mark quarter points on both the top edge of the cloth and the edge of the elastic. This helps distribute the elastic evenly.
Attach elastic and sew elastic to the cloth by zigzag stitch
Pin the quarter marks of the elastic to the quarter marks of the cloth to ensure the elastic is evenly distributed. Using a zig-zag stitch, sew elastic while slightly stretching the elastic as you sew.
Final touches
Trim any excess cloth or elastic. Check to ensure the elastic to the fabric is sewn directly to the cloth, securely attached, and distributed evenly.
Sewing elastic to fabric requires attention to detail, ensuring the elastic is evenly distributed and securely attached. The choice of zigzag stitch such as straight or zig zag depends on the type of elastic used and the cloth it’s being attached to.
How to sew elastic by hand:Hand-sewing techniques
Sewby techniques for elastic provide a versatile and accessible approach to creating comfortable and customized garments, particularly when a sewing machine is not readily available. Whether you’re crafting an elastic waistband or adding stretch to various projects, mastering the art of hand-sewn elastic can open up a world of creative possibilities.
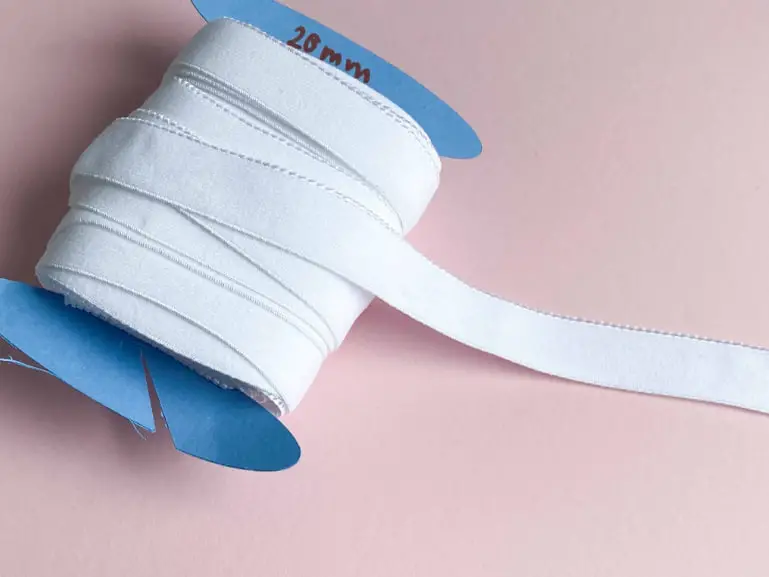
Selecting the elastic
Begin by choosing the right type of elastic for your project. Consider the width, stretch, and durability of the elastic. A stretchy, braided elastic is often suitable for waistbands, providing both comfort and flexibility when you sew elastic.
Preparing the clothes
Start with a neatly cut length of fabric, ensuring the raw edge is clean and even. If the fabric requires hemming or finishing, do so before attaching the elastic.
Measuring the elastic
Cut elastic to the length, generally matching the wearer’s waist measurement. Keep in mind that elastic tends to stretch during sewing, so it’s advisable to cut it slightly shorter than the length of the fabric.
Creating a casing
To encase the elastic, fold the fabric over the raw edge, creating a casing along the wrong side. Pin or baste the fold in place, leaving an opening to insert the elastic.
Inserting the elastic
Using a safety pin attached to one end of the pieces, thread it through the casing. Ensure the other end is securely held at the opening to prevent it from getting lost inside.
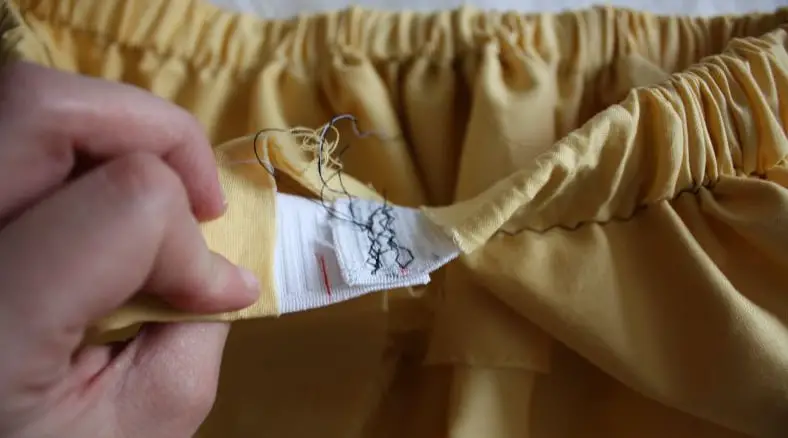
Stitch the ends
Once the elastic has been pulled through and both ends aligned, sew elastic together securely. This can be achieved by overlapping the ends and stitching a square or rectangle to hold them in place.
Distributing the elastic
Evenly distribute the gathered fabric along the length of the elastic, ensuring it is consistent on both sides. This step is crucial for achieving a balanced and professional look.
Securing the casing
Sew elastic along the folded edge of the casing to secure the elastic in place. Use a basic stitch with regular thread, ensuring the seam is strong and able to withstand the stretch of the elastic.
Finishing touches
Close the opening in the casing by sewing over it, creating a seamless finish. Trim any excess regular thread and check that the elastic is evenly distributed within the waistband.
Mastering sewing-by-hand hand techniques for elastic allows for a personalized touch to your garments.
Whether you’re creating a comfortable elastic waistband or adding stretch to accessories, the careful placement and attention to detail result in a professional, handmade finish without the need for a sewing machine to sew.
Possible mistakes while sewing elastic
Mistakes, when you sew elastic, can involve several aspects:
Incorrect length of the elastic and stitch choice
Cutting the elastic either too short or too long compared to the fabric’s waistband can lead to a poorly fitted cloth. Using a regular straight stitch instead of the recommended zig-zag stitch for attaching the elastic can cause the stitching to break when the fabric stretches.
Skipping pinning the elastic and starting sewing incorrectly
Failing to pin the elastic at regular intervals to the fabric might result in uneven distribution, causing the fabric to gather in some areas.
Initiating to sew without securing the initial stitches properly or starting at the wrong point in the waistband might lead to loose ends or misaligned elastic.
Improper use of twin needle and neglect of raw edges
Using the wrong needle, such as a regular needle instead of a twin needle, can affect the elasticity and durability of the waistband.
Leaving raw edge exposed or not finishing them properly can lead to fraying, affecting the overall look and durability of the cloth.
Incorrect presser foot and not sewing elastic directly
The wrong presser foot might cause the cloth to stretch or gather, affecting the consistency of the stitches. Failing to sew elastic directly onto the fabric or casing might lead to uneven distribution or the elastic slipping out over time.
Inadequate thread tension and incorrect folding of casing
Incorrect tension of the regular thread can result in loose or tight stitching, affecting the elasticity thread of the waistband. Folding the case on the wrong side of the fabric might affect the final appearance and functionality of the waistband.
Avoiding these mistakes by using the right materials, ensuring accurate measurements, and following proper sewing elastic techniques will result in a well-fitted and durable elastic waistband.
Is it possible to sew elastic hands without using a sewing machine?
Yes, it is possible to sew elastic thread without using a sewing machine. To achieve this, you can follow these steps:
Measure and cut elastic
Start by measuring the elastic according to your waist measurement. Cut the elastic to the desired length, adding a bit extra for overlap.
Prepare cloth
Align the raw edge of the fabric with the raw fabric edge. Pin the elastic evenly along the fabric edge, ensuring it is stretched slightly to accommodate the measurement.
Zig zag stitch
Thread a needle with elastic thread, which can stretch when you sew. Begin sewing with a zig-zag stitch, going through both the fabric and the elastic. The zig-zag stitch allows for flexibility and stretch, essential for an elastic waistband.
Sew elastic directly
Sew elastic onto the fabric, maintaining an even tension on the elastic as you sew elastic. This can be done by hand, creating a zig-zag pattern along the edge of the elastic.
Stretch elastic
Periodically stretch the elastic as you sew elastic to match the fabric’s length, ensuring a snug fit when the garment is worn.
Secure ends
Once you reach the end, overlap the elastic slightly and secure the ends by stitching them together securely.
Finish the edge
To prevent fraying, you can fold the fabric edge over the elastic and secure it with additional hand stitches, creating a neat and finished look.
Reinforce if necessary
If you feel the need for extra reinforcement, you can best stitch along the elastic again or create additional rows of zig-zag stitches.
Remember, to start sewing the elastic may take more time and effort compared to using a sewing machine sew, but it is entirely possible with patience and attention to detail. The zig-zag stitch is crucial for allowing the fabric to stretch elastic without breaking the stitches.
Final thoughts
When you sew elastic by hand, attention to detail is crucial to ensure a secure and professional finish. Start by measuring the sewing elastic to the same length as the cloth, allowing for a snug fit without unnecessary tension. Before you begin to sew elastic, fold the cloth to create a clean edge, aligning the wrong side for a polished look.
While you sew elastic, use a simple stitch, ensuring that each stitch is precise and consistent. When sewing directly onto the fabric, create a loop with the elastic to facilitate movement and prevent constriction, use a pin. As you stitch, maintain an even tension to avoid puckering or stretching of the cloth.
Remember to periodically pull the elastic gently to distribute any excess, ensuring it remains taut against the cloth. This will help maintain the desired fit while preventing sagging over time. Take care to sew elastic along the length of the fabric, following any guidelines or markings you may have made.
By following these steps before starting to sew and incorporating proper techniques, you can achieve a well-fitted and professional finish for your project.
