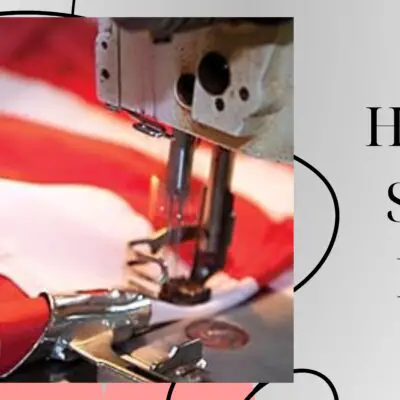
How To Hand Sew Elastic Easily – A Step-By-Step Sewing Tutorial

Have you ever wondered how to give your handmade garments a professional and comfortable fit? “How to hand sew elastic” is the answer! It’s an invaluable skill that can be applied to a variety of sewing projects, such as waistbands, sleeves, and lingerie. In this blog post, we’ll guide you through the basics, techniques, and troubleshooting tips for hand sewing elastic. Get ready to elevate your sewing game!
Short Summary
- Hand sewing elastic is a skill used for garment construction, requiring high-quality thread and the use of tools such as needles, fabric scissors and pins.
- Measuring accurately for desired fit & joining elastic ends securely are key steps in hand sewing with techniques like zigzag stitching to affix it onto fabric.
- Preventing twisting & ensuring even gathering when hand sewing will ensure successful projects with professional finishes on garments.
The Basics of Hand Sewing Elastic
Hand sewing elastic is a versatile skill that can enhance your sewing abilities and improve the fit of your garments. The two primary techniques for affixing an elastic waistband are constructing a casing prior to inserting the elastic or directly sewing the elastic onto the fabric. Both methods have their advantages, and choosing the right one depends on your project and personal preference.
In order to sew elastic effectively, it is important to use high-quality polyester thread, such as Rasant, Coates, or Gutermann. A zig-zag stitch is recommended when sewing elastic by hand. To achieve a pleasant and secure fit, it is essential to stretch the elastic while simultaneously holding the fabric and sewing.
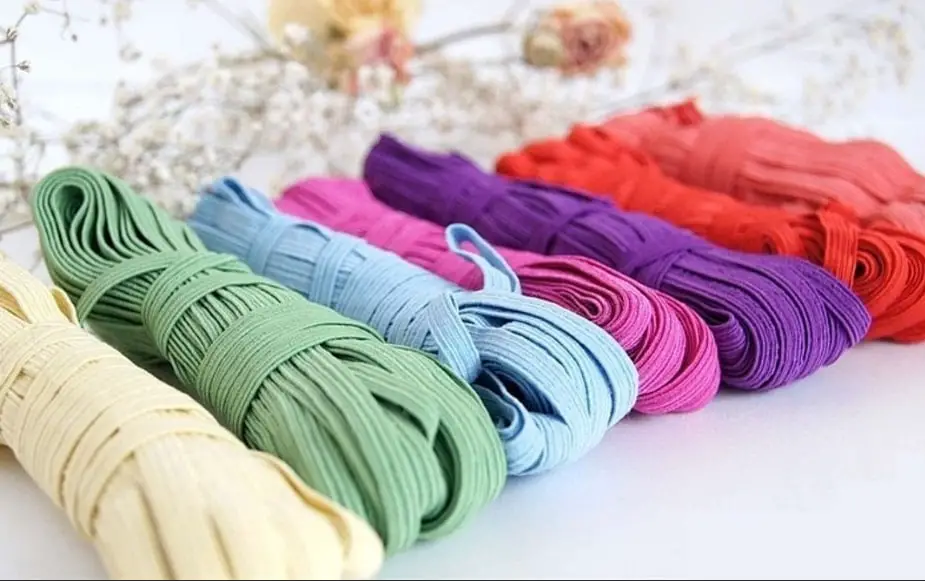
Types of Elastic for Hand Sewing
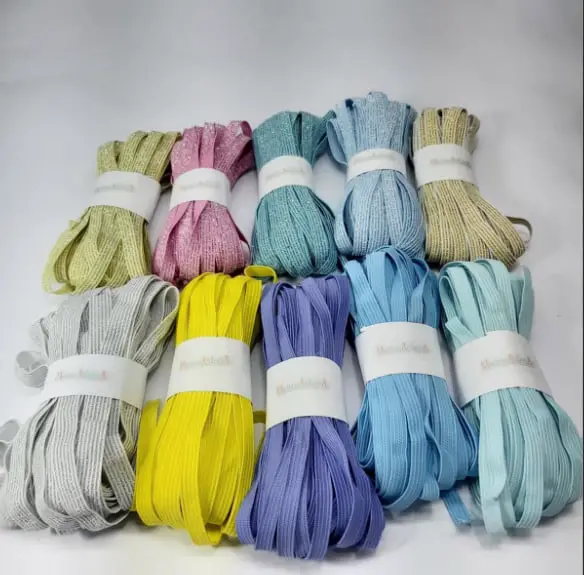
When it comes to hand sewing elastic, there are several types to choose from, including woven elastic, knit elastic, fold-over elastic, shirring elastic, braided elastic, and clear elastic. Each type of elastic has distinct characteristics and is suitable for different applications.
Woven elastic, for example, has vertical and horizontal ribbing and retains its width when stretched, making it ideal for waistband casings. Knitted elastic, on the other hand, has fibers that are knitted together instead of woven, making it softer and more suitable for lightweight fabrics.
Fold-over elastic is commonly used in swimwear, underwear waistbands, leg holes, and headbands due to its softness and ability to fold easily, making it a versatile alternative to the traditional elastic band.
Tools and Materials Needed
To get started with hand sewing elastic, you’ll need the following tools and materials: needles, thread, fabric, elastic, fabric scissors, a tape measure, and pins. A sharp needle with a small eye is most suitable for hand sewing elastic, while a strong thread, such as polyester or nylon, is recommended.
Lightweight fabrics like cotton or silk and lightweight elastics, such as nylon or polyester, are ideal for hand sewing projects. Don’t forget to have sharp fabric scissors, a flexible tape measure, and sharp pins on hand to ensure a smooth and accurate sewing process.
Preparing the Elastic and Fabric
Before diving into sewing, it’s crucial to prepare your elastic and fabric properly. This involves accurately measuring the waist or arm, cutting the elastic to the required length, joining the ends together, pinning the elastic to the fabric, and sewing the elastic to the fabric while stretching it.
The first step in utilizing elastic for sewing is to cut the elastic to the appropriate length and affix it to the fabric. If you’re working on a separate elastic waistband, invert the garment and arrange it in a horizontal position to prepare for sewing. When integrating elastic into fabric, it’s helpful to use a safety pin to facilitate the process of inserting elastic.
Measuring and Cutting Elastic
To measure and cut elastic for a perfect fit, it’s essential to ascertain the waist size of the garment and cut the elastic approximately 1 inch shorter than the determined measurement. If your desired fit for the waistband is snug, you can reduce the elastic length by 2–4 inches. This will give you a comfortable and secure fit.
If the elastic will form a loop, it is advisable to stitch the ends together for a secure connection.
Marking Fabric for Elastic Placement
Marking the fabric correctly is key to ensuring accurate elastic placement and even gathering. You can use pins, a small snip in the seam allowance, a tailor’s tack, or a pen to mark the fabric.
If you’re constructing a distinct elastic waistband, use fabric chalk or pins to indicate where the elastic should be extended. Remember, a zig-zag stitch is suggested when affixing elastic to fabric.
Step-by-Step Guide to Hand Sewing Elastic
Now that you’ve prepared your elastic and fabric, it’s time to delve into the step-by-step guide to hand sewing elastic. This process includes joining elastic ends, pinning elastic to fabric, employing hand sewing techniques, and stretching the elastic as you sew.
First, you’ll need to connect the ends of the elastic, secure them to the fabric, and stretch the elastic while sewing. This may seem challenging, but with practice and patience, the process becomes more manageable. To sew elastic edges, fold the elastic into a loop and overlap the ends, divide the elastic and waistband into quarters, pin the elastic to the waistband, stretch the elastic and stitch along the edge, fold the elastic down, and stitch it in place.
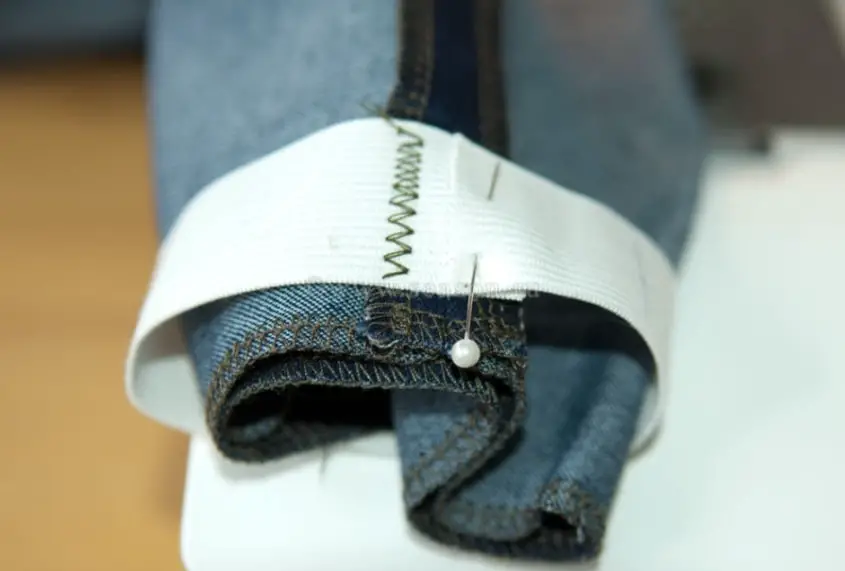
It’s essential to ensure that the elastic doesn’t become twisted during the hand sewing process. Use a zig-zag stitch while stretching the elastic between the marks for the best results. Finally, seal the aperture where the elastic was placed to complete your hand-sewn elastic project.
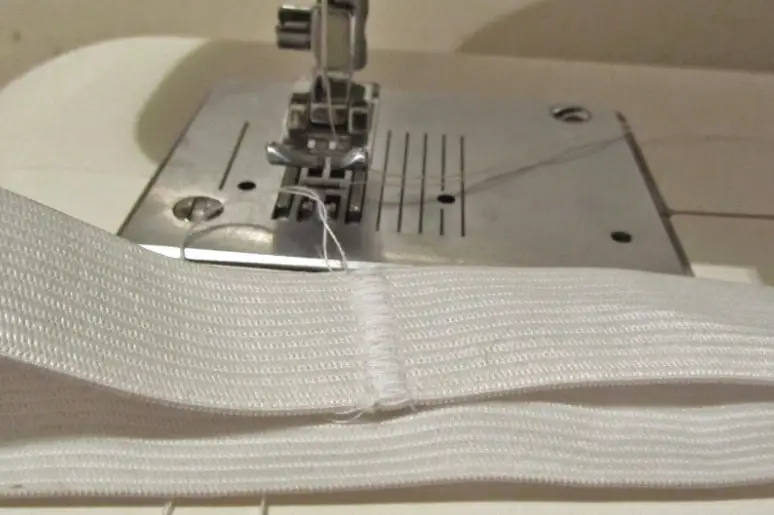
Joining Elastic Ends
Before sewing the elastic to the fabric, it’s crucial to securely join the elastic ends. Overlap the ends of the elastic and sew them together using a zig-zag stitch. Repeating the stitches up to 10 times ensures the durability of the connection.
Properly joined elastic ends, made from a reliable elastic cord, will provide a comfortable and secure fit for your garment, preventing any raw edge from causing discomfort.
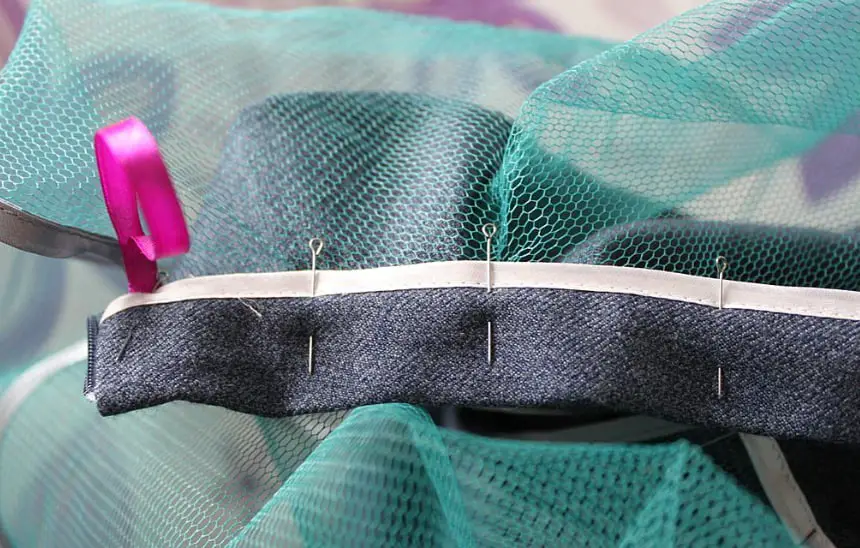
Pinning Elastic to Fabric
Pinning the elastic to the fabric is a vital step in ensuring even stretching and gathering. Pin the elastic to the wrong side of the fabric, making sure the quarter marks of the elastic and fabric are aligned. The corresponding point on the fabric should also be the location of the pin.
Dividing the elastic and waistband into quarters guarantees an even distribution of tension and gathering.
Hand Sewing Techniques for Elastic
When sewing elastic by hand, various stitches and techniques can be employed to achieve the desired result. A zig-zag stitch is recommended for sewing elastic, as it can accommodate some degree of elasticity. However, a straight stitch can also be used in certain cases. Utilize a needle specifically designed for stretch fabrics, such as a ballpoint or stretch needle.
By practicing different hand sewing techniques, you’ll be able to find the one that best suits your project and skill level, whether you’re using a sewing machine or letting the sewing machine sew.
Stretching and Sewing Elastic
Stretching and sewing elastic to fabric is essential for a secure and comfortable fit. While sewing, slightly stretch the elastic to match the length of the fabric. Use a wide zigzag stitch of a medium length to ensure that the elastic lies flat and doesn’t twist.
By mastering the technique of using stretch elastic and sewing elastic, your handmade garments will have a professional and snug fit.
Troubleshooting Common Hand Sewing Elastic Issues
Sew elastic by hand can come with its share of challenges, but with the right tips and tricks, you can easily overcome these obstacles. Common difficulties associated with hand sewing elastic include twisting, uneven gathering, and broken threads.
In this section, we’ll provide solutions to these common issues to ensure your hand-sewn elastic projects are a success.
Preventing Elastic Twisting
To prevent and fix twisted elastic during hand sewing, you can try straightening the elastic before sewing or opt for non-roll elastic. Additionally, inserting a vertical row of stitching at the center back and sides can help avoid thin elastic from becoming twisted.
By taking these preventive measures, you’ll ensure a smooth and comfortable fit for your garments.

Ensuring Even Gathering
Achieving even gathering when sewing elastic by hand is crucial for a professional-looking finish. Stretching the elastic while sewing guarantees even gathering. To further ensure uniformity, secure the elastic in four equidistant locations.
By following these techniques, your hand-sewn garments will have an even and attractive fit.
Dealing with Broken Threads
Broken threads can be frustrating when hand sewing elastic, but there are solutions to address this issue. First, inspect for any threads that have snapped or frayed. If you find broken threads, hold the ends together and overlap them, then tie the overlapping ends with a knot.
Once the knot is securely tied, you can continue sewing as normal.
Additional Hand Sewing Elastic Applications
Hand sewing elastic is not limited to waistbands; there are many other applications where this skill can be applied. In this section, we’ll explore additional hand sewing elastic applications such as creating casings, adding elastic to sleeves and cuffs, and sewing lingerie elastic.
Creating casings is a great way to add elastic to garments. It involves sewing a channel.
Creating Elastic Casings by Hand
Elastic casings can be used for waistbands, sleeves, and various other sewing projects. To create an elastic casing by hand, fold the edge of the fabric over twice with a 14 inch (6mm) allowance, then with a slightly larger allowance than the width of the elastic. Securely stitch around the bottom of the casing. Leave an inconspicuous gap.
Insert the elastic into the casing and then stitch the opening shut. This technique provides a polished and professional finish to your hand-sewn garments.
Adding Elastic to Sleeves and Cuffs
Hand sewing elastic in sleeves and cuffs is an excellent way to achieve a comfortable and secure fit. To add elastic to sleeves and cuffs, first measure and cut the elastic to the desired length. Then pin the elastic to the fabric and hand sew it into place, ensuring even stretching and gathering.
By incorporating elastic into sleeves and cuffs, your handmade garments will have a tailored and snug fit.
Sewing Lingerie Elastic
Hand sewing lingerie elastic, or picot elastic, can give your intimate garments a professional finish. To sew elastic directly, first measure and cut the elastic, then mark the fabric for elastic placement. Affix the elastic to the right side of the fabric with the picot edge facing outwards as you sew, using a zigzag stitch while ensuring to stretch the elastic to match the length of the fabric as you sew.
With these tips and techniques, your hand-sewn lingerie will have a comfortable and secure fit.
Summary
In conclusion, hand sewing elastic is a valuable skill that can greatly enhance your sewing abilities and improve the fit of your handmade garments. From waistbands to sleeves and lingerie, mastering the art of hand sewing elastic opens up endless possibilities for your sewing projects. With the tips, techniques, and troubleshooting advice shared in this blog post, you’re now equipped to tackle any hand-sewn elastic challenge with confidence and finesse. Happy sewing!
Frequently Asked Questions
What is the best stitch for hand sewing elastic?
For hand sewing elastic, the best stitch is a zig-zag stitch or straight stitch, particularly if the garment has stretch fabric.
Can you hand sew elastic together?
Yes, you can hand sew elastic together by either overlapping the ends or adding a casing to hold them in place.
This method is a great way to save money and time, as it requires no special tools or materials. It’s also a great way to customize your projects and make them unique.
What stitch pattern for elastic?
For elastic, a zig-zag stitch is the recommended option, particularly when sewing on stretch garments.
Straight stitch can also be used.
How to sew with elastic?
When sewing elastic to fabric, the best stitch to use is a wide zig-zag stitch of a medium length. Measure and pin the fabric and elastic into quarter sections and then pin the end of the elastic to the fabric before stitching to secure.
Use the zigzag stitch setting on your sewing machine and sew across the overlapping elastic 2 or 3 times for a secure connection. Alternatively, sew the ends of the elastic together using a scrap piece of fabric.
What types of elastic are suitable for hand sewing projects?
For hand sewing projects, woven, knit, fold-over, shirring, braided and clear elastic are all suitable options.
Related Posts
How To Sew A Tote Bag With A Flat Bottom?
How To Sew Tulle By Hand?
How To Sew Fishnet Fabric?
How To Sew Quilt Squares Together By Hand?
How To Sew Polyester Fabric?

How To Sew Spaghetti Straps?
How To Do A Closure Sew-In?

How To Do A Full Sew-In Weave?
Uilt Sqhow To Sew Quares Together?