How To Sew Quilt Squares?
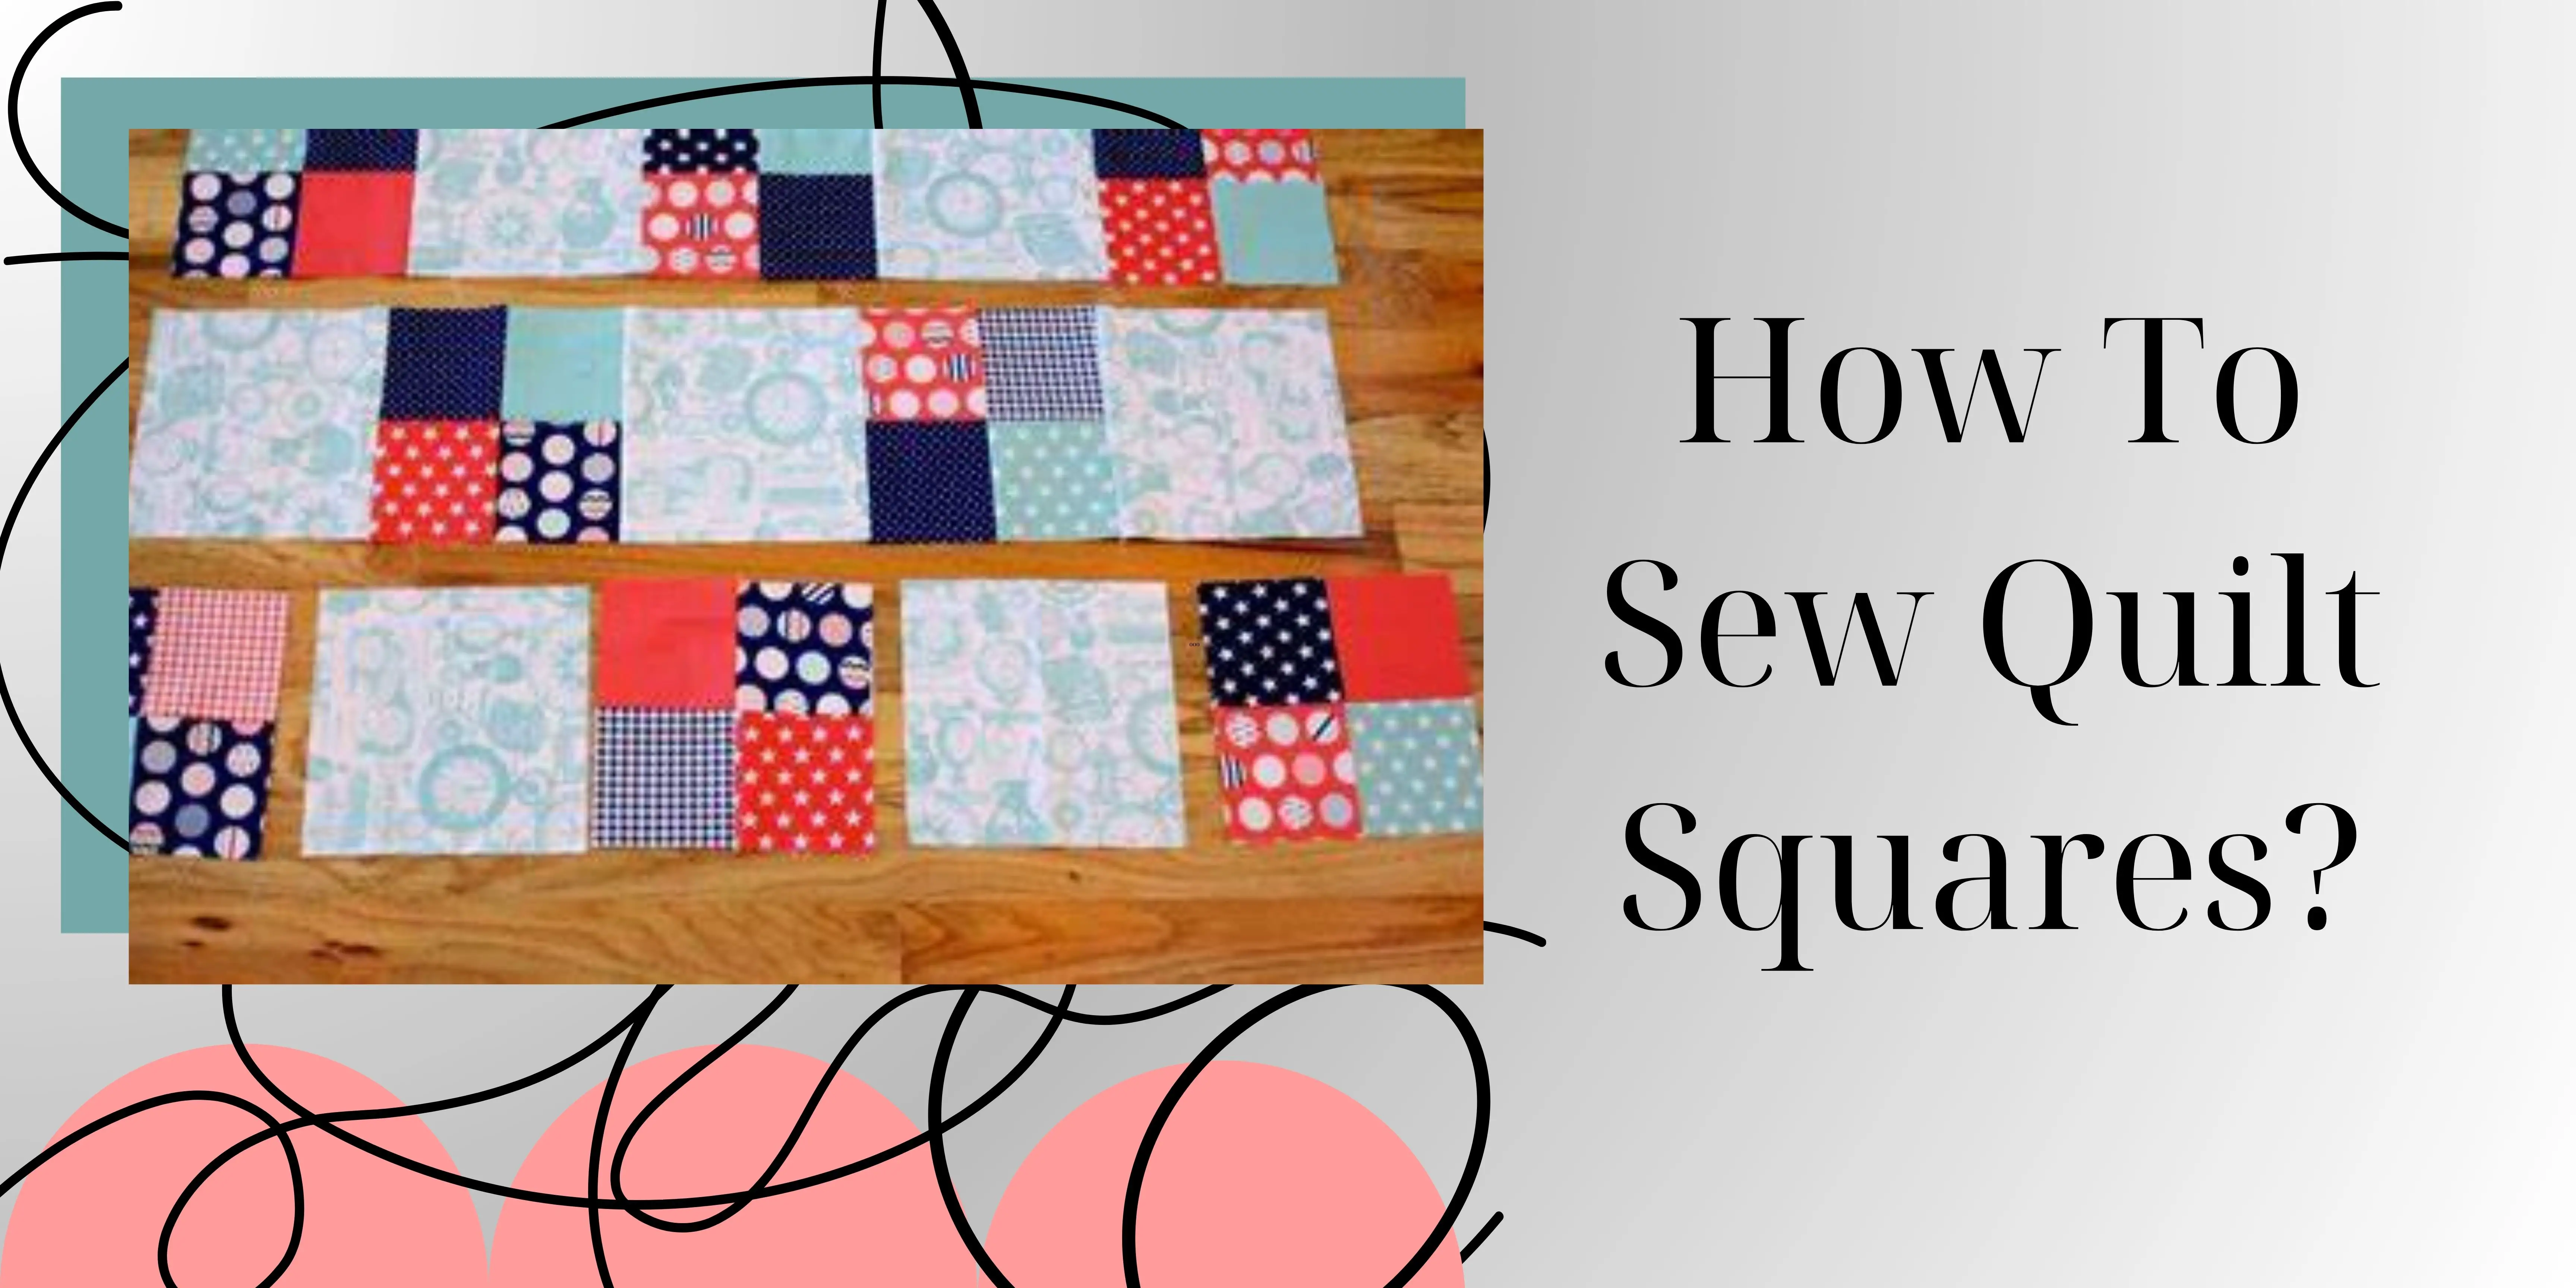
Squares are the building blocks of a charming patchwork quilt. Typically cut from various fabric pieces or a convenient charm pack, these squares serve as the canvas for creativity. When stitching quilt squares together, precision is key, and maintaining consistent seam allowances is crucial for a polished finish. Arrange the fabric squares in a desired pattern, considering color and contrast for visual appeal. Carefully stitch the squares together, ensuring neat seams and a secure fit. Whether you’re an enthusiast or a beginner, mastering the art of stitching squares opens the door to endless possibilities in creating beautiful and personalized quilt designs. There are many ways how to sew quilt squares.
What do you need for sewing quilt squares?
To embark on the rewarding journey of stitching squares and crafting beautiful quilts, you’ll need a few essential supplies. Gather a selection of fabric squares in coordinating colors and patterns, ensuring they are cut to the desired size for your project. Alongside the fabric squares, you’ll require a reliable stitching machine equipped with a quarter-inch presser foot for precise seams.
Ensure your toolkit includes a stitch ripper for any adjustments, as well as an iron and board for ironing to press open seams, creating a smooth and polished finish. Don’t forget to have a ruler or aid in the alignment of squares for seamless construction.
With these fundamental tools and materials, you’ll be well-equipped to dive into the art of stitching squares and begin the fulfilling process of bringing your envisioned quilts to life.
Method 1: Chain piecing for squares
Prepare the squares
– Lay out your charm pack or cut cloth squares, ensuring they are all the same size.
– Arrange the squares in the desired pattern for your patchwork quilt.

Chain stitching the first row
– Place two squares with right sides together, aligning the edges.
– Using a machine for sewing equipped with a quarter-inch presser foot, stitch a seam along one side of the squares.
– Continue chain stitching, adding squares one after another in the same direction until the entire first row is made.
Pressing the seam open
– Place the sewn rows on the board for ironing.
– Press the seams which are open using a hot iron to create a smooth and flat surface.
Chain piecing the remaining rows
– Repeat the chain stitching process for the two rows, ensuring each row is sewn in the same direction as the first.
Joining rows together
– Lay the rows on a flat surface, aligning the seams.
– Sew the rows together, using the same chain stitching technique until the entire sheet of quilt squares together is assembled.

Pressing the entire quilt
– Lay the sewn quilt on the board for ironing.
– Carefully press the entire quilt to set the seams and create a polished finish.
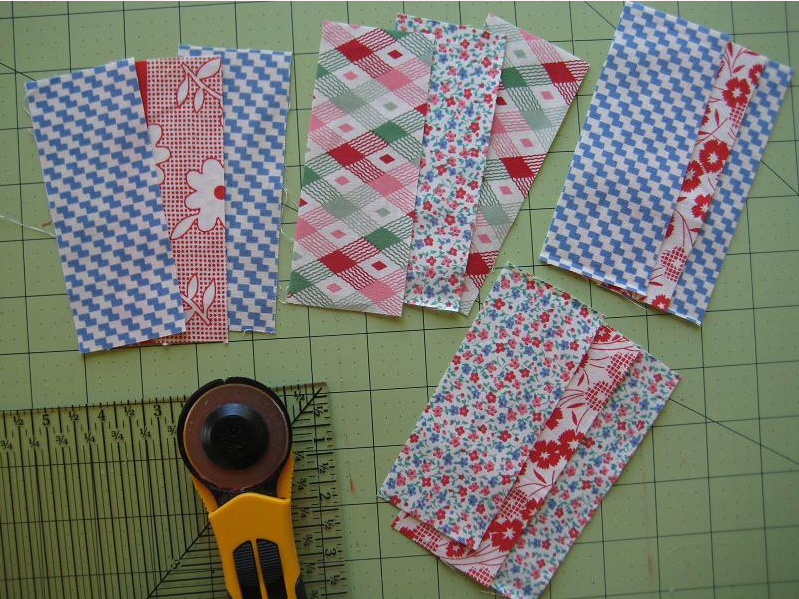
Method 2: Sewing quilt squares with pressed seams
Prepare squares and arrange
– Cut squares from your cloth.
– Arrange the squares in the desired pattern for your patchwork quilt.
Stitching rows
– Place two squares with right sides together and sew a quarter-inch seam along one side.
– Repeat this process, stitching the entire row.
Pressing seams
– Use a board for ironing to press the seams of row seams in one direction.
Stitching subsequent rows
– Align the next row with the first, and right sides together.
– Sew the second row, ensuring the seam allowances go in the opposite direction from the row.
Pressing seams open and continue stitching and pressing
– Press the open seams for the second row using an iron.
– Repeat the process for each row, alternating the direction of seam allowances between adjacent rows.
Method 3: Sew rows together and use a seam ripper for adjustments
Chain stitching rows
– Arrange your squares into sewing rows, ensuring they are the size.
– Chain piece each row, stitching the squares together with a quarter-inch seam.
Pressing rows and checking seam lines
– Press the open seams for each row using a board for ironing.
– Check the lines to ensure they are straight and consistent.
Sew all the rows together
– Lay the rows on a flat surface, aligning the seams.
– Sew the rows together, ensuring the seam lines match.
Inspect and use a stitch ripper if necessary
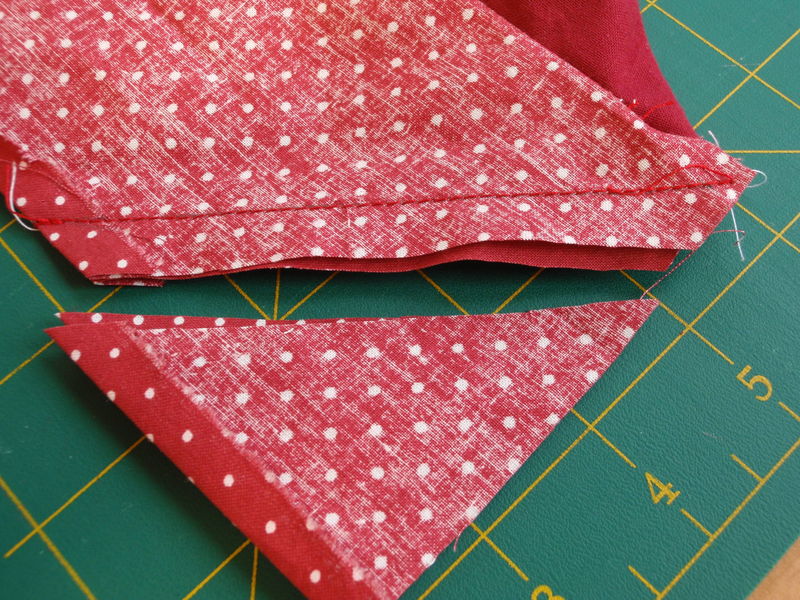
– Inspect the sewn of all the rows and use a stitch ripper to correct any misalignments or stitching errors.
Pressing the entire quilt
– Lay the entire quilt on the ironing board.
– Press the entire quilt, setting the seams and creating a smooth finish.
Pieces of advice for stitching squares
Start to look for some important pieces of advice:
Prepare your materials
– Start by ensuring your cloth squares are cut accurately and are of the same size as uniform quilt blocks.
– Lay out your squares in the desired pattern for your patchwork quilt.
Understand seam allowance
– Use consistent seam allowances, typically a quarter inch, to stitch quilt squares together. This ensures uniformity in your quilt blocks and the overall quilt top.
– Before stitching, reinforce the cloth edges by backstitching at the beginning and end of each seam. This prevents unraveling and ensures the durability of your quilt blocks.
Utilize a presser foot and sew with care
– Employ a quarter-inch presser foot on your sewing machine to help maintain a consistent seam allowance while stitching quilt squares together.
– Take your time while stitching quilt squares together to maintain accuracy. Carefully align the cloth and sew straight seams for well-constructed blocks.
Check all the seams and square up quilt blocks
– Periodically check your blocks for any missed seams, ensuring that all the seams are made securely. This attention to detail contributes to the overall quality of your patchwork quilt.
– Measure and square up each quilt block to the desired size. This step ensures that all blocks fit together seamlessly when constructing the quilt top.

Create a balanced quilt top and press the seams open
– Assemble your squares into rows and then sew the rows together to form the quilt top. Pay attention to the arrangement to create a balanced and visually appealing quilt.
– After sewing each seam, press the seam allowances to open. This practice creates a flat and neat surface for your blocks and helps reduce bulk when you sew squares together.
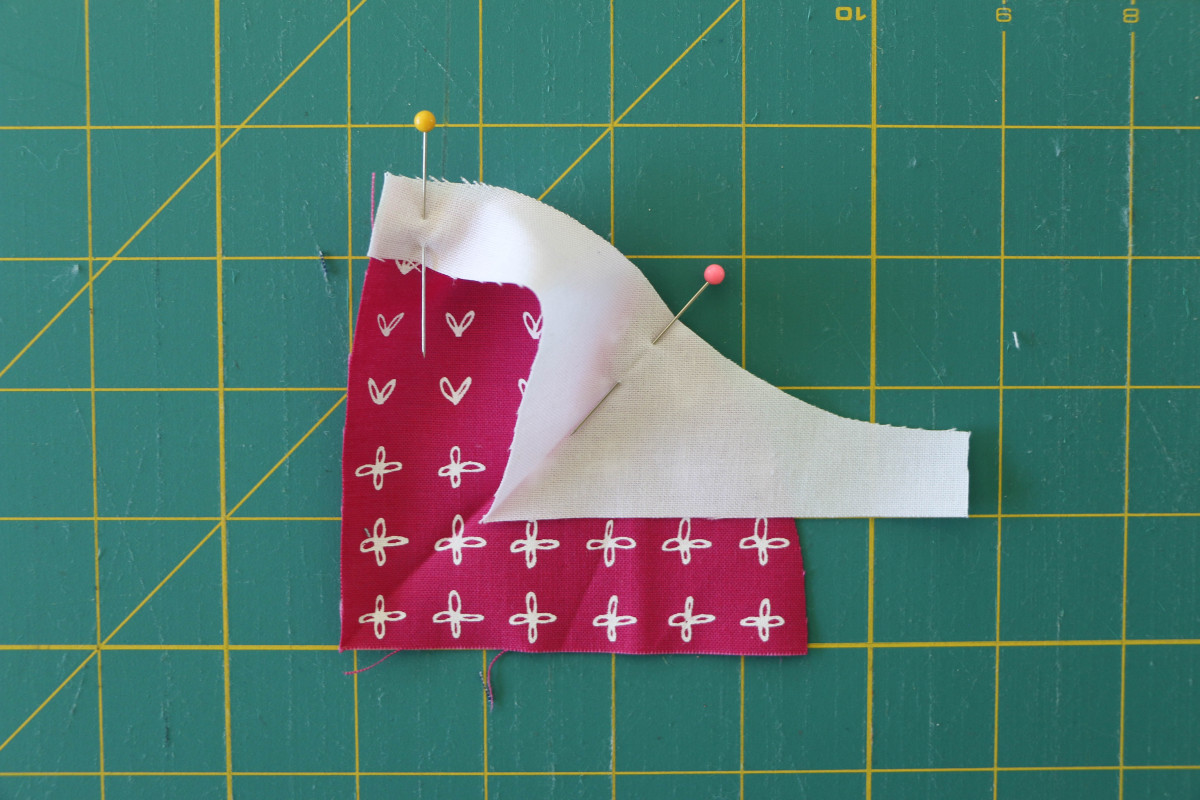
Consider contrast, placement, and practice quilting techniques
– Experiment with the placement of different fabric squares to create visual interest in your quilt. Pay attention to color and pattern contrast to enhance the overall design.
– Explore various techniques to add texture and dimension to your quilt. This can include using a walking foot for a straight line, depending on your preference.
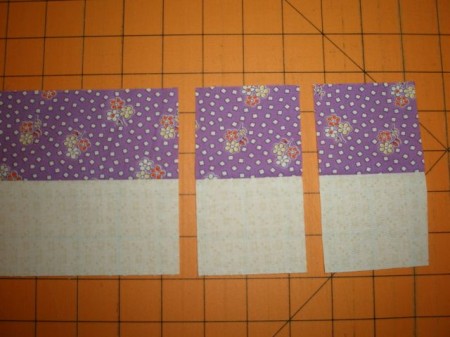
For what purpose do sew quilt blocks
Stitching squares serves a crucial purpose in the creation of beautiful and functional quilts. Understanding how to stitch squares is the foundation for constructing the quilt top, where individual squares come together to form a cohesive and visually appealing design. The meticulous process of stitching squares is not just about joining pieces of fabric edges; it’s a skillful endeavor that transforms raw materials into a work of art.
Quilt squares provide a canvas for creativity, allowing quilters to experiment with color, pattern, and arrangement. The artistry involved in how to sew quilt squares lies in achieving precision and uniformity, ensuring that each square contributes to the overall aesthetic of the quilt.
Beyond their artistic value, quilt squares serve a practical purpose as well. Sewing squares together creates a durable and sturdy fabric structure, making quilts not only visually pleasing but also functional and long-lasting. The stitched squares contribute to the quilt’s ability to provide warmth, comfort, and a sense of craftsmanship that transcends generations.
Conclusion about fabric squares
In conclusion, quilt squares play a pivotal role in the creation of captivating patchwork quilts. Understanding how to sew squares is fundamental to the art, as it sets the foundation for constructing a visually cohesive and harmonious quilt top. The arrangement and meticulous stitching of these squares form the essence of patchwork quilts, allowing for endless creative expressions.
As one delves into the intricacies of assembling squares, it becomes evident that the journey involves not just connecting pieces of fabric but weaving a narrative of craftsmanship and individuality. The symphony of squares, skillfully made together, transforms into a unique tapestry that reflects the quilter’s creativity and attention to detail.
Through the process of crafting patchwork quilts, each square becomes a canvas for personal expression. The quilter learns not only how to sew quilt squares but also how to orchestrate a harmonious blend of colors, patterns, and textures. This journey, marked by the careful selection and stitching of squares, culminates in creating a quilt that is not merely a functional piece but a work of art, carrying the warmth and sentiment of the hands that brought it to life.
