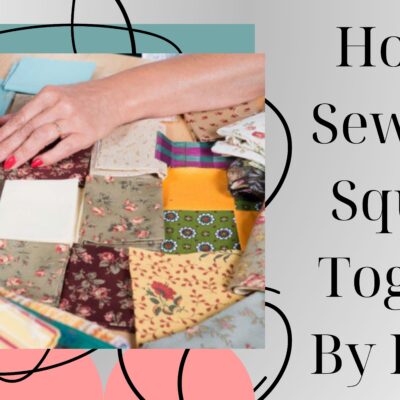
How To Sew Quilt Squares Together By Hand?
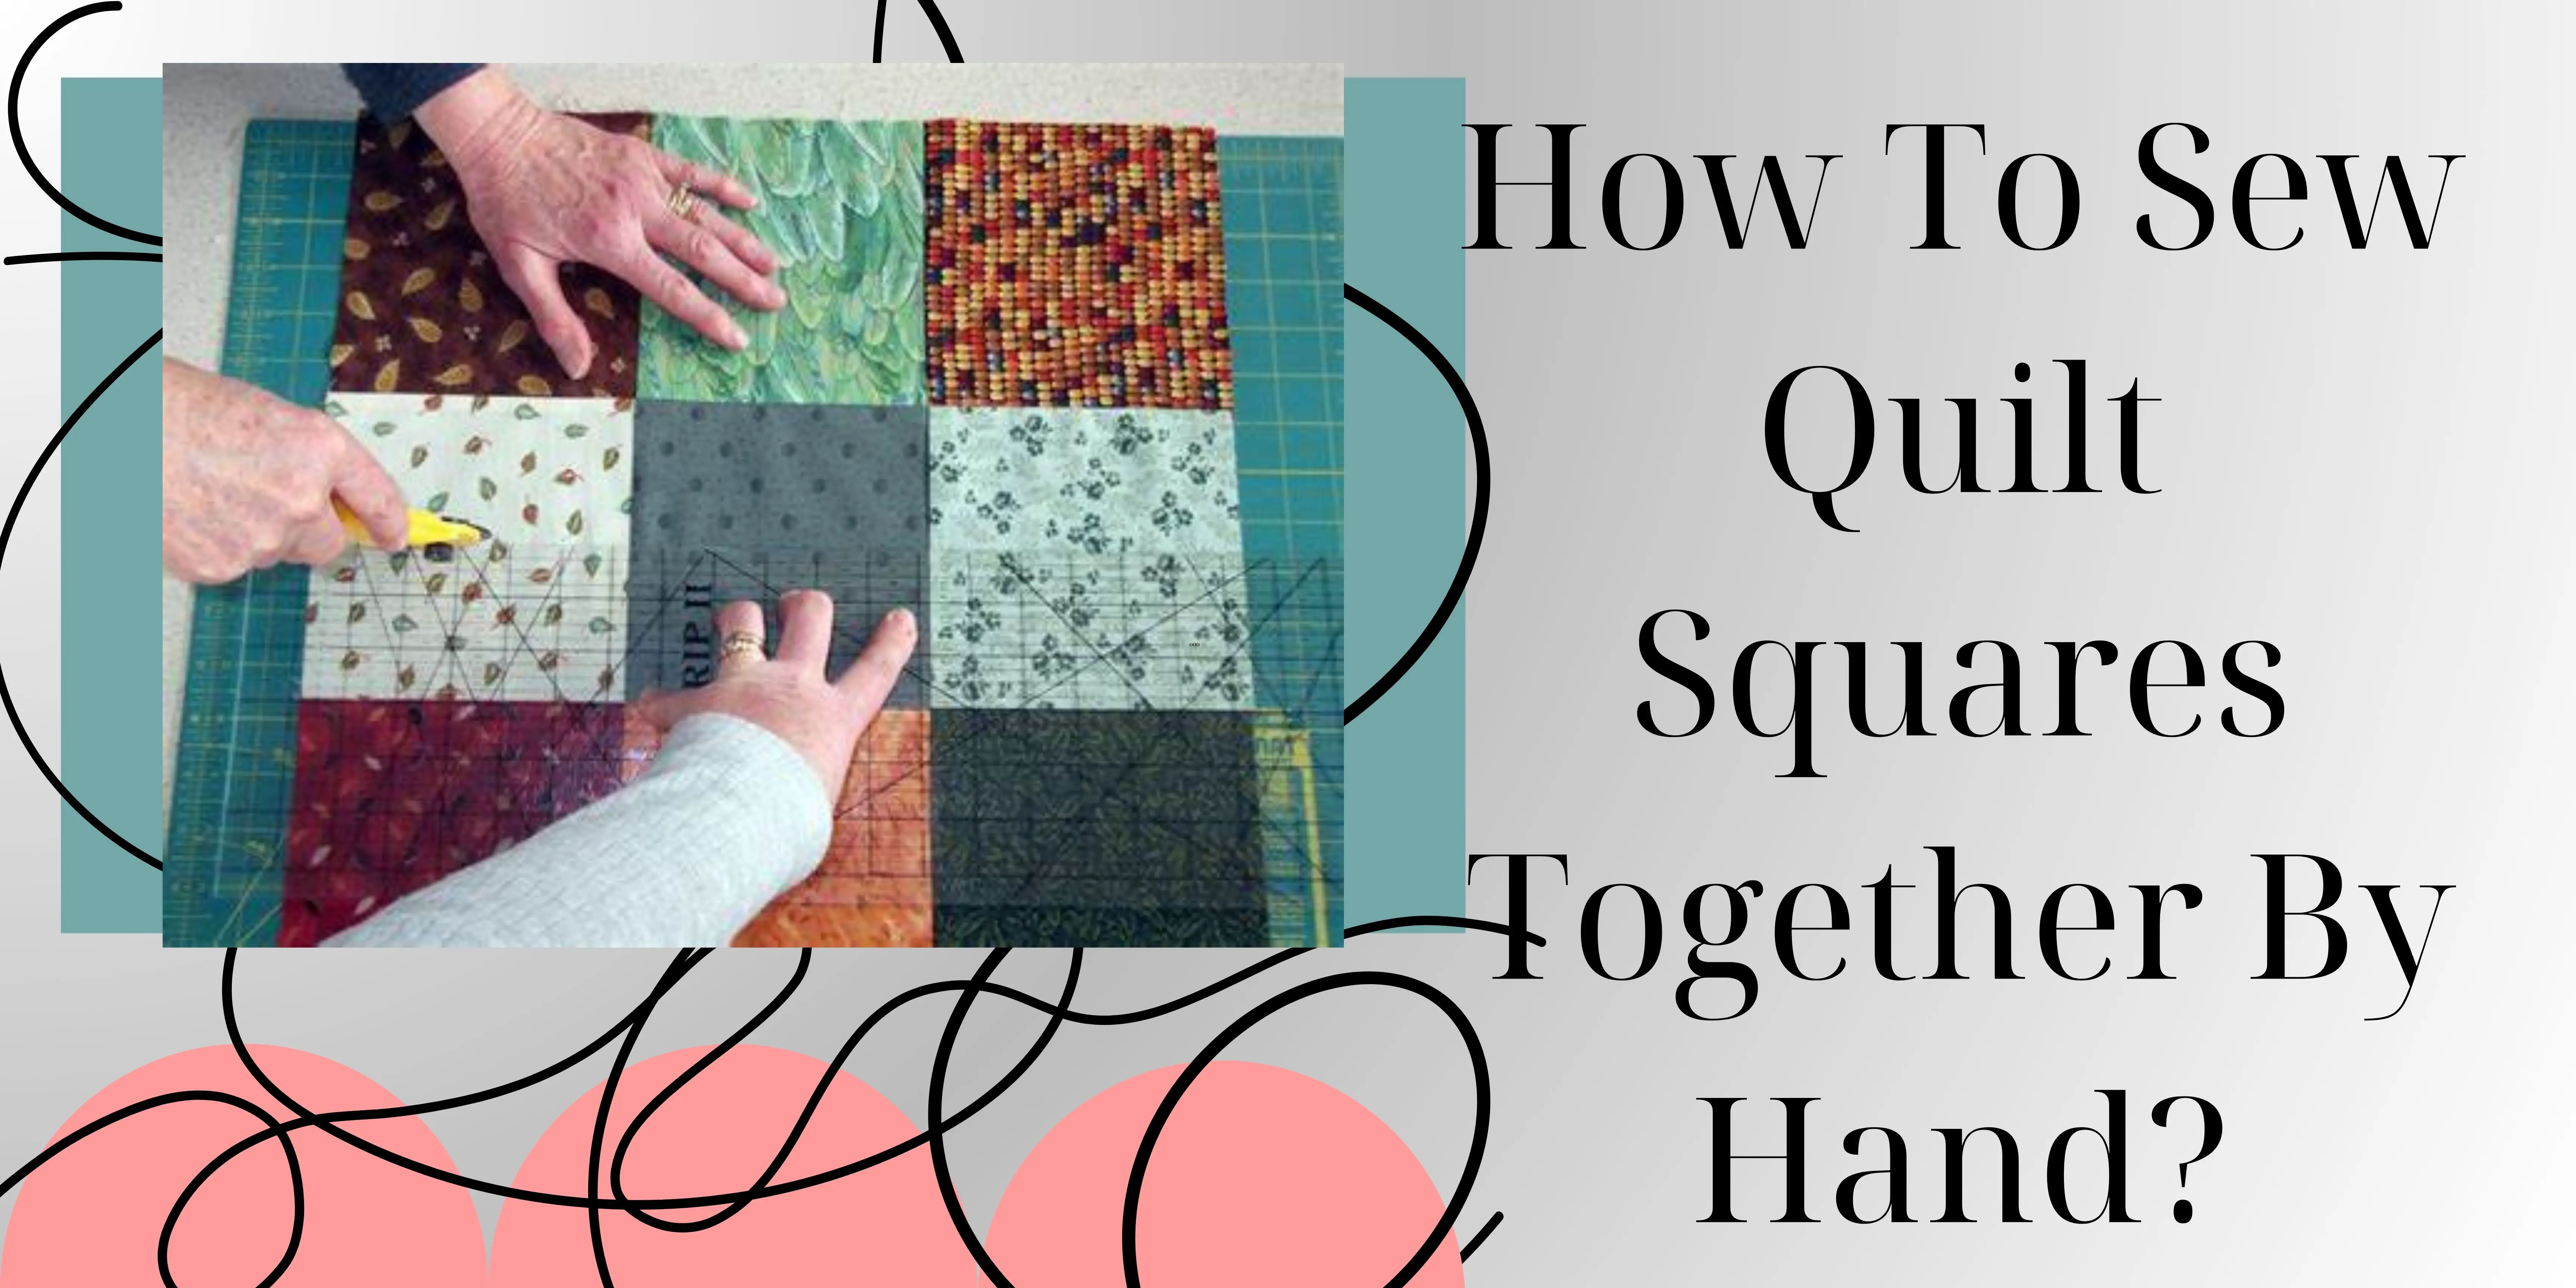
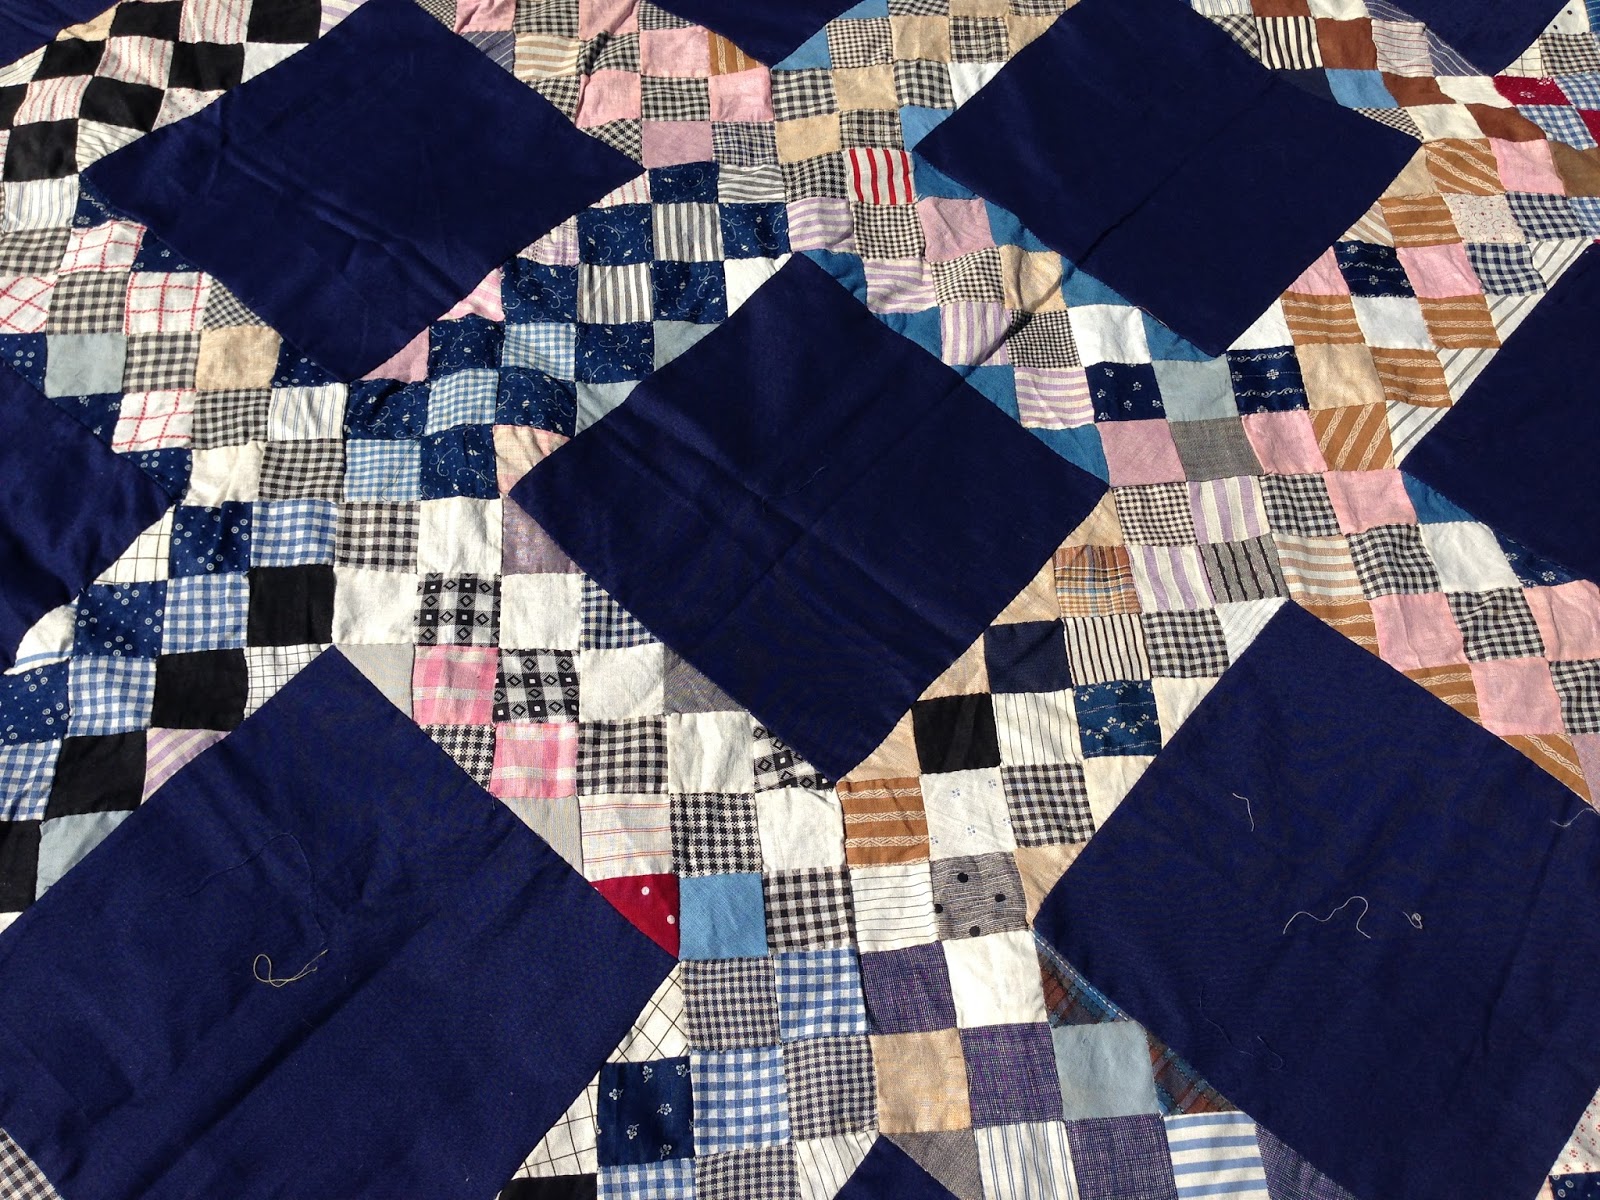
When assembling a quilt top, connecting quilt squares is a fundamental step. Join the quilt squares together by sewing along all the seams. How to sew quilt squares together by hand given in the text. Feed the quilt block through the sewing machine under the presser foot, stitching in the same direction for consistency. Alternate the direction of the squares as you connect them to prevent a monotonous pattern, creating visual interest. Press the seams neatly, either in one direction or alternating directions for a flatter and more polished finish. This process ensures that your quilt fabric squares come together seamlessly, resulting in a cohesive and eye-catching quilt top.
Block a unit of cloth that, when combined with other blocks, creates the overall design of a quilt. Blocks are typically square-shaped and can vary in size, design, and color. They are made together to form the quilt top, and the arrangement of these blocks contributes to the overall aesthetic of the finished quilt. Each block is often a self-contained design.
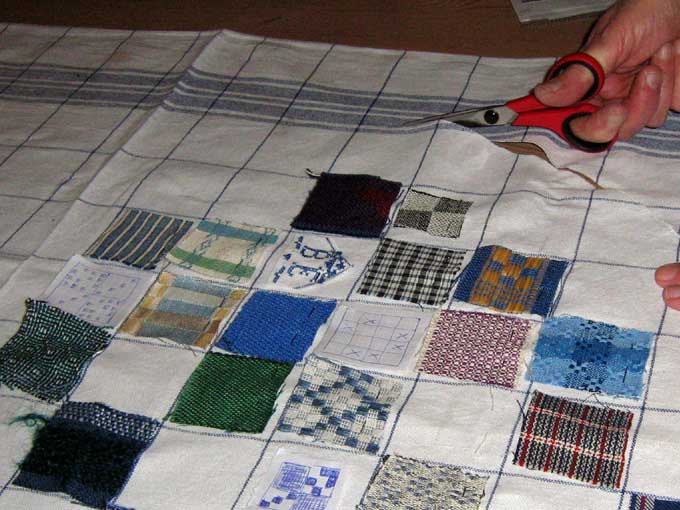
Types of quilt squares together sewing by hand
When hand-sewing quilt squares together, there are several techniques to achieve different effects in your block. Here are some types of sewing quilt squares methods:
Traditional hand piecing
Description: sewing quilt squares together with a traditional hand-piecing method involves aligning the sides of two fabric squares, sewing along the seam, and then pressing the seam open or to one side.
Usage: commonly used for the classic block, providing a clean and uniform look.
English paper piecing
Description: in this method, the fabric is basted around paper templates, and then the squares are hand-made together along the edges of the shapes.
Usage: ideal for intricate and small blocks in the quilt block, often seen in English paper-pieced quilts.
Hand Applique
Description: The applique involves attaching one cloth piece to another. For quilt squares, this can be done by hand-sewing the edges of one block onto another.
Usage: used for creating visually appealing designs, adding appliquéd elements to quilt blocks.
Whipstitch
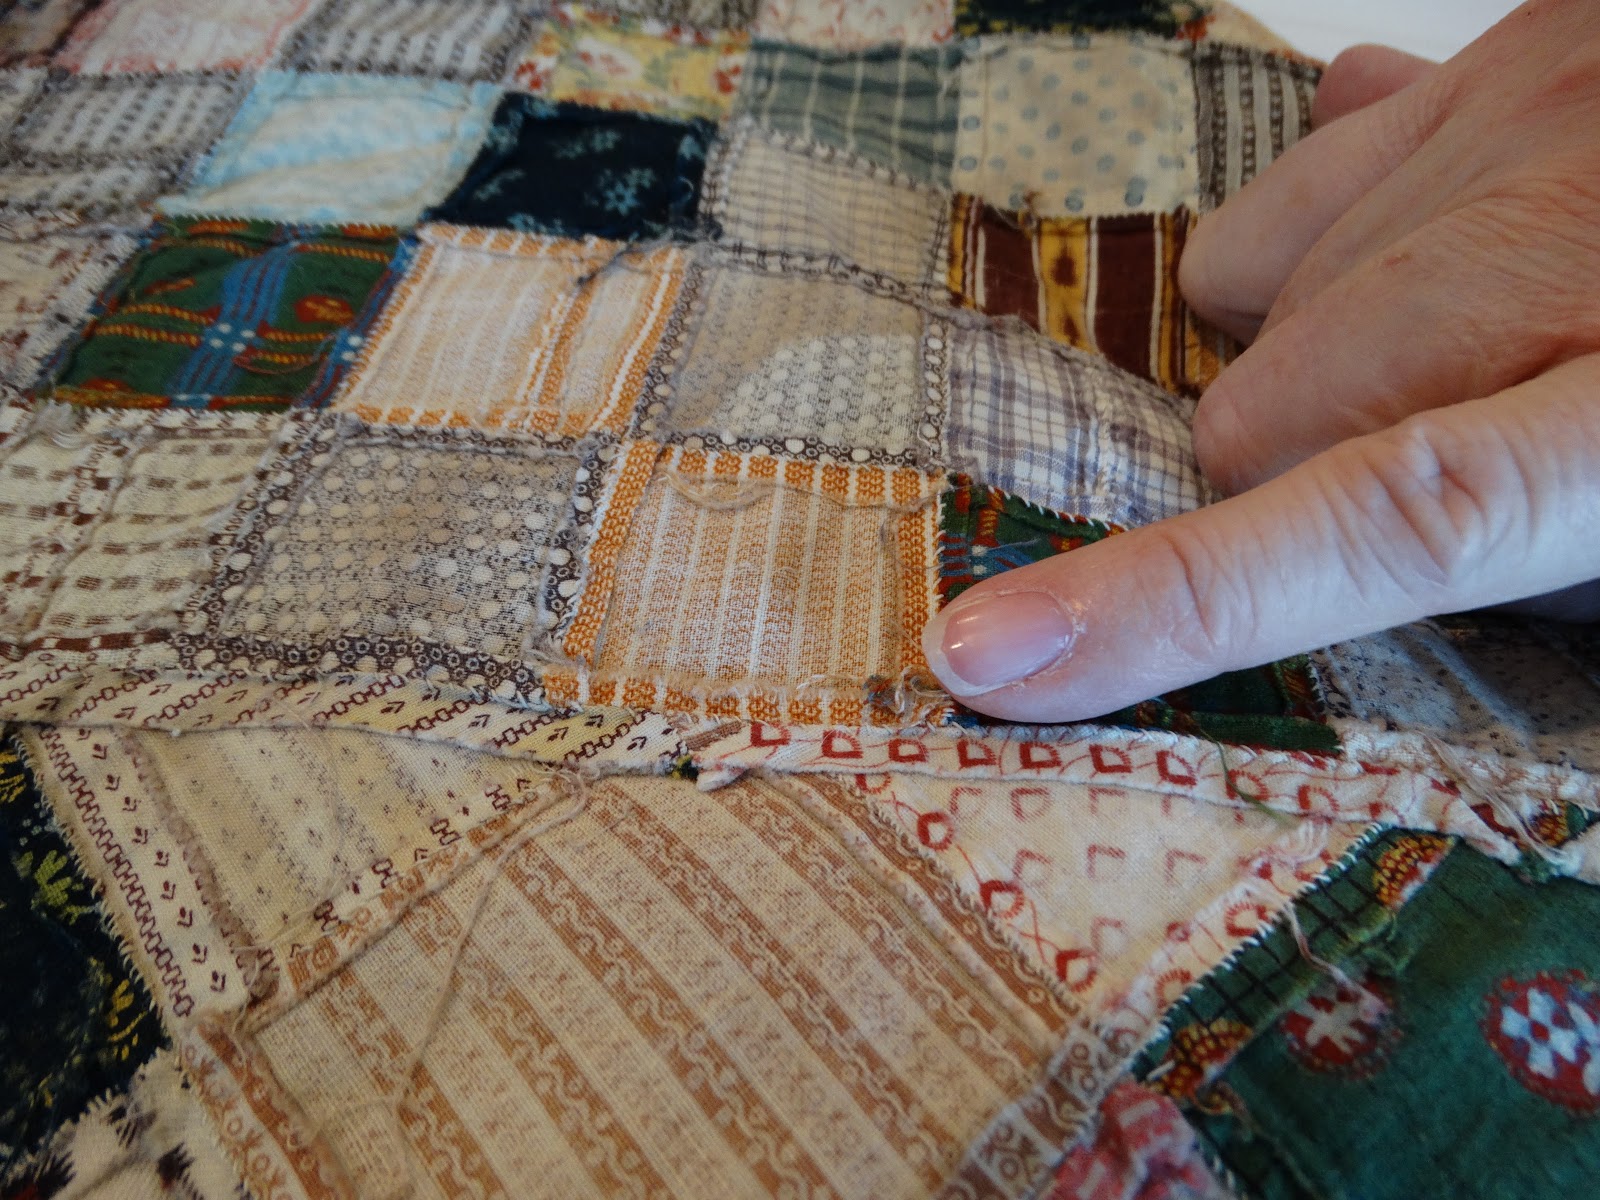
Description: In whip sewing, the square is aligned with the right sides together, and a small, overcasting stitch is used to join the edges.
Usage: Suitable for joining squares when a visible seam is desired, often used in hand-piecing.
Running stitch method
Description: The square is aligned, with right sides facing each other, and joined with a simple running stitch along the seam line.
Usage: A basic and versatile method suitable for various quilt designs, offering simplicity and efficiency.
Blanket stitch applique
Description: used in applique, the part of the cloth square is hand-done using a blanket stitch, creating a decorative border.
Usage: adds a decorative element to quilt blocks, commonly seen in folk or art quilts.
Backstitch method
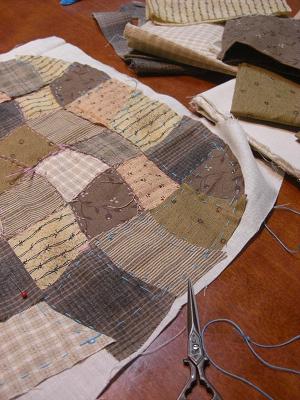
Description: align the square with the right sides together, and use a backstitch to secure the seam. This method provides additional strength to the seam.
Usage: suitable for creating durable and secure seams, often used in the quilt block that may undergo heavy use.
Experimenting with these hand-sewing methods allows for creativity and customization in your quilt projects. The choice of technique depends on the design, style, and desired outcome of your quilt square and block.

Methods of sewing quilt squares together
Certainly! Here’s a comprehensive guide on hand-sewing quilt squares together:
Prepare your materials
Gather your fabric squares, ensuring precise quarter-inch seam allowances for accuracy in your block.
Arrange quilt squares
Lay out your block of cloth square in the desired pattern, whether you’re creating the block or a larger quilt top.
Sew the first-row
Take two squares with the right sides facing each other. Align the edges, leaving a quarter-inch seam allowance. Pin in place.

Hand-sewing
Thread your needle with a coordinating thread and knot the end. Beginning at one edge, sew the squares together using a simple running stitch or a backstitch.
Stitching technique
Maintain a consistent stitching technique, ensuring your stitches are evenly spaced and secure.
Complete the row
Continue to sew squares together until you complete the first row. Press the seams to set them neatly.
Sew remaining rows
Repeat the process for the remaining rows, to sew each set of squares together in the same manner.
Join rows
Once all rows are individually sewn, start joining them together. Align the seams adjacent to sew rows and pin them in place.
Alternating directions
Consider alternating the direction of other seams when joining to sew rows for added visual interest.
Continue sewing
Hand-sew all the rows together, maintaining the inch stitch allowance consistently.
Press the seams
Press the square neatly using an iron. This helps set the stitch and create a flatter and more polished finish.
Finishing touches
Trim any excess threads and ensure the quilt top lies flat on your table or work surface.
By following these steps, you’ll hand-sew your quilt squares together to create a beautiful quilt top. This method allows for precision and a personal touch in your project.
Which fabric is best to use for sewing quilt squares together
The choice of cloth for sewing quilt squares together depends on several factors, including the sewing machines, stitch allowances, and the overall design of the quilt. Here’s a breakdown:
Cotton cloth
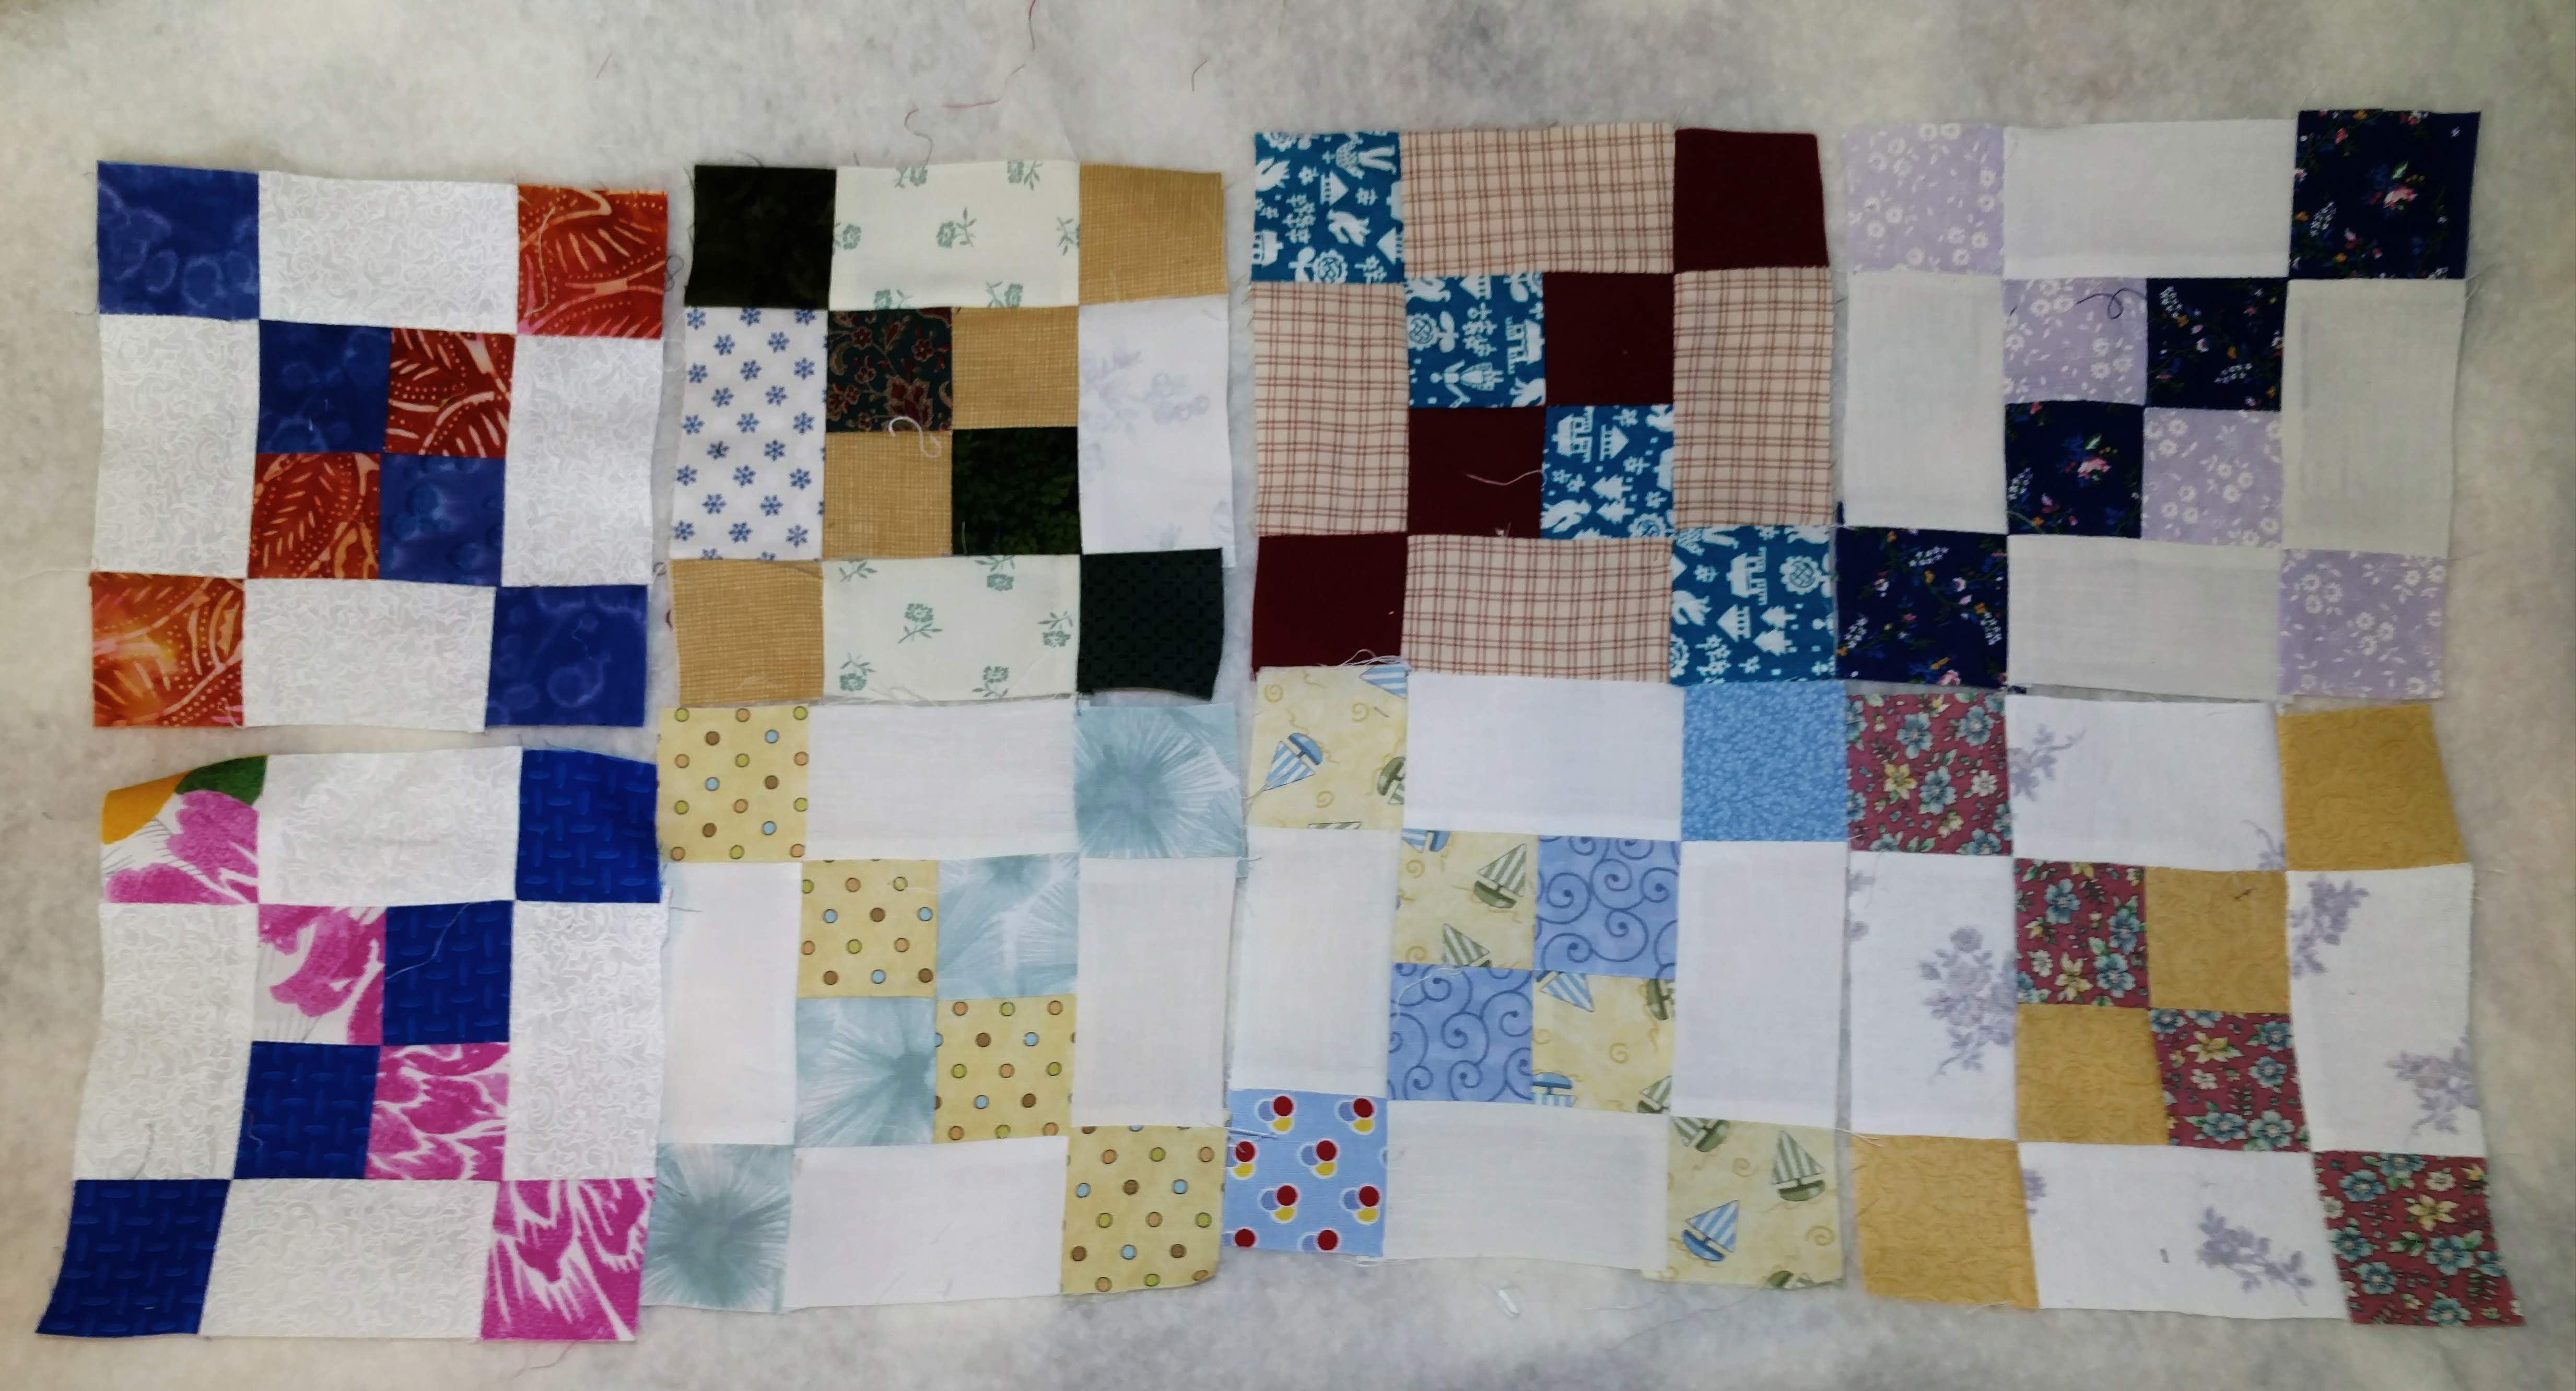
Cotton is a popular choice due to its ease of use with sewing machines and versatility in various quilt designs.
It allows for precise square allowances and is comfortable to work with when you sew quilt squares together.
Thread choice
Choose a high-quality cotton yarn that matches or complements the color of your fabric square(block). This ensures strong and secure seams when you sew quilt squares together.
Presser foot
When using a machine, the presser foot plays a crucial role in guiding fabric layers. Ensure it is suitable for quilting and allows for easy-to-sew quilt squares together.
Seam allowances
Block of cotton fabrics, especially those labeled are generally well-suited for maintaining consistent inch layer allowances.

Rows
Block of cotton fabric provides a clean edge when cut and sewn, resulting in neat lines of quilt square.
Square and block
Whether you’re sewing individual squares or assembling larger blocks, cotton fabric is versatile and suitable for both.
Durability
Block of cotton is known for its durability, ensuring that the quilt square, block, and line will withstand regular use and washing.
In summary, cotton cloth is often the best choice for sewing quilt squares together using a sewing machine. It aligns well with the requirements of accurate layer allowances, and durability.
Rules for sewing quilt squares together without a sewing machine
Sewing quilt squares together by hand involves a set of rules to ensure precision and a cohesive result. Here’s a guide incorporating all the mentioned words:
Prepare your workspace
Begin by setting up a well-lit and comfortable workspace for hand-sewing quilt squares.
Organize quilt squares
Lay out your cloth squares in the desired arrangement, considering the overall design of the block or top.

Sewing technique
When sewing quilt squares together, use a small, even running stitch or a backstitch for secure seams.
Joining squares
Take two squares with the right sides facing each other. Align the edge of the fabric accurately, ensuring a seamless fit when sewn together.
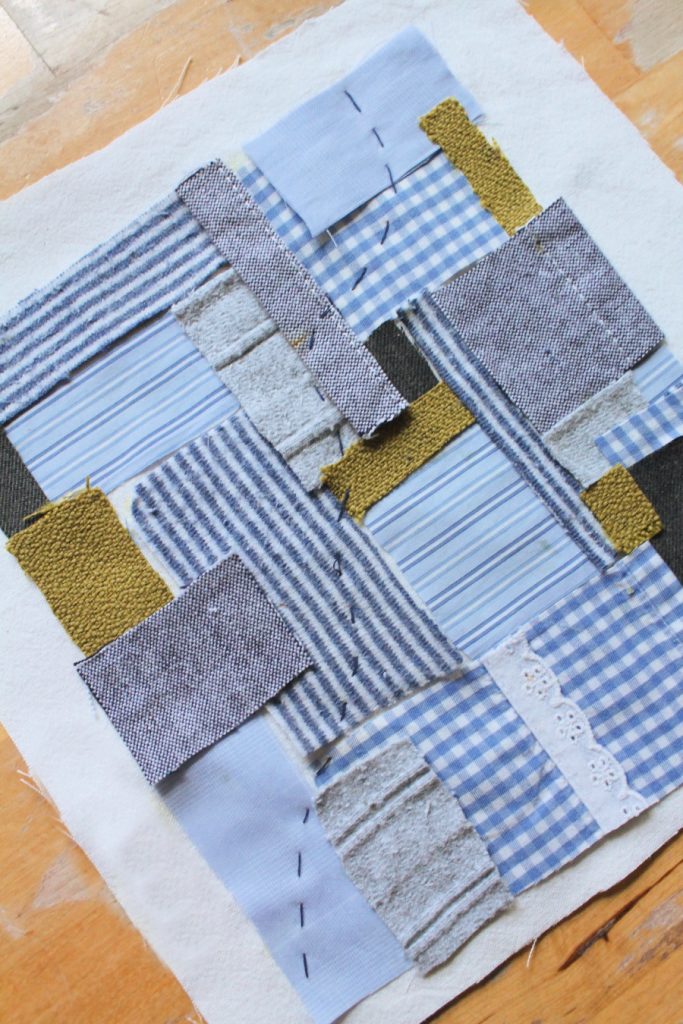
Pinning seams
Pin the squares along the seam line to keep them in place during the process.
Yard choice
Use high-quality threads that match the color of your cloth square. This ensures durability and a cohesive look in the finished quilt.
Hand-sewn rows
Sewing squares together to form lines, maintaining consistent seam allowances for a polished appearance.

Alternating directions
Consider alternating the direction of your seams when you sew row or block for visual interest.
Pressing seams
Press the seams with an iron after each row is done to set the seams and create a flatter surface.
Yard trimming
Trim any excess threads to maintain a neat appearance for your hand-sewn quilt squares.
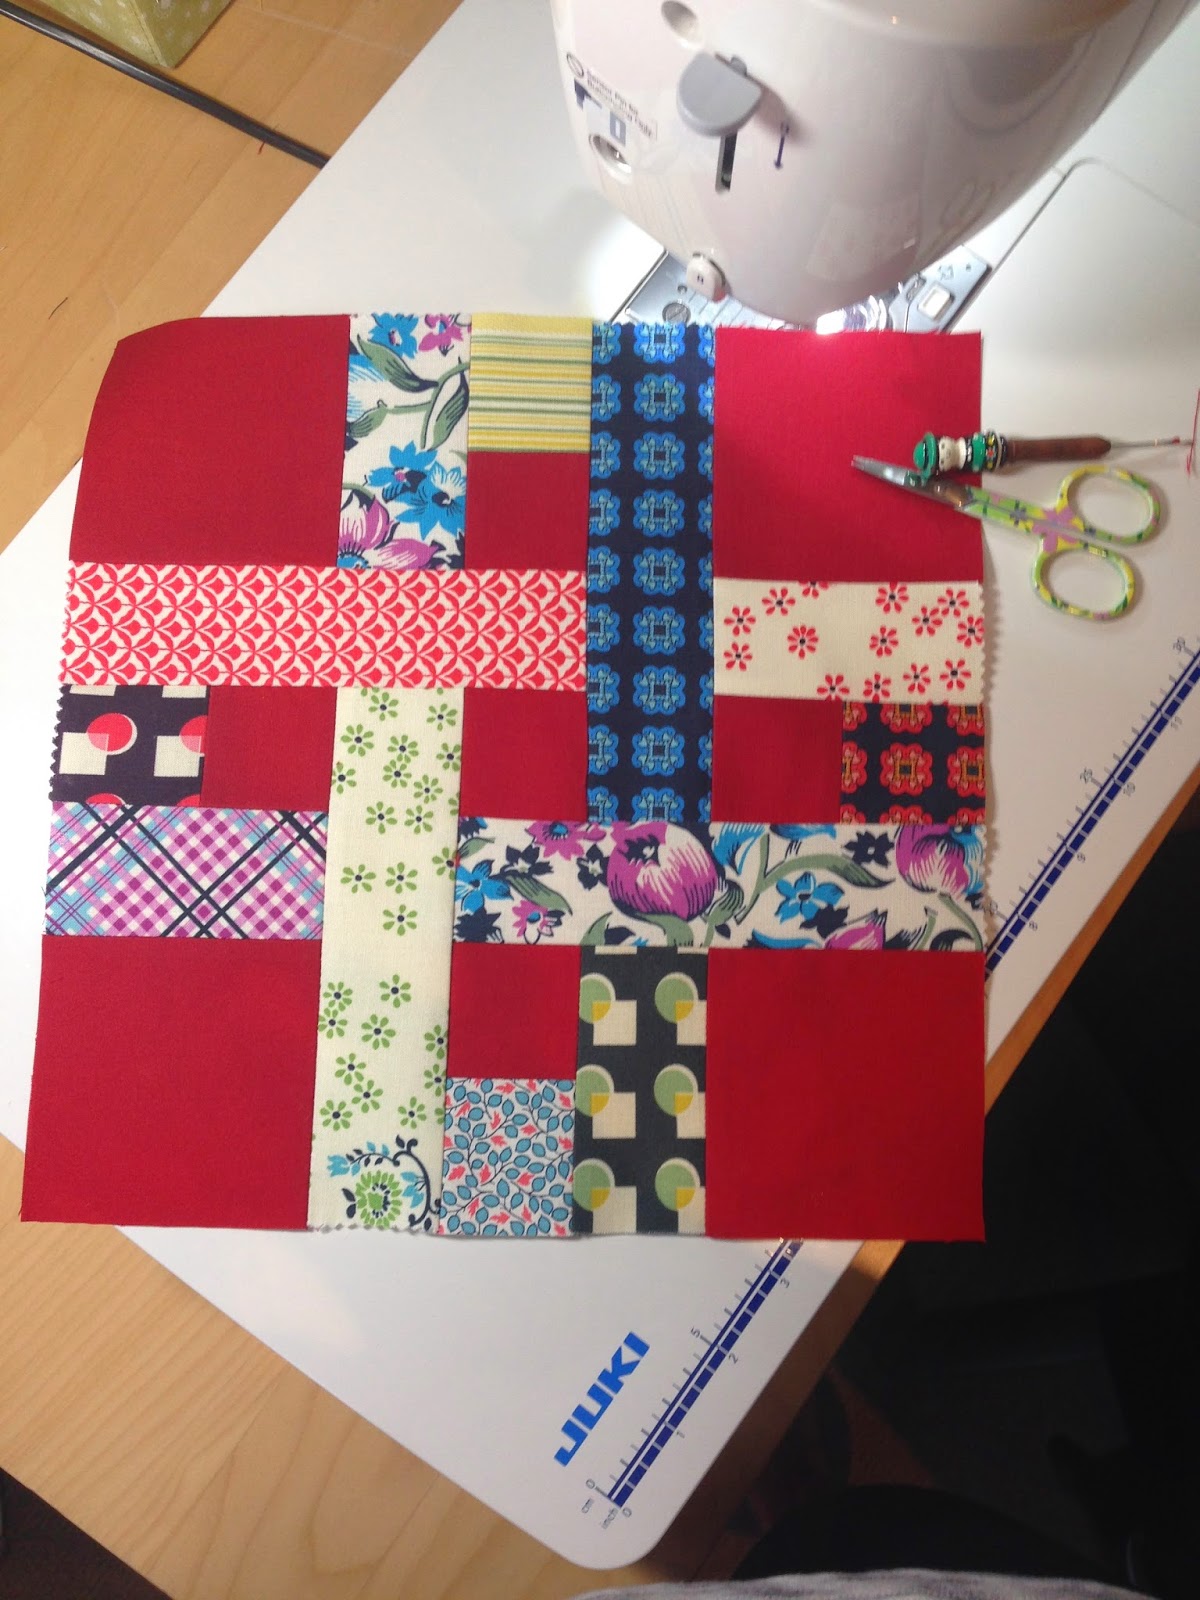
Square and block formation
Ensure that each square contributes to the overall formation of blocks and subsequently the quilt tops.
Pinning and sewing block
Pin blocks together before hand-sewing to maintain alignment and avoid any shifting during the sewing process.
Completing the quilt
Following these rules for hand-sewing quilt squares ensures a meticulous and well-crafted quilt, where each stitch contributes to the overall beauty of the finished piece.
Problems that can happen during sewing quilt squares together
Several challenges can arise during the process of sewing quilt squares together by hand. Here’s a guide that addresses potential issues:
Misaligned stitch
Problem: the stitch may not align correctly, causing inconsistencies in the quilt pattern.
Solution: pin seams accurately, matching them carefully before sewing to maintain a uniform appearance.

Uneven stitching
Problem: uneven or irregular seaming can create a messy look.
Solution: maintain a consistent and even stitch length throughout the sewing process to achieve a polished finish.
Pin placement issues
Problem: pins may be placed too far from the stitch, leading to cloth shifting.
Solution: place pins close to the stitch line to secure the squares and prevent any misalignment during sewing quilt squares.
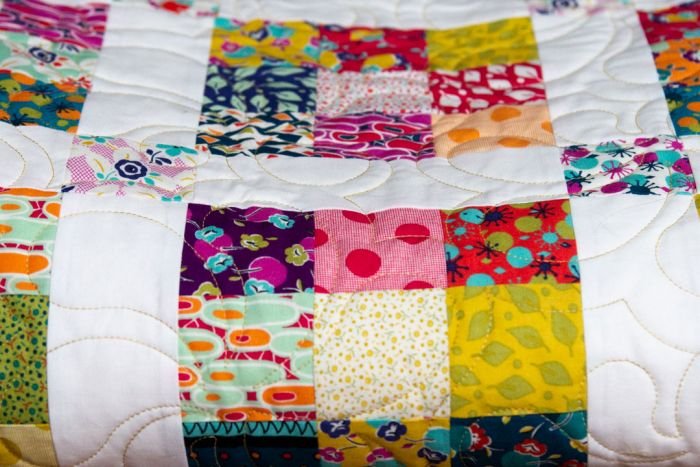
Stitch puckering
Problem: seams may pucker or gather, affecting the overall look of the quilt.
Solution: ensure that the cloth is smooth and tension is consistent while sewing to prevent puckering.
Squares facing the wrong direction
Problem: squares may be unintentionally done with the wrong sides facing each other.
Solution: double-check the orientation of the squares before sewing to avoid this common mistake.
Inconsistent stitch direction
Problem: stitches may vary in direction, affecting the overall appearance of the quilt.
Solution: maintain a consistent stitch direction, especially when you sew rows or multiple squares together.
Seam allowance variation
Problem: inconsistent seam allowances can lead to misalignment of squares.
Solution: measure and mark seam allowances accurately, ensuring uniformity throughout the process.
One-sided sewing
Problem: all squares may end up facing one direction.
Solution: rotate and alternate the orientation of squares when sewing rows to create a more dynamic visual pattern.
Difficulty sewing rows
Problem: sewing rows together may be challenging due to accumulated bulk.
Solution: flatten seams, press them neatly, and consider using techniques like pressing seams in directions to reduce bulk.
By being aware of these potential issues and implementing solutions, you can overcome challenges and ensure a smooth and successful process when sewing quilt squares together by hand.

Conclusion
Hand-sewing quilt squares together adds a personal and artisanal touch to quilting. The careful pairing, sewing, and pressing of fabric squares create individual blocks that come together to form a unique and beautifully crafted quilt. This method allows for creative expression, precision, and a sense of accomplishment in creating a handmade textile piece.
