Free Motion Quilting Rulers: 3 Steps to Start Machine Quilting
Free Motion Quilting Rulers always has been an extremely popular destination in sewing for a long time. This article was created exactly both for beginners and experienced people who sew to show how to use machine quilt with rulers. It will help you to discover something you might don’t know about quilting, ruler foot, and low shank.
Prepare a good ruler and a new ruler foot to start machine quilting
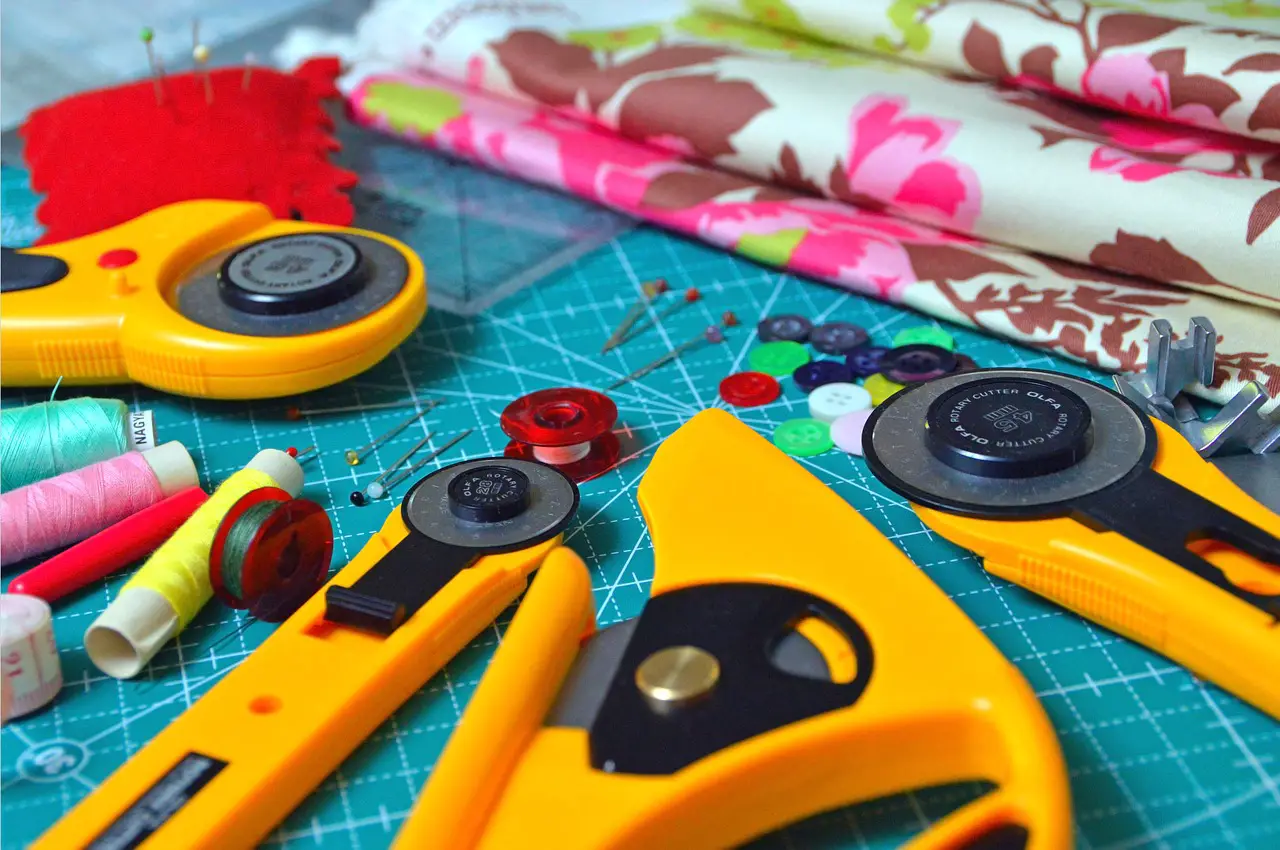
Before starting doing machine quilting you need to purchase the following instruments:
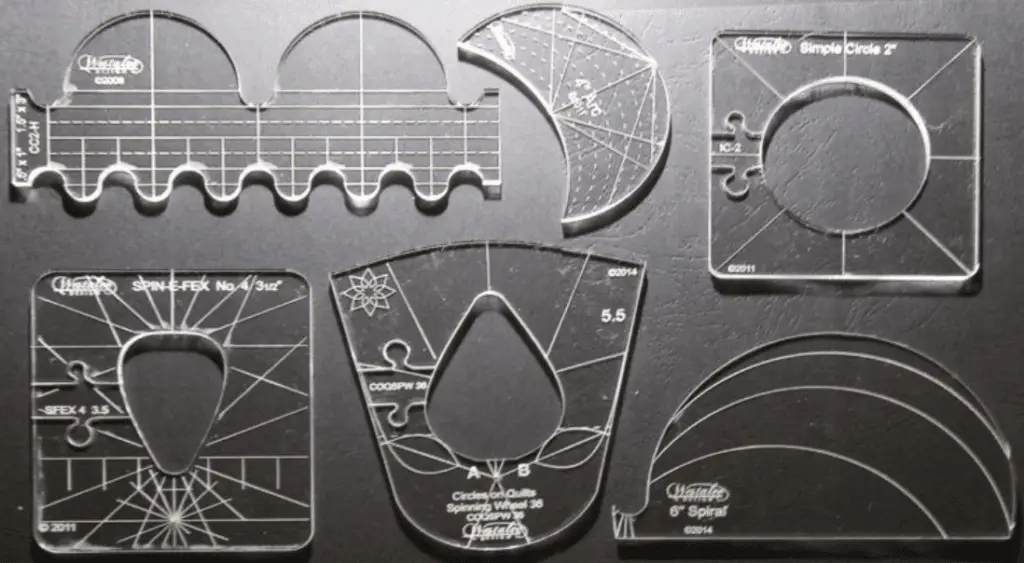
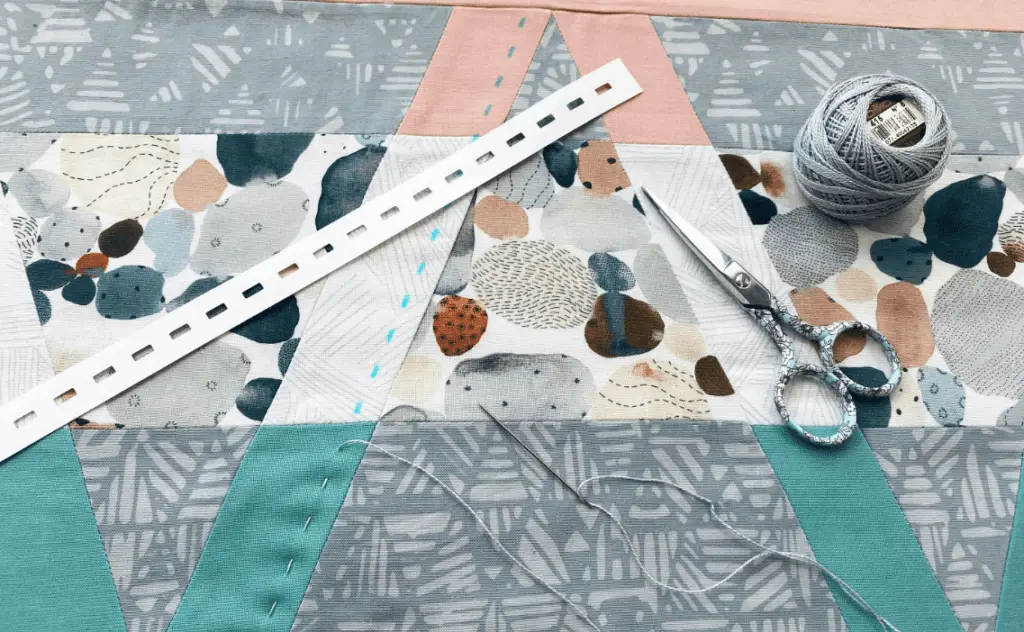
- a good non-color ruler you will use to measure when using sewing machine quilting;
- a reliable ruler foot;
- pieces of fabrics you are going to sew on;
- a sewing machine.
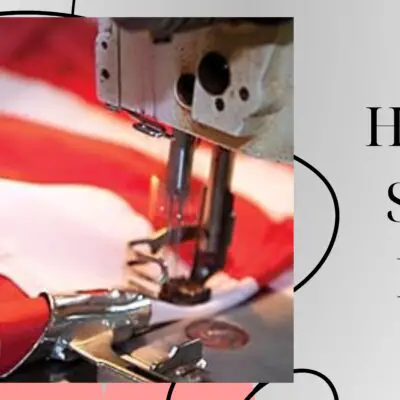
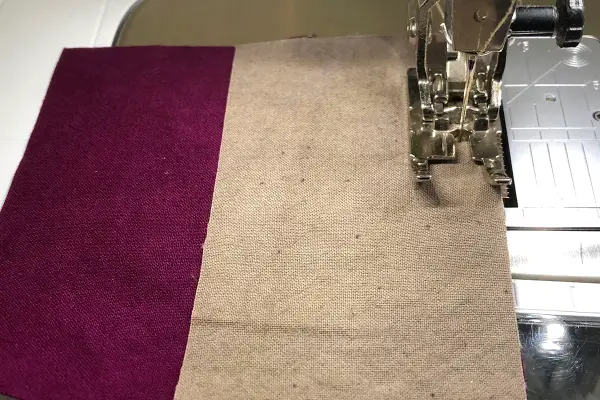
A ruler’s foot is literally a free-motion quilting foot with a higher lip on it. It means that a higher profile is going to prevent your instrument from slipping over the foot and go right into the needle.
If that happens, you can break your needle or even brake it. I suppose you don’t think that happened. It is not a necessity to do, but we find it extremely useful and can give your recommendations to do it, especially if you plan to use it a lot.
Most sewing machines can be fitted with a ruler’s foot.
Let’s see at your basic free motion quilting foot, they are all about the same. But you need to turn it over and take a look on the back, you must see that there is a screw. You can loosen it and take that ruler foot attachment off.
Then even if you have quilting feet chances that you may go ahead and get that ruler attachment for it are extremely high.
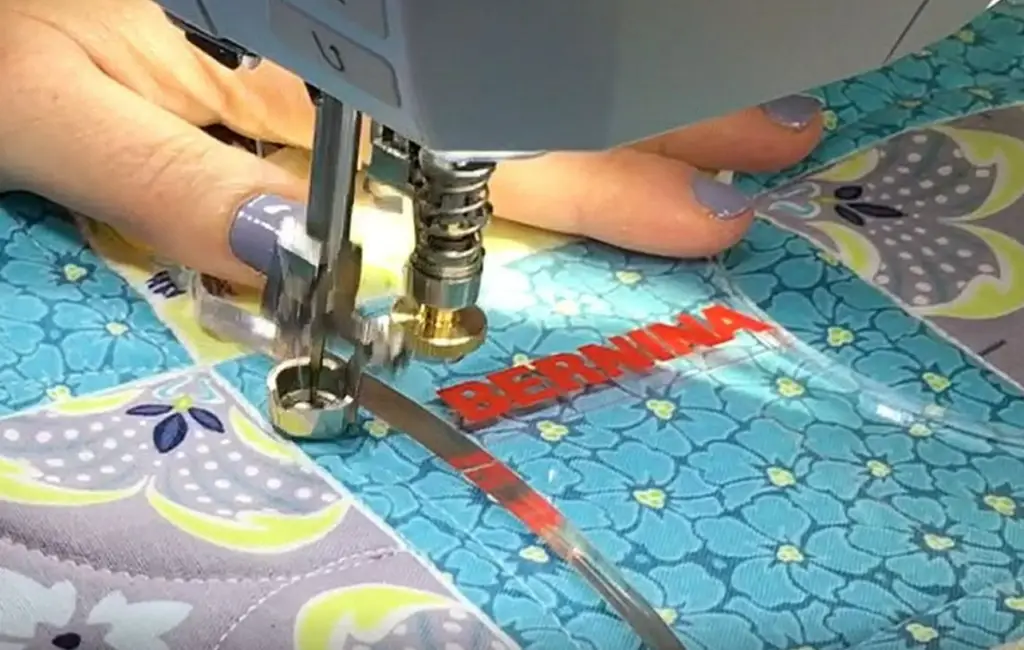
Choosing a Free Motion Quilting Rulers for your machine foot with Bernina
Another important point to starting machine quilting is to choose rulers that will compatible with your sewing machine and it has an acceptable price.
If you are not sure about your sewing machine manufacturing company that produces the ruler foot you need, you can read reviews of that machines and then choose what ruler foot will suit you the most.
Also, you can know about the shopping purchase price and shipping or even search for that data and service and visit the company’s official site.
Here is a good example of Bernina machines. You can get any information you need on our website. There are always lots of special relevant information on different topics there: from currently shipping prices they have at all and the price on every machine in the 2022 Bernina lineup even to comments and advice on sewing machines.
You can use a ruler even with a low shank you have
Many people are having questions about the possibility to use a new ruler with a sewing machine that has a low shank foot or high shank.
The most important thing is that height of the foot is exactly that parameter that determines its use. Low shank machines have a foot closer to the machine. After that, you can take your ruler and measure it and decide, whether your ruler will be suitable for machine quilting and its ruler’s foot or not.
But don’t get upset if the ruler you are about to start using is higher than you supposed, you definitely can quilt with rulers. The best option for this is to work on the left side or on the front of the foot. You can select the best variant for yourself after some time quilting with rulers.
Things you need to have to improve the work quality
Many professionals advise you to check out a Supreme Slider as it will give you a great and smooth slick surface that will allow you to go easier while you are quilting.
The next feature which is worth using is pair of gloves. There are really helpful the times you are working on big projects as they will keep your hands in safety and protect you from small injuries.
Quilting stitches with a ruler
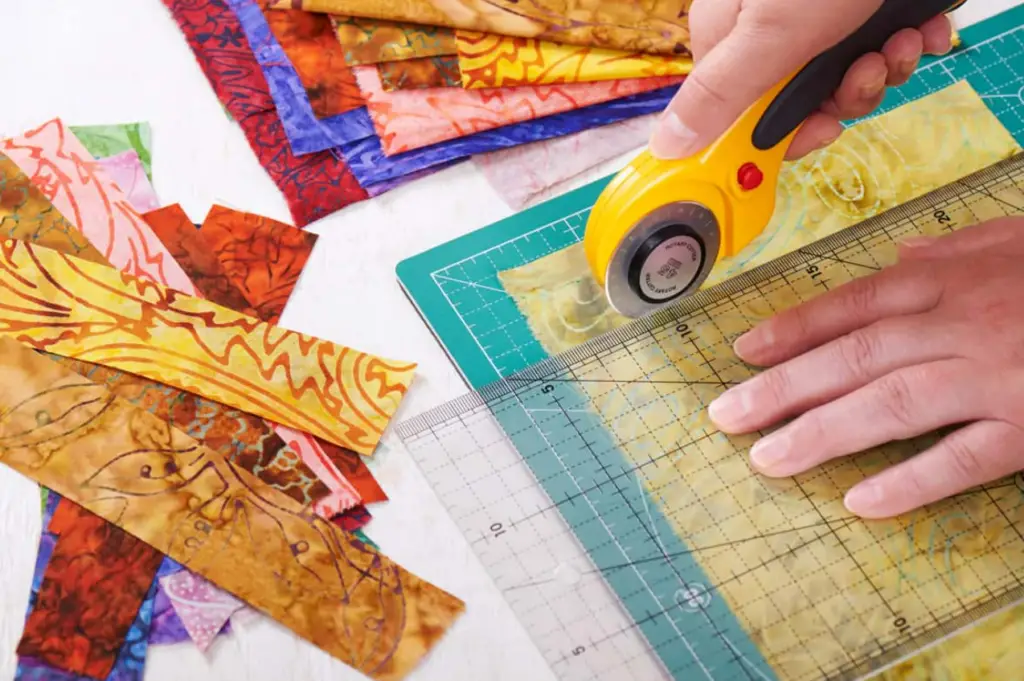
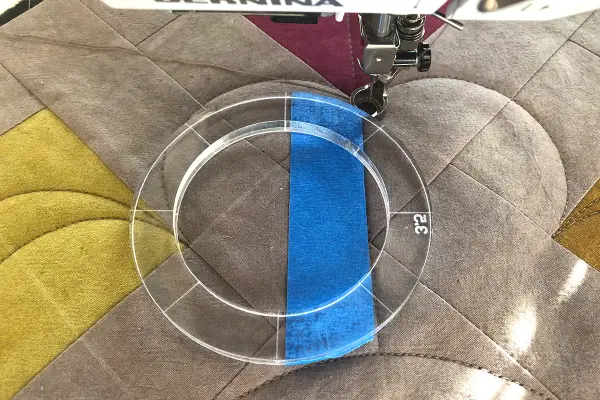
Now when you are ready to quilt with a non-color ruler with templates you should think that it is like a handle for your quilt.
Set the ruler in a position where you want to go first. Once you have it in a right place, press down with your hand and have your other hand on the opposite side. Then moving a quilt you can run it forward with your ruler.
When you are pressing down, activate that grip on the back of the ruler and that it is helping it to hold in a place. Once you decide that you are ready to move on with your line you can just reposition your ruler like move to the top or slide it down and then continue on making stitches.
At the time you sew, you might draw attention to a little sign on the ruler that is called a needle stop. This sign is used when you want to quilt all around the ruler, you can make it a repetitive shape. Also, you can use it as a guide along your seam.
If you put a needle seam something right before the new one seam starts, it will go somewhere flush with the quilt up there, check it before starting. It is especially helpful when you don’t see the direction of quilting.
If you push the quilt away and bring the quilting towards you, the movements are going to be exactly what you did before. So once you have it in place, push it down and start moving the quilt along that ruler. When you run out of space, just make a reposition of your ruler shank and then go on of templates.
You must remember that you are going to the straight ish lines, we do not need to have them perfectly straight, so free motion can help you to make your stitches even more straighter.
To make vertical lines, you are recommended to work with a long side of a ruler foot. It what we described above in this article, even if you can’t fit the ruler somewhere on your fabric, you don’t tend to work in that direction, because foot doesn’t get in the way.
In horizontal position you just need to make the same actions you did moments ago, push down and move over. Expect you don’t have enough space next to the ruler, you should put them on the top of the ruler and then move it further.
You may continue or go back to the quilt. If you pick up the second option, either put a ruler on a previous quilted line or just pass it. Press down and move the whole quilt lengthwise the way. We are sure that you are having a nice straight ish line you got with your machine quilting.
In case you don’t want to have that lines so close to each other, search for the reference lines on the back your ruler. They come in handy.
If you put your ruler next to the line you quilted previous, you will have at about a quarter inch space between them. But if you put on dashed lines on your ruler on a previously quilted line, you are going to get at about a half an inch spacing.
So as you can understand that marking on rulers template are very important while using machines foot, they help you to keep the spacing on the right distance.
If you want to quilting the line that is longer than ruler you have, all you need to do is have quilting, reposition it further and continue to sew. So it will work over the entire machine quilting or within defined areas like your borders without a doubt.
Rulers with round-shape corners
What is more, if your rulers have rounded edges, you can make different neat designs using them. However, if you are a newbie, you could find it rather a great difficulty to quit of machine quilting with a ruler.
The best of options you can have is to make special little corners that they will let you know and see what it is like and if you get used to sew with machines and rulers on corners you can decide is it necessary to curve it or not.

Depending on what you want to try some more new designs, set into a new position, you need to work around rulers.
Keep using options of a ruler foot flush to the right of the foot into the ruler. As you go around the curve the point of contact is about to change and you will have a new point of the foot. Eventually, the end up is coming around to the bottom of the ruler foot.
When you are turning that curve check that your point of contact between your ruler and a ruler foot going to be a bit different. Keep in mind, that foot of the shank will help you to keep a curve nice and smooth.
If you want to repeat and do it again, all you need to do is just move your rulers over and make machine quilting one more time. You can definitely pause and reposition your hands.
If you would like to have great funny designs made with your machine at a low price, you can just do that machine quilting upside down what will allow you to create some unique templates from world of designs.
For this you need to rotate a fabric template to continue making templates when you have touched your previous stitched with machines line.
That design you created rotating ruler foot will help you to create some sort of template that will remind you leaves and nature in general.
Take a look at that middle line right on your ruler. It will tell you, whether you are following your template or you need correct a foot shank on a machine.
Favorite peculiarities about quilting with a ruler foot
Our rulers and machines can help you to change templates designs. It is one of the most favorite features of many people who sew. If you are quilting all way around it gives you a really wide shape, but quilting until you get to that middle dashed line gives you a narrow shape.
To make a narrow design you do not need to make something unusual. Go to mid-line and just make a reposition of ruler shank to another place on the fabrics.
3 steps to start machine quilting right now
In this article we reviewed how to work with a specialized ruler that will help you to master in machine quilting technique just in 3 steps:
- prepare the necessary tools;
- select a design you want to sew;
- follow our instructions about doing machine quilting using a ruler properly.
We are sure that we managed to answer many of your questions and helped you to grasp the basic rules of these actions.
Your best feedback will be simply subscribing and sharing our content with your friends!
Related Posts
How To Sew A Tote Bag With A Flat Bottom?
How To Sew Tulle By Hand?
How To Sew Fishnet Fabric?
How To Sew Quilt Squares Together By Hand?
How To Sew Polyester Fabric?
How To Sew Spaghetti Straps?
How To Do A Closure Sew-In?
How To Do A Full Sew-In Weave?
Uilt Sqhow To Sew Quares Together?