
How to Sew a Patch on a Hat?

This step-by-step guide is created for those who have started using a sewing machine some time ago and what to know how to sew a patch on a hat and aimed to save time for you. We are going to reveal simple secrets on how to attach a patch to a hat.
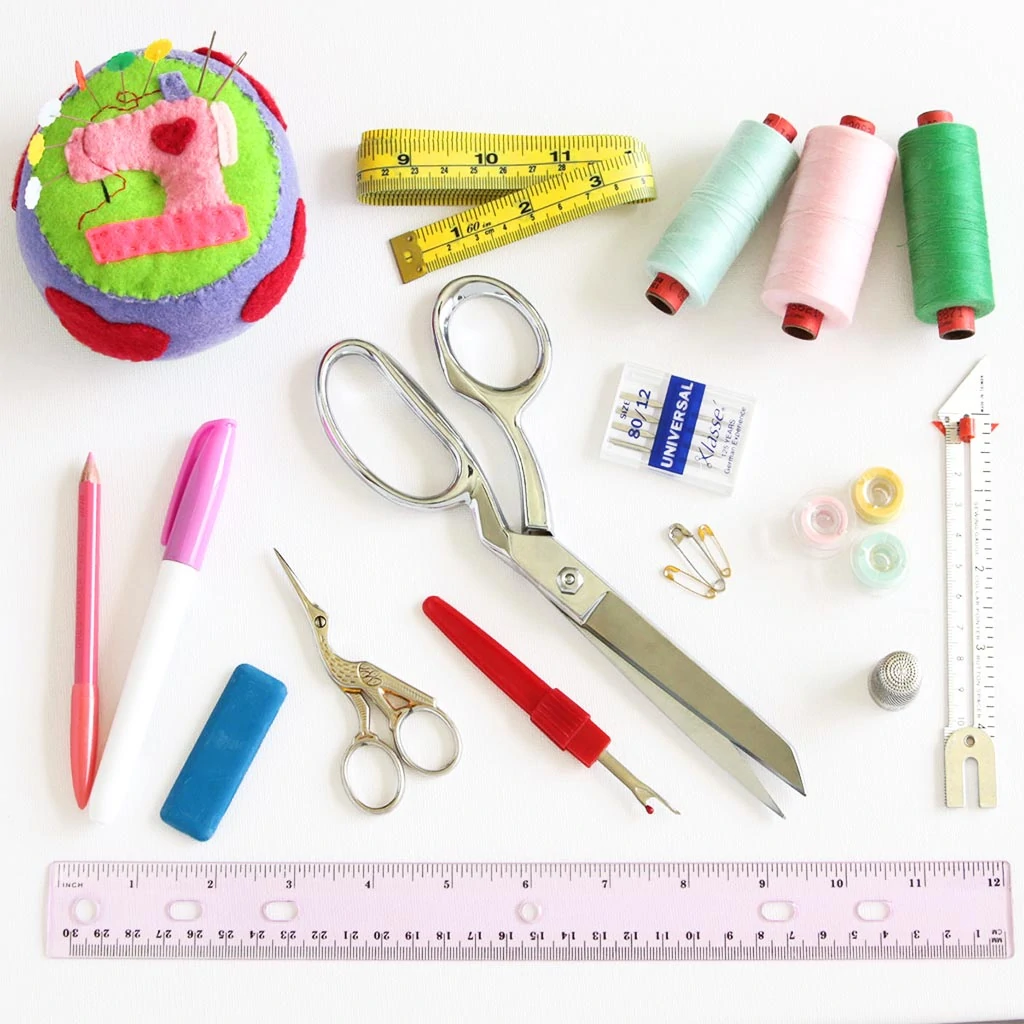
What instruments do I need to start sewing a patch on a hat?
- A thread;
- A needle;
- A piece of fabric to produce a patch;
- A sewing machine.
After you prepared all supplies to start sewing custom hat patches we can continue.
How to sew a patch on a hat with a sewing machine help?
Sewing a patch on a hat may be your solution to make your headgear unique. It is even not difficult. All you need to do to do these actions is to take your sewing machine which will help you to make this process a bit easier.
So let’s go on and review several elementary steps on how to sew the patch on your headwear.
Step 1. Selecting or create embroidered patches you like
First, you need to do this before sewing to choose a patch you will put on your hat. It is necessary to select or even create that one that will pass your hat with sizes and color palettes. What is more, you can even produce an embroidered patch on your own.
It may be difficult for beginners to use an embroidery machine and to create custom patches sewn on a hat you need to acquire certain skills, but in this way you can have full control over the whole project – from sketching to embroidery.

Step 2. Pinning an embroidered patch to your head garment
The next stage is positioning your patch on the hat. You can help yourself with marking corners and the end of your patch. After that, everyone pins your patch both with its pointed ends and in the patch center. It can prevent your sewing machine needle from booking them.
It is possible that your patch is small enough to have been pinned on the hat. In this case, it is recommended to use fabric glue. It is better to use washable glue as you can just wash it out after sewing.
Step 3. Sewing the patches
Before you start you need to take your hat inside out. After that, you need to thread your sewing machine needle and set the stitch length. As an option, you can also you decorative stitch thread or an embroidery stitch.
To keep your decorated stitch from becoming lose it is recommended to use a stabilizer on the back of your patch.
During the time you use your sewing machine, sew around the edges of the patch on the hat. Then you need to start by sewing straight stitches around. To secure your patch you need to sew along with a narrow zigzag stitch.
That narrow zigzag stitch has the possibility to give the stretch your fabric needs.
So, continue sewing around and remember to get rid of that pins before reaching them.
Do backstitching at the beginning and before you reach your starting point; backstitching will help your fabric to be secure in that area.
Step 4. Cutting an excess thread
After that, you have sewn around your patch, and you can easily cut off all of the excess thread you have left. Next, you should do, is have a knot tied on its back side.
How to sew a patch on a hat with no embroidery machine or sewing machine?
Sewing a patch by hand is not a more complicated process in comparison with sewing machine actions, as you could think before. It still consists of a few simple steps you need to follow to sew a patch.
So, below there is a list of things you need to use right now:
- Your hat;
- A patch you want to put on the hat; as an alternative, you can have a piece of fabric to produce a patch on your own;
- A needle;
- A thread.
Necessary to remember, that if the hole is located in a high-visible area, it is important to use some fabric as a filler. What is more, try to choose a color that will match your hat the most.
On the other hand, if you have a hole in a slightly-visible spot, you have an opportunity to use a fabric of any color you want.
How to sew the patch to a hat by hand?
Once you have put your patch in the right place, you can perform sewing using your thread and the needle. As usual, you need to put the thread through the needle and after that have a knot at its end.
After you attach your patch to the hat, you need to knot the thread inside of the hat. And it is the end of the by-hand method!
Different ways hot to attach the patch to the hats
It is really important to attach your patch to your hat to secure it from falling away or being destructured. Also, you need to do it this way it won’t harm your hats.
Two basic ways how you can do it – the first is using a hot iron or the second is using fabric glue or hot glue.
What to do with the iron-on patches?
If you have an iron-on patch, then you should use a hot iron. It is used to pin the hat as well as in a secure way to prevent it from falling away. After using it, put the patch in the position you will it to do.
If you have used an iron, you need to be careful with putting the patch on a heat-resistant surface before applying it to the fabric.
After that, you need to heat your iron to the maximum temperature settings. The next thing you need to do is put a sort of a covering over your hat and press with an iron for at about 5-10 seconds.
Remove the covering and apply your patch to a cold surface to let it has a static position on your headdress.
The most important thing related to iron patches you need to remember is not to wash them in warm or hot water, in this way heat resistant surface on the hat will serve you longer.
How to glue embroidered patches?
Gluing patches to hats might be the most popular decision nowadays. It is easy to put a patch on glue in case you do not have iron-on patches. When you use fabric glue, you can have your hat easily washed and have prolonged use of the product.
What is more, if only your hat has heat resistance, you can put hot glue for better effectiveness.
So, to use glue you first need to extract it out on the back side of your patch. Next, you need to add some more glue to the place on your hat where are you planning to place the patch.
How to make my patch stronger on the headdress?
You need to press your patch and hold it with your fingers for at least thirty seconds. Give your hat a bit time to be dried well before wearing it.
You must keep in mind, that gluing is less reliable than sewing a patch. And it does not depend on how good your glue is.
How can I sew a patch on a baseball cap or knit cap?
Baseball caps and knit caps with some unique and interesting logo patches on their surface have become the latest fashion trend lately. The most traditional methods are – use a cap driver on your sewing machine or get a cap backing.
Instruments that will help to sew a patch on caps
As usual, before sewing you need to prepare the following supplies:
- a needle;
- a thread;
- a pair of scissors;
- a sewing machine – actually, it is optional, but you can use it for your convenience;
- your patch;
- a baseball cap.
Steps to sew a patch on headwear for baseball
First, you need to do is snip a piece of fabric that will be a bit bigger than the hole on the caps and then pin that fabric in place. To sew a piece of fabric on the spot you need to use your thread and needle inside it.
It is recommended to start sewing from the center of your patch with a few stitches there. Later you can go along the perimeter of the whole fabric to attach your stuff.
When you are sure that you have attached your material, you can easily cut off all the odd threads you have after sewing.
That’s how you can make your baseball caps more attractive and a bit individual with patches.
How can I deal with leather patches on the caps?
People would like to have a leather patch on their headgear because of its design, patterns, and long-term use. However, you need to know about the major rules of working with this type of patch.
Many designers nowadays prefer sewing over putting glue on leather badges. Yes, you do not need to take your needle at all, you can attach it in several common steps which we have described above in this article.
Why glue is better for my leather patch?
So, if you decided to put it on your garment you want to know about the benefits this method has.
The first one is that you can have full control over the place of the patch on a hat using glue.
Secondly, it is easier to deal with such a thick material as leather through the paste rather than with a sewing machine and its needle.
What stitches can I use to sew on an embroidered patch?
There are lots of different opinions about what stitches are the best ones to sew on patches. Many people believe that running stitch is really the most valuable to sew the badge on your headwear, it suits ready-made patches.
When it is necessary to attach my speckle?
It can be made by hand or with a sewing machine use, but it is necessary to attach your patch to a hat during this process before you start working on it. To have a professional finish you should you the same colored thread as your patch. The benefits of having a professional finish are obvious: your head garment will look neat and nice, and it is more reliable to have it to give extra strength to your patch on the hat.
Three simple steps to sew a badge right now
- Have your needle threaded and the knot is tied at its end;
- Position your speck over the hole or just in the place you like to have it;
- Start sewing by going along the whole patch perimeter.
Conclusions How to Sew a Patch on a Hat
All in all, in this article we described how to sew a patch on a hat in different convenient-for-you ways – using a machine or by hand. Now you have known, that if your favorite head garment has a hole in it, you don’t need to throw it away, just put a patch over that hole.
We are sure that you learned a lot from our guide and now you need only more practice to perform well with various patches on numerous fabrics you can only imagine.
The best thing you can give us back for this DIY tutorial is sharing out content and educational material with your friend and relatives who are also fond of sewing!
Related Posts
How To Sew On Velcro Strips With Sewing Machine?
How To Sew A Tote Bag With A Flat Bottom?
How To Sew Tulle By Hand?
How To Sew Fishnet Fabric?
How To Sew Quilt Squares Together By Hand?
How To Sew Polyester Fabric?

How To Sew Spaghetti Straps?
How To Do A Closure Sew-In?
How To Do A Full Sew-In Weave?
5 thoughts on “How to Sew a Patch on a Hat?”