
How to Sew a Zipper In a Pillow? – It’s Even Easier Than You Think
This stepwise tutorial in DIY format can be used even to sew zippered pillow covers that will serve you a long time and save their appearance at the same time. All the answers and other useful materials on How to Sew a Zipper In a Pillow you can find in this article consist of professionals’ comments, and every point is followed by a photo or even a video that explains it and affiliate links that also may be useful for you.
We are sure that this article is exactly what you search for!
What are pillows for and how to make them more attractive?
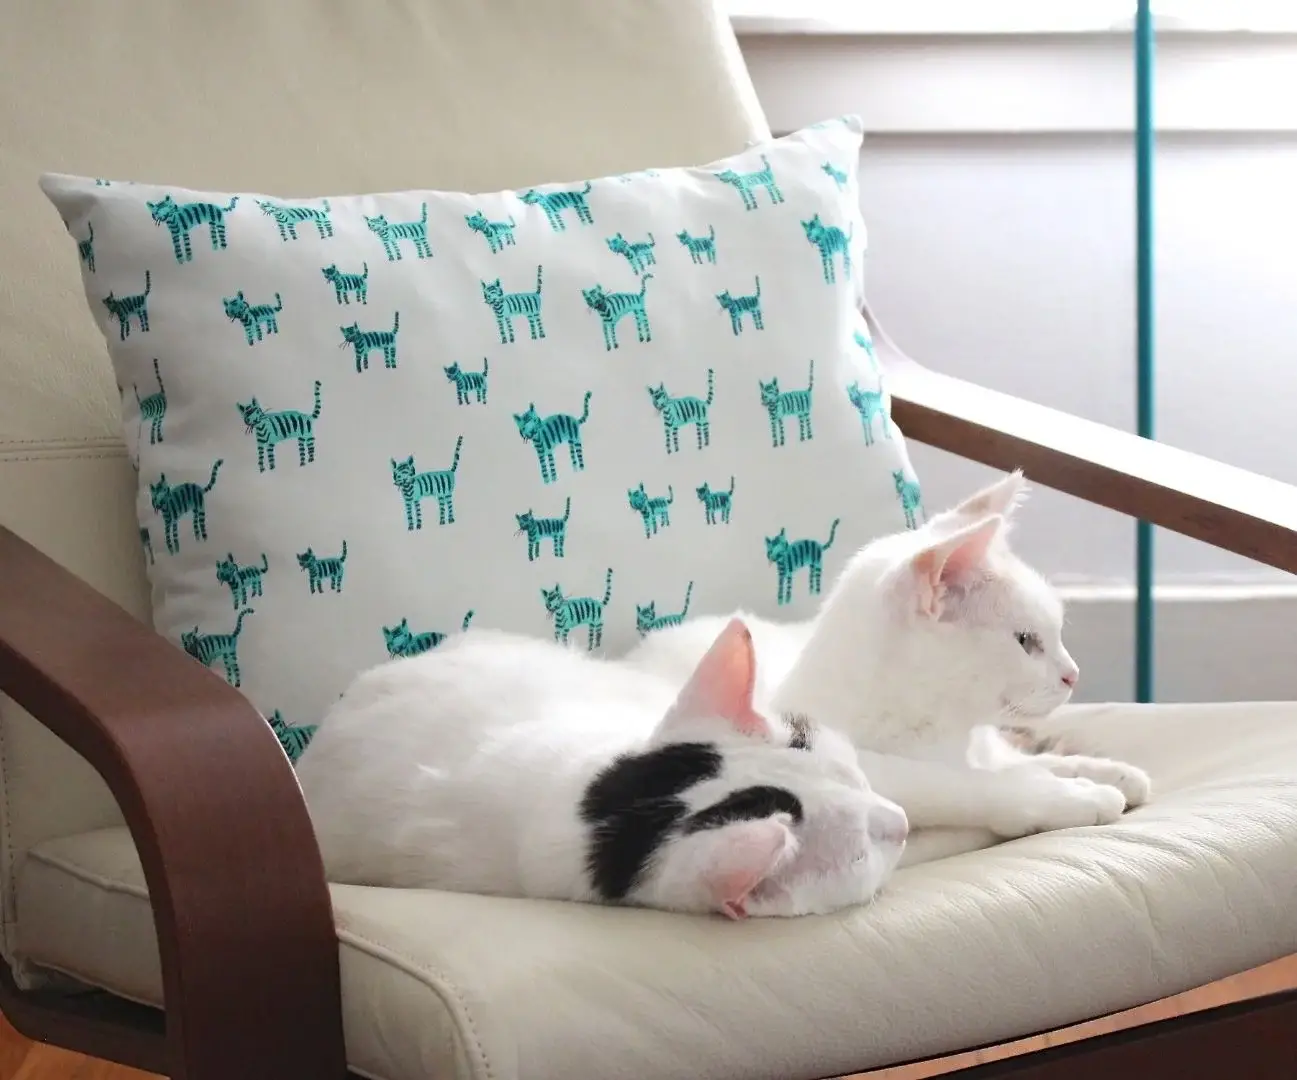
Nowadays pillows became not only an instrument we use for sleeping but as well a precious and lovely accessory almost for every room in your dwelling.
And you might have known the problem when you throw pillows and they wear out too quickly. For these reasons, you may use a pillow cover to prolong the life of your pillow.
What instruments do you need to sew a zipper in pillow covers?
Whether you sew a jersey knit or zipper you’ll need to equipment. Here is the list of equipment.
- the fabric of your choice and taste;
- a measuring tape to measure your pillow form and pillow cover; it depends on your pillow size, but tapes no longer than 2 feet long are used in general;
- a pillow form;
- scissors cut pieces of fabric easily and the second pair of scissors to use in a sewing machine;
- a seam ripper, some fabric markers to have required fields are marked on your fabric or to mark corners for quality stitching to make it more convenient for yourself;
- a purple thang to push out each the corner of your pillow;
- also, you will need a zipper or even zippers if you want to make several of them on your pillow;
- take pins to pin pieces of fabric;
- an invisible* ruler or some kind of measuring stuff that will help to cut your fabric out;
*in this tutorial it is recommended to have an invisible ruler as it will be easier for you to see what you measure, but you may look for a specialized video to explain you to choose the right instrument*
- certainly, you will need your sewing machine;
- a regular presser foot and a zipper foot.;
- take a thread of color you need to match your fabric.
Step number 1: Measuring
After that you take all the things you need to sew the zipper in a pillow you need to measure the pillow form you have to work with, you need to take your measuring tape and start at one seam and go across the whole pillow to the other one.
A peculiarity of the rectangle shape of the pillow
If you have a rectangle pillow form you need to measure its both length and width. Measure the pillow from the bottom edge to the top edge.
When you cut out your pieces of fabric you make them exactly as the pillow sizes. You may write down the pillow’s parameters an inch to make it easier to calculate the pillow cover size.
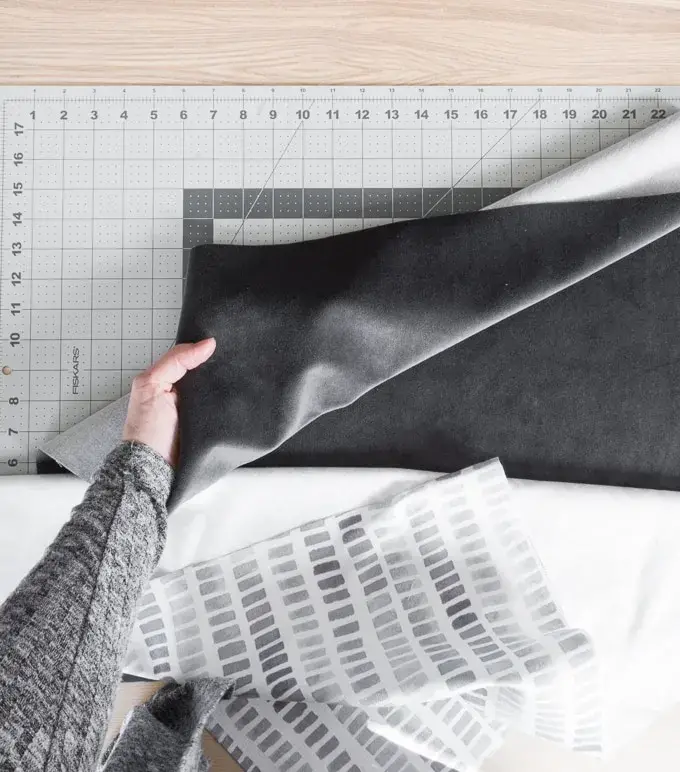
Step number 2: Cutting the fabric and making stitches
Cut out the front and the back of the fabric you want to put as your pillow cover.
The next thing you need to do to prevent your future pillow cover from fraying and stretching is to stretch around throughout the fabric or every side of the pillow cover if it is rectangular or square shaped.
Also, you may make a zig-zag stitch using your sewing machine.
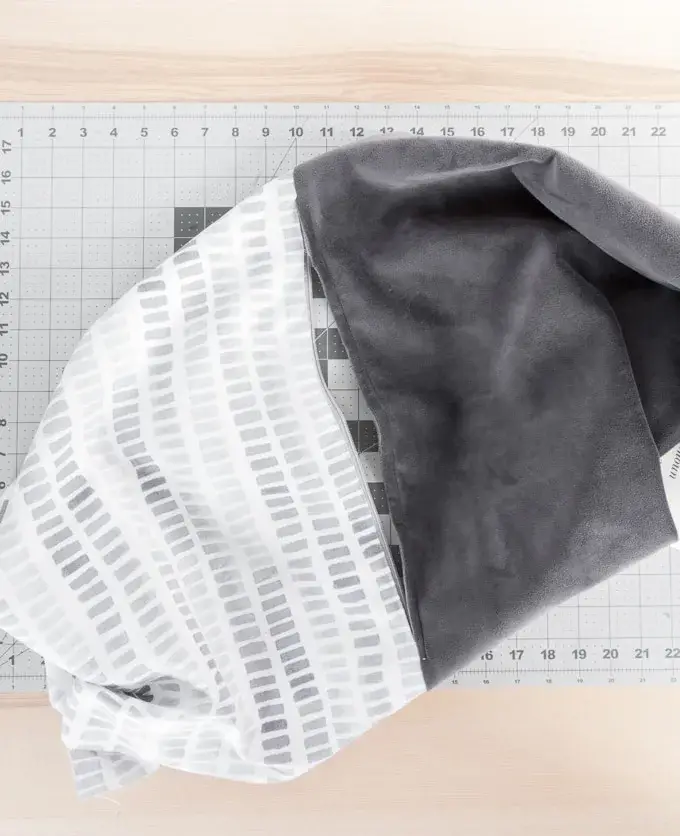
Step number 3: Preparations for stitching your fabric
Now you should put two pieces of fabric next to each other, then select the right sides together, after that mark on your fabric where are you going to put your zipper.
Next, put a ruler at the bottom edge of the fabric, and with a selected fabric marker you need to mark two and a half inches.
On the opposite edge of the fabric, you need to make the same marking.
These manipulations in the tutorial will allow you to pin the bottom edge and you can sew a seam for your zipper.
During the time you are sewing your bottom seam, you need to make a stitch line at a medium stitch length.
When you made a mark you can also make a basting stitch on it with an even longer stitch line.
If it is required, you need to change your sewing machine settings to change the parameters to four points at the time of the basting stitch.
Step number 4: Making a straight stitch on the bottom edge
When you start a bottom seam allowance of the zippers, do a backstitch with a machine first using a stitch of a medium till you get your mark and pin it on.
When you are doing a reverse make sure to pull out that pin or pins you have inserted before.
On the next point you have marked in the previous phase, you can make a reliable backstitch that will be invisible and practical enough.
Step number 5: Taking a longer stitch
In step 5 you can change your stitch to a longer one, but no longer than your pillow cover long in inch, as it was described earlier.
It will allow you to make a basting stitch until you get your next mark.
On the opposite edge of the fabric at one side, you prepared for a zipper you should do all the things written above. Continue until your stitch is ready.
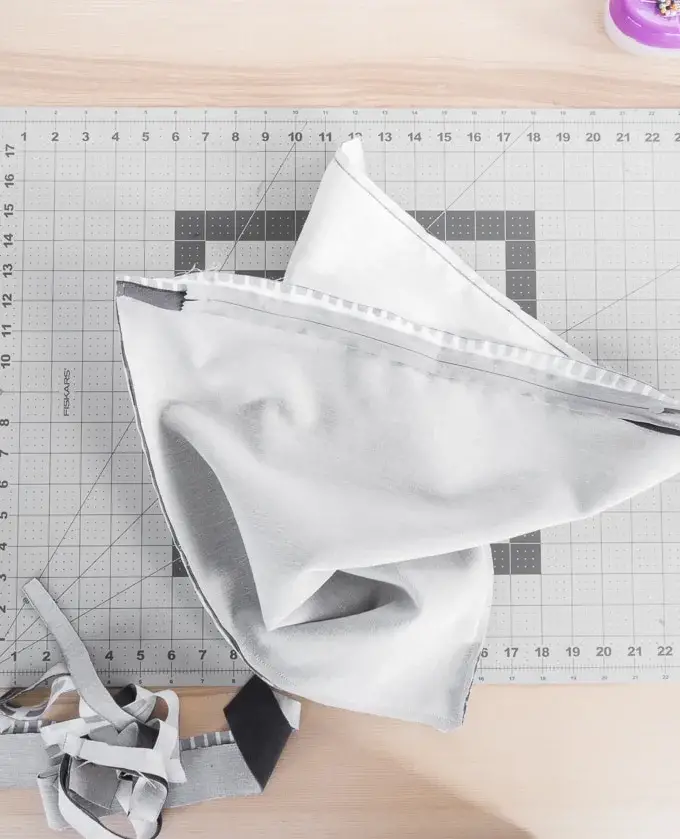
Step number 6: Making your seams straight and right directed
Once you have sewn your seam at the bottom lay out your fabric with the right side down and your seam up.
Next, you need to do is finger press or even iron for a better effect on your seams.
Step number 7: Choosing a suitable zipper for your pillow cover
Picking a zipper for your pillow cover is really very important, even more, important than you can even imagine.
You need to choose the one which will be attractive to you, they need to zip function well and the main question is about how much is it long.
If you are sewing into a zipper for the first time you may turn to more experienced professionals or look for some websites that explain how to choose it properly.
All you need to remember is that you should always pick a zipper long less than the pillow cover of your pillow long.
It is recommended to take a zipper that is 25 percent shorter than a pillow.
After that you chose a zipper for your pillow cover you may put it along a bottom seam and it will work the best way for your fabric you could ever imagine.
Step number 8: Sewing a zipper and adding a zipper foot
When you a ready to sew along your zipper with your pillow cover put your zipper face side down and place it right in the center between the edges on a pillow cover fabric.
The next thing to do to sew a zipper in a pillow cover in our DIY tutorial is to place the zipper lined up with your seam.
For your convenience, it is possible to pin in place of a zipper where it is necessary to do.
Before we move further to sew a zipper you need to change a presser foot and necessarily add a zipper foot as it is shown in the photo below.
Step number 9: Sewing a zipper on pillows
However, before we start to sew a zipper using a sewing machine, you need to learn a tutorial about zippers.
Lower the zipper a little way and after that, you should be confident in that the tab is not down.
Then you may start sewing the zipper into the seams. Make sure again that the teeth of the zipper are right side together with your seam.
After you continue to sew the edge of the zipper along both of its edges. We can recommend you start from the top side and move to the bottom side.
Once you get to the zipper, you must stop with your needle in the fabric. And then pull the zipper up so it will part your zipper foot.
When you get to the zipper bottom you are about to stop and make sure that your needle is down as you need to race the presser foot next and then pivot the fabric you are making pillow covers for your pillows.
Step number 10: Change the direction way you sew
After changing the direction way to sew you need to make the bottom of the zipper sewn across.
Don’t forget to lower your needle, again and again, every time you change the side you make a straight stitch.
After pivoting your fabric one more time you need to run the zipper foot and sew all the second side of the zipper.
After opening your batches you may make sure to open a move down a little your zipper foot.
Unzip the zipper for a few centimeters again as you will work around it when we get to this sew point again.
If you did everything as it was described you should have reached the top of the zipper.
Repeating all as it was described in this part of our tutorial you will cope with it easily.
Step number 11: Taking out a stitch from the zippered pillow cover
Once you have your zippers sewn right side you need to take out a stitch you made.
Lay your fabric down with a side that has a zipper on it and your basting stitch seam allowance is on top.
Take a seam ripper, you prepared at the beginning of the DIY, and take out an invisible basting stitch with the most care you can only.
Do it for sure if only you don’t want to rip your fabric.
Have a small cut on the edges to start it and after that use, a side with a red ball on it, go down all the pillow across.
Step number 12: Get out of unnecessary elements on the pillow cover
Cut the stitches that way so you can use your zipper in place in a zippered pillow cover properly.
Do iron to make the whole end of the zipper straight.
After you ripped the fabric, open stitches and take away thread stitches out of it, just pluck it with your fingers or even you can use duct tape.
Get rid of all odd things on a zippered pillow cover.
Step number 13: Pin right sides together on a zippered pillow cover
After we took away stitches and everything else we don’t need to have in our zippered pillow cover, search place your fabric with the right side of materials up again.
This way you let the end of the zipper out on the edges of the bottom of your pillow.
Next, all you need to do is just pin three unfinished sides left on your zippered pillow cover.
When you start sewing at the first corner put every seam allowance together with each other. It will help pillows to lay better even when you turned or throw a pillow.
Step number 14: Make a stitch from the backside using a small seam allowance
After that, you need to use a half-inch seam allowance to make a stitch from the back. Then you can start sewing a side of the pillow.
You sew one of the edges of the zippered pillow cover you need to make sure to step away from the other one.
Lift your presser foot and pivot the piece of fabric again to sew along the invisible other side of your pillows.
On another two corners that are left on your pillow cover, you need to make everything as you made before.
Step number 15: Trimming each corner and the end of the zipper in place
This action is not a necessity, but if you want to have your pillow look nice and neatly it is recommended to do.
You need to search them and trim the end of zippers in place on pillows and do it on its corners to make it easy to zip.
Action number twelve is made after that you sew all four corners and make it in each of four corners.
Carefully cut an angle across the corner and do not cut your stitch line to not make it sew again.
Step number 16: Turning a pillow cover right side out
The final step of the tutorial says that you need to take a zipper pull and open a pillow cover and move a pillow insert the way out.
Before you take a pillow inside of the cover you should iron it and take out the pins.
Then you can take your pillow and insert it into the pillow cover. If you used thick materials your pillow will be really invisible.
Next, you do is to move a zipper pull to zip on the top and shut a cover. Anytime you want to change a pillow or just take it away you can zip a cover and do it.
Now before we get into the conclusion here is another sewing article guide for you – The proper way to sew quilt squares.
Conclusions on how to Sew a Zipper In a Pillow
We tried to make all the information described in the tutorial easy to understand, with a useful video about stitches, a video about zippers, and really invisible tips and nice things for your future.
We really hope that sign you receive from this DIY tutorial will be helpful for you in sewing.
All you can give us back to the blog post are your subscribe and comments. Also, it will be good if you post your product made with our tips in your personal blog.
Visiting affiliate links that are in this article is not necessary, but may help you in your work.
If you will need some more questions, you can always search for this tutorial and learn from it again and again!
One thought on “How to Sew a Zipper In a Pillow? – It’s Even Easier Than You Think”