
How to Sew on a Button With 2 Holes? Step-By-Step Guide

Sewing buttons is actually one of the basic knowledge in sewing that everyone should have known. In this tutorial, we are going to tell you how to sew a two-hole button or how to sew on a button with 2 holes, a four-hole button, and a shank button on a shirt, shorts, and any other clothes.
What do I need to have to sew a button?
Well, the first thing you need to do in this step-by-step guide before start sewing is to prepare all the supplies and instruments you need to sew a button you want. So let’s go on.
A new button
There are might be different reasons why you want to sew another button, you have lost the previous one, and you want to attach it to your new product. Anyway, you should select it with a responsibility, as it must suit your garment by color and fit by size.
What is more, there are lots of other buttons that differ by structure and peculiarities, so it might be another question for you to choose the most suitable.
Here we will describe the most popular ones:
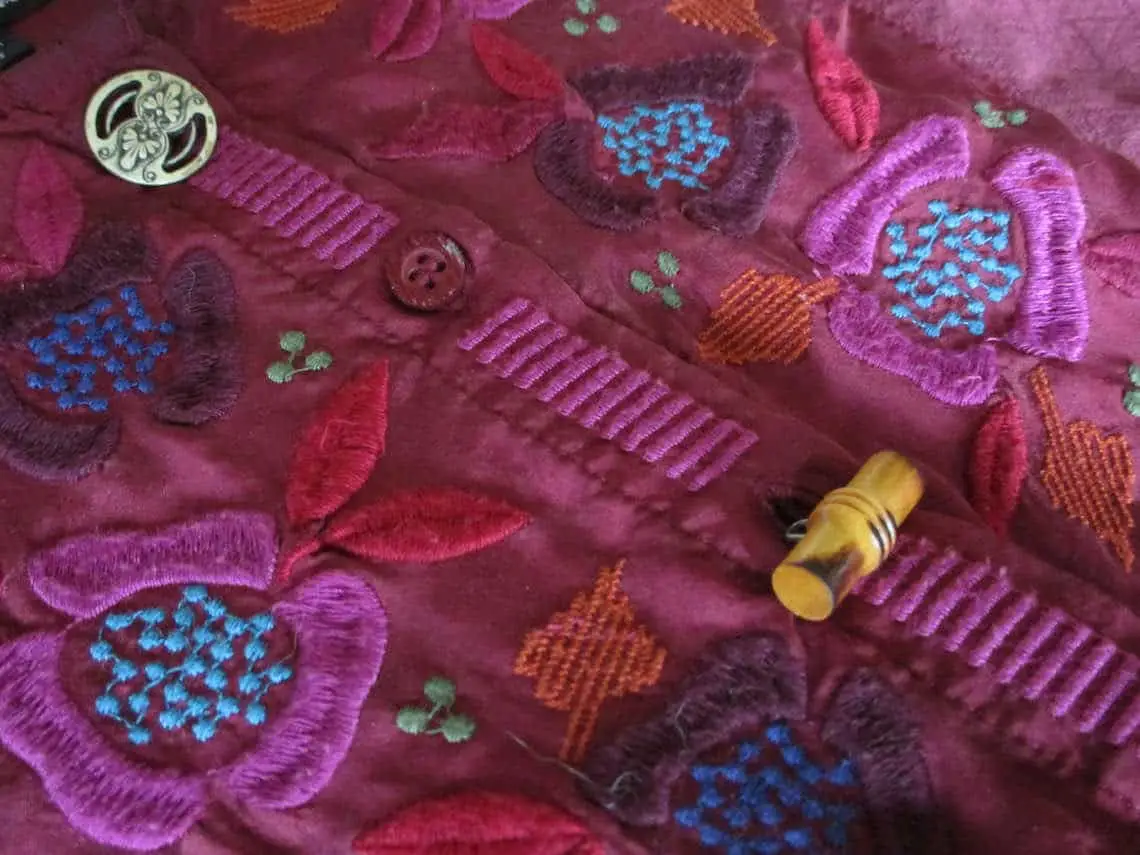
- a two-hole button – it is a classic button that can be made of various materials such as wood, plastic, and iron; it has two holes in it and it is to sew on;
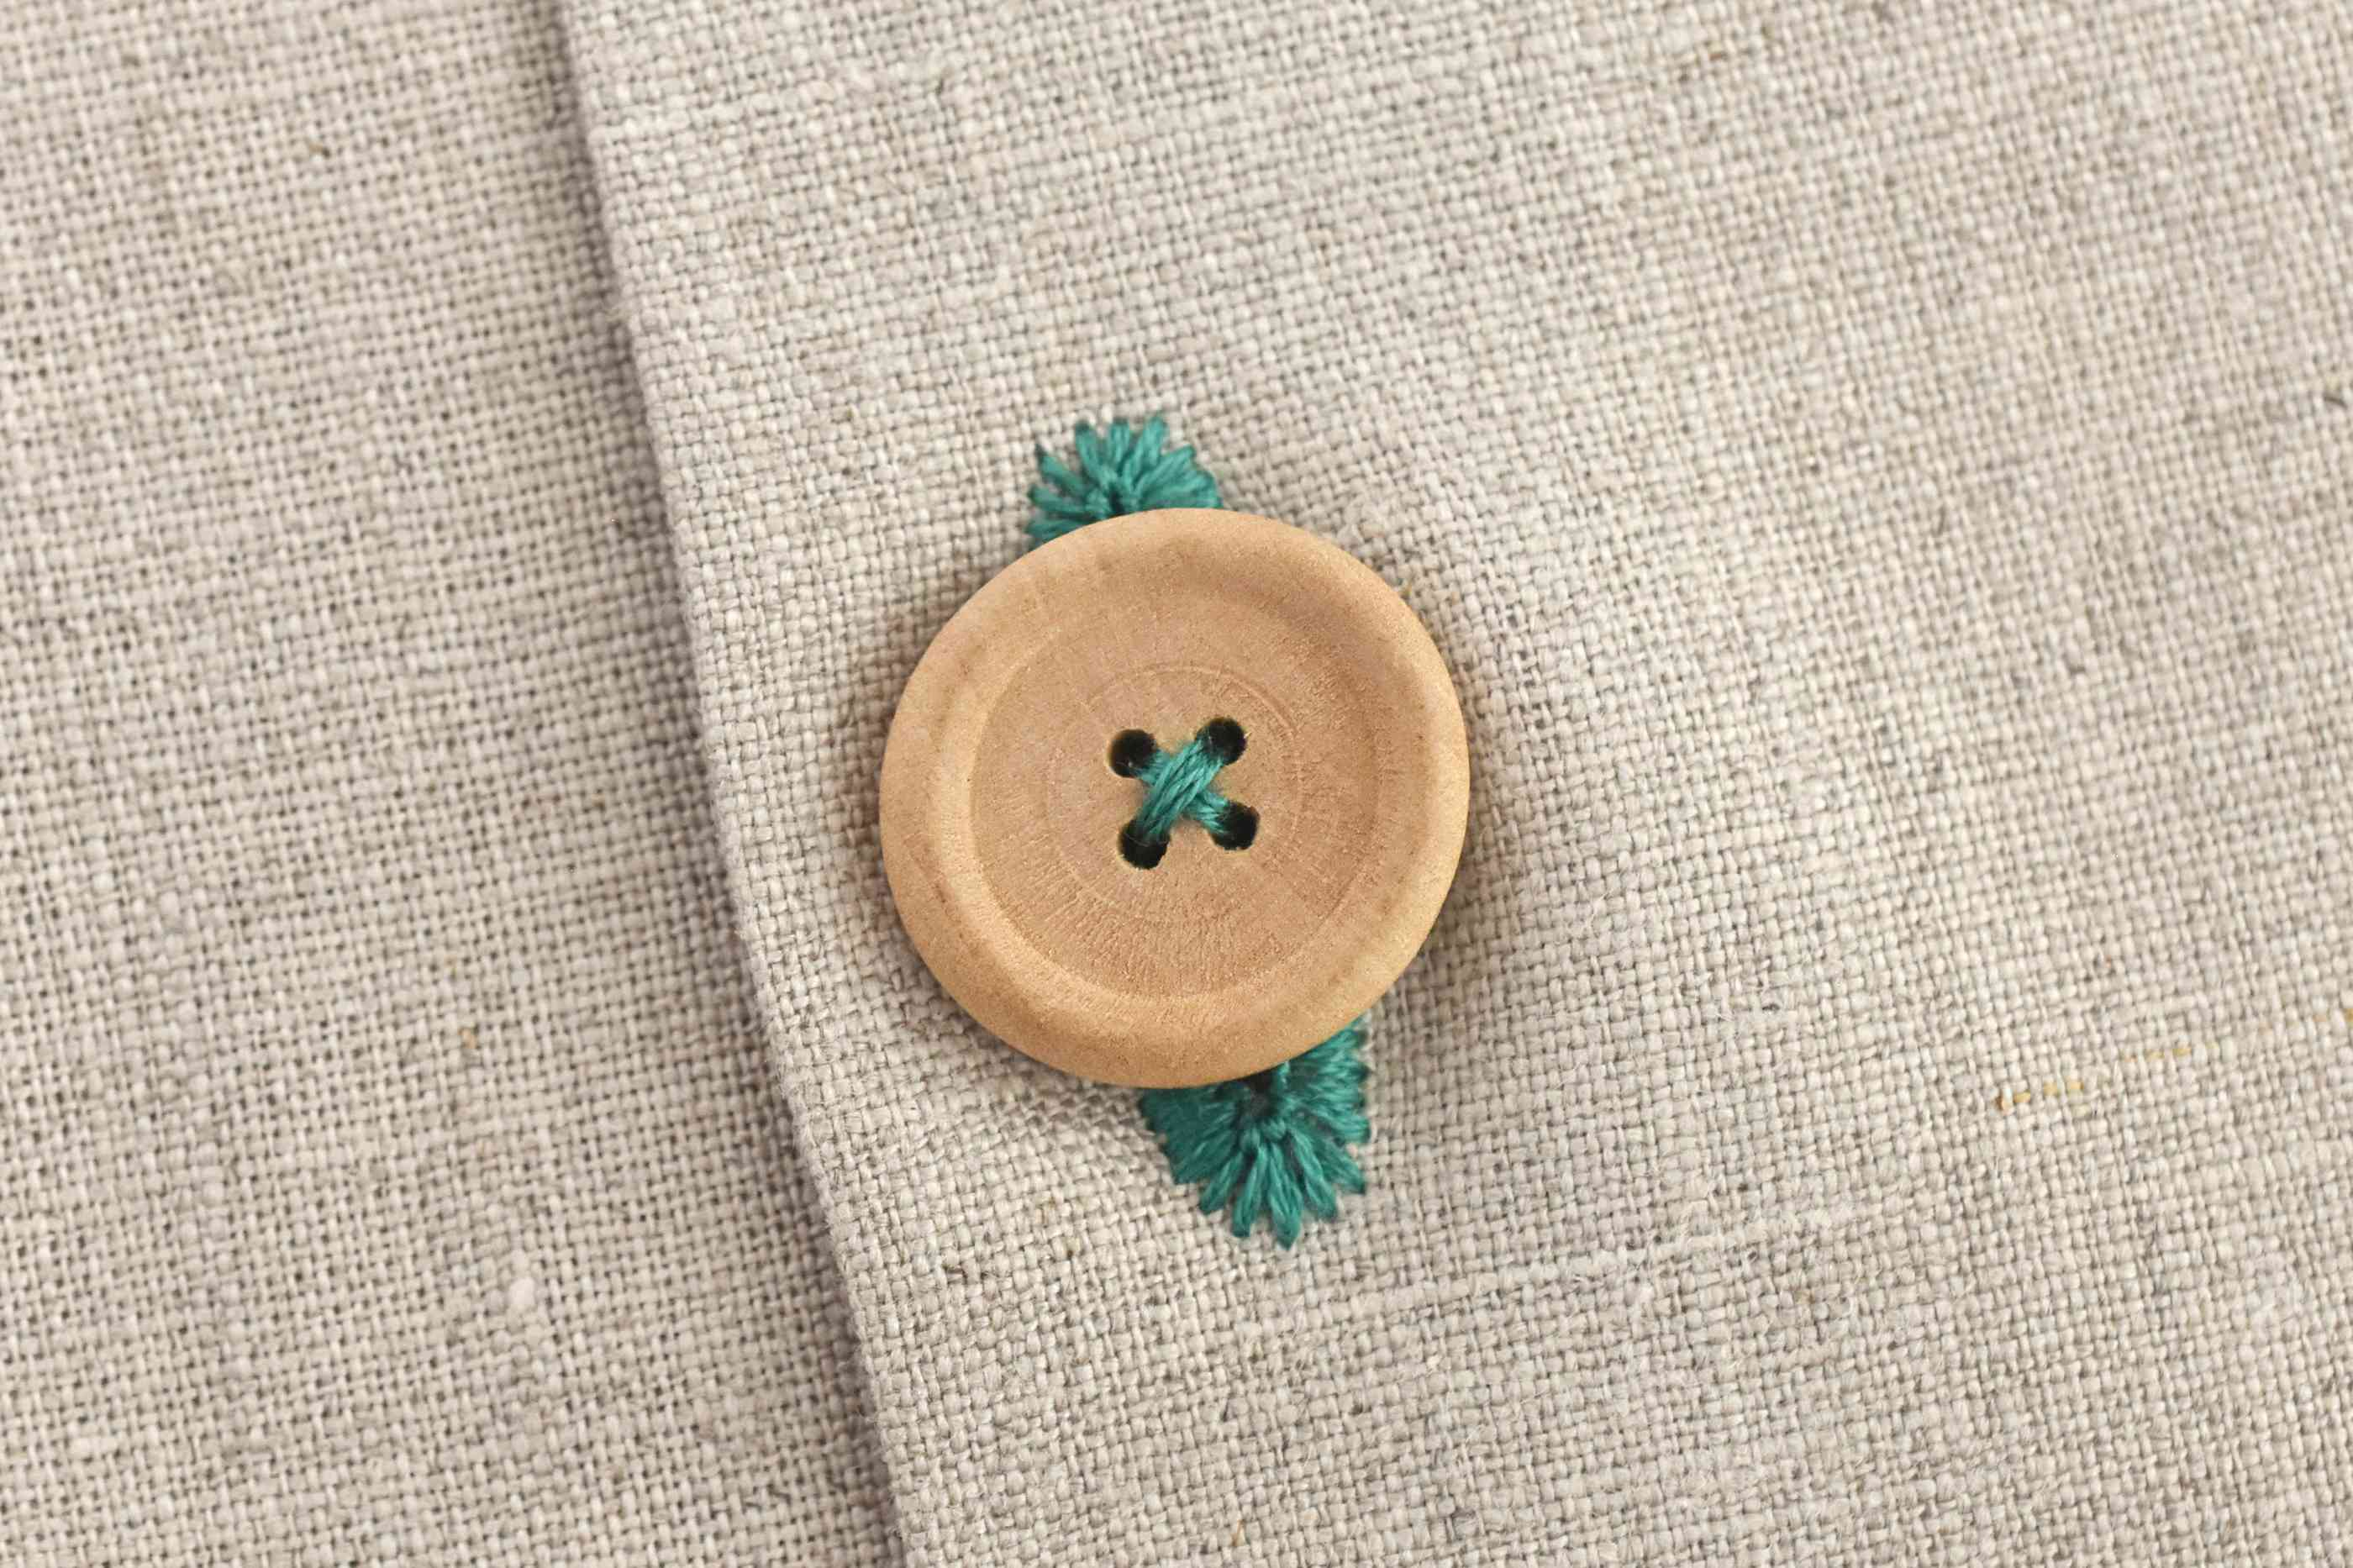
- a four-hole button – this type is less popular than the previous one, but it is still one of the most reliable and practical; it has four holes in it, so can be performed by cross sewing;
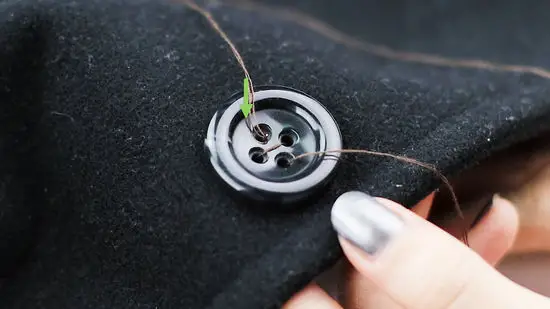
- a shank button – this one has a round cap on the top side; to attach a shank button it is necessary to sew through the shank, not through the button.
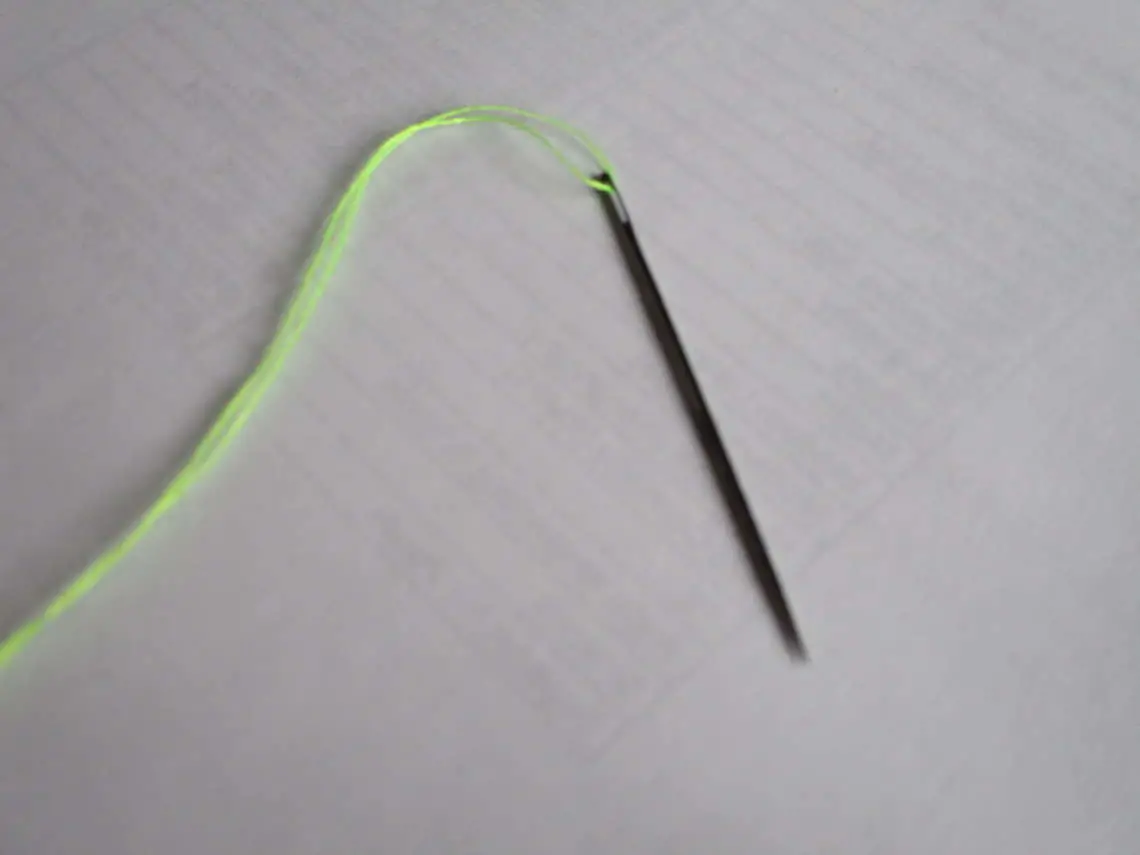
Selecting a needle
To attach the button you can choose one needle which would suit you with its size and sharpness – luckily, we have a wide variety of choices nowadays.
It must be easy for you to thread the needle, so a hole in the needle should be big enough for you.
What is more, it is recommended to choose a sharp needle that can easily go through the ports, at the same time, it should not be enormously large to harm the fabric of your garment.
Selecting a thread
Like needles, there are lots of different types of threads. To minimize the risks of losing your next button, you should think about choosing a button thread – it is durable and reliable, usually used in think products and sorts of garments. Also, if you want to have your work look neat and nice, what about having the threads beneath the fabric color? In this way, your seam would be almost invisible.
Having reliable scissors
Scissors will help you to cut off the finishings of your threads and make the whole project more attractive.
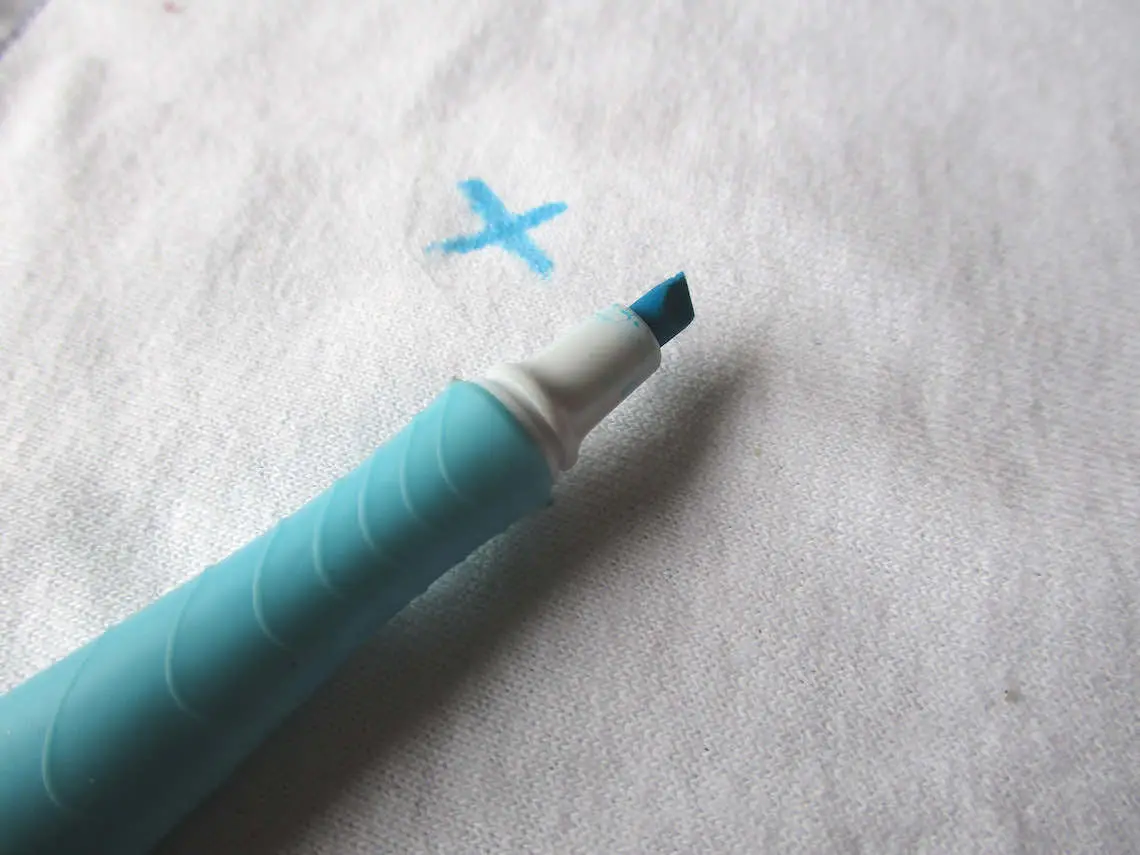
A fabric marker
Using a special marker pen for fabrics allows you to set markings exactly where you want to sew buttons.
This method can help you to sew buttons in the right position, and check, whether they match the button holes. These markings are extremely helpful in cases you did something wrong in your project or just dropped the button.
It is better to select a fabric marker with a washable link, so then you will be able to get out of it within several seconds. As an alternative, you can use a tailor’s chalk, another good option for sewing purposes.
A pin stick
It would a good idea to leave some more space between your fabric and your button, because, the tough-attached button can create a wrinkle on your fabric, so it will not look attractive at all.
What is more, having your button sewn too close to the fabric, you are increasing the chances to break it up.
That’s why we recommend you to use some sort of a pin during sewing, which can provide your new button with the required free space. Later in this tutorial, you will know, how really useful it is.
Taking some beeswax
This step is rather an option, but despite the thread you use, it will help you to make the thread even stronger and more reliable. Also, it can be used to let your thread your needle more easily and go through the fabric when you sew.
A thimble
This thing will protect your finger from getting hurt when you needle to push the needle through the thick piece of fabric and press with higher force on your needle.
How to sew a two-hole button by hand?
It might be the easiest part of our guide, so we offer you to start exactly from it. It is possible to sew a button both with your sewing machine and by hand. We will sew a 2 hole button in seven simple steps.
Step 1: Preparing your supplies
After that you have chosen everything we have written about in the beginning paragraphs, you need to thread your needle. To make it even more durable, you can make the thread with double thickness. Next, on the finishing of the thread tie a knot, and put some beeswax on your thread.
Step 2: Marking a spot
Put your fabric on a solid surface and put your new button in the place where the old one was placed before. You use some point or marking with your marker pen, and put some sort of a cross.
In case you are sewing buttons in several areas, you should repeat this procedure a few more times, exactly how many buttons you have.
Now it is time to check your garment and put the button over the marks you have made before. If you used flat buttons, you might have noticed that they have a smooth side and a rigged side. That smooth is the back side, then you need to put it on the other side of your fabric.
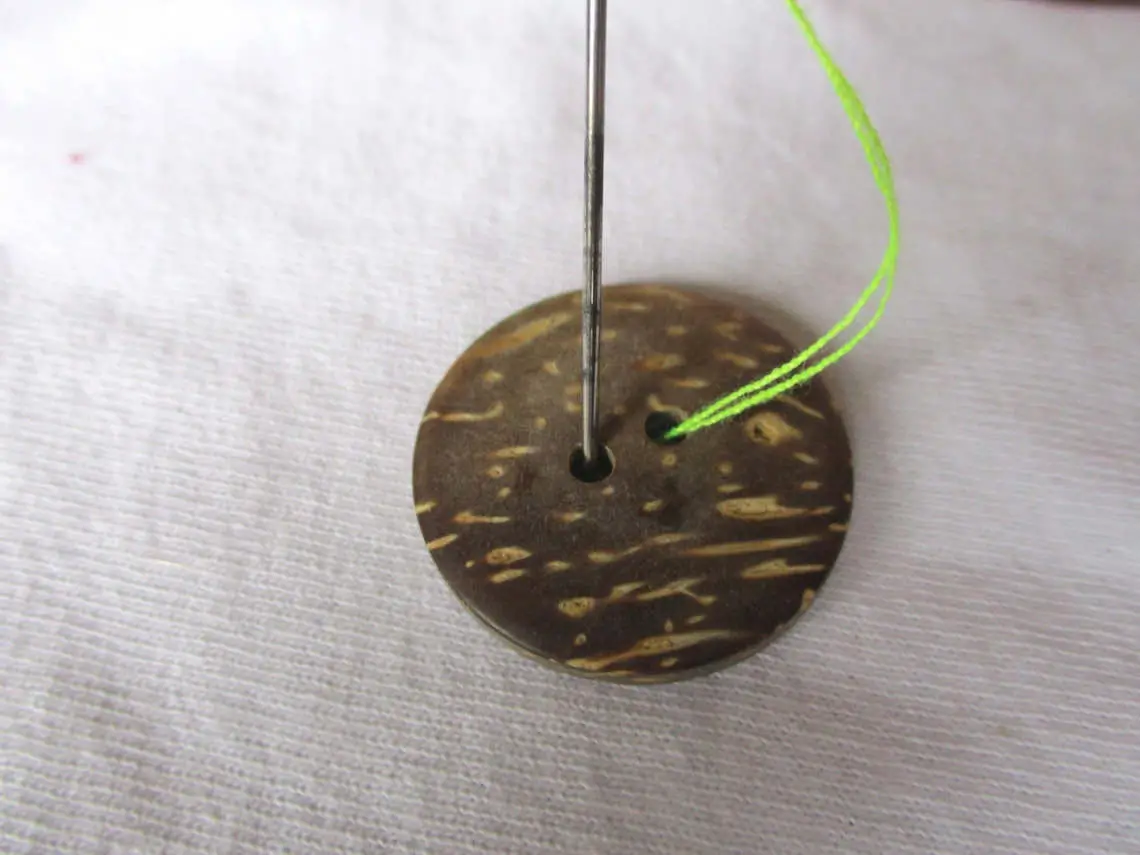
Step 3: The first hole
Using one of your hands hold the button, with the other hand push the needle through the first hole button from the bottom to the top. For someone, it would be convenient to pull the thread along the whole hole, in this way the knot will be faced oppositely on the back side of the fabric you pull. Also, it is recommended to leave some inches of the thread to perform a tie-off at finishing.

Step 4: The second hole
This step is really easy, you just need to go through the second hole going from the other hole.
Step 5: Pinning a stick to the button
If you have prepared a special stick, you need to use it right now. Put it right between your fabric and the button. By the way, you can place it on the button top, and then place that stick inside the thread in your button.

Step 6: Sew a button to the fabric
To sew a button on the piece of your fabric, you should make a long loop and then go with it through the first hole, then move through the second one and finalize your loop by going through the first hole again. Repeat it up to ten times.
Step 7: Tie off and cut off the thread
After that, you have sewn a button and tied a knot underneath the fabric several times. Another option is to sew off the end of your thread around the underside and secure your knot with some stitches. You can take away your stick and cut off the excess thread. That’s how you have finished with a two-hole button.
How to sew a four-hole button by hand?
Four-hole buttons are more advanced large buttons than your buttons with 2 of them.
Step 1: Preparing your supplies
Before threading your needle, it is ought to take enough thread together to allow the needle to sit in the middle of the button. After your knot ends, you need to put some beeswax on your whole thread.
Step 2: Put the markings on
As we have described before, in a guide for 2-hole buttons, you would better put some markings on the fabric at that place or place you want to have your buttons.
You can put one edge of your garment to another and this way you will make that location more accurate. Then slip the tip of your fabric through the buttonhole, this way you will mark the last one.
Step 3: The first and second holes
With the rigged side up you need to place the button over the fabric marking.
The next thing you need to do is to bring the thread up from the fabric underside and move it right to the hole. Then go through the other hole which is diagonal to your previous one.
Step 4: Giving some space
As before, you can pick a stick and join it to the bottom, by placing it between the fabric you sew on and the thread inside.
Step 5: The third and fourth holes
At this step, you have the needle under the fabric. Bring it towards the hole you have not gone through. After that, you need to repeat a procedure with a diagonal-sitting hole. If you have made everything right, you should have received a thread-made letter X.
Step 6: Making a cross
At this moment you need to wrap the thread around your button, as you need to continue moving it diagonally several times. It is recommended to do up to six or ten eight in a row.
Step 7: Cutting off an excess thread
When you have performed your letter X for the number of times you wanted, you can knot your thread off and snip several odd inches of it. Then remove your stick and your work has finished!
How to sew a shank button by hand?
Sewing shank buttons by hand are easy than sewing default buttons, as you can use no toothpick or other stick, as well as you can have your thread relaxed.
Step 1: Preparing your supplies
After that you have your needle threaded, and as usual, you can put some beeswax on it to allow stick it through well.
What is more, for this kind of sewing you can use your thimble as the risk of getting hurt during sewing increases?
Step 2: Put marks on the fabric
It would not be difficult for you, as we have practiced a lot in putting on the markings. In the following, put your shank button in that spot.
Step 3: Stitch it together
Holding the shank button, measure the stitch length, and start sewing it along. From the opposite edge you need to thread it up from the fabric’s bottom, then through the shank, and again through the fabric’s piece. To complete this step successfully you need to make up to ten of these loops.
Step 4: Tie off your stitch and cut it off
After you sew a button and you are sure that your shank is strong enough to hold, you can cut off odd inches of the thread.
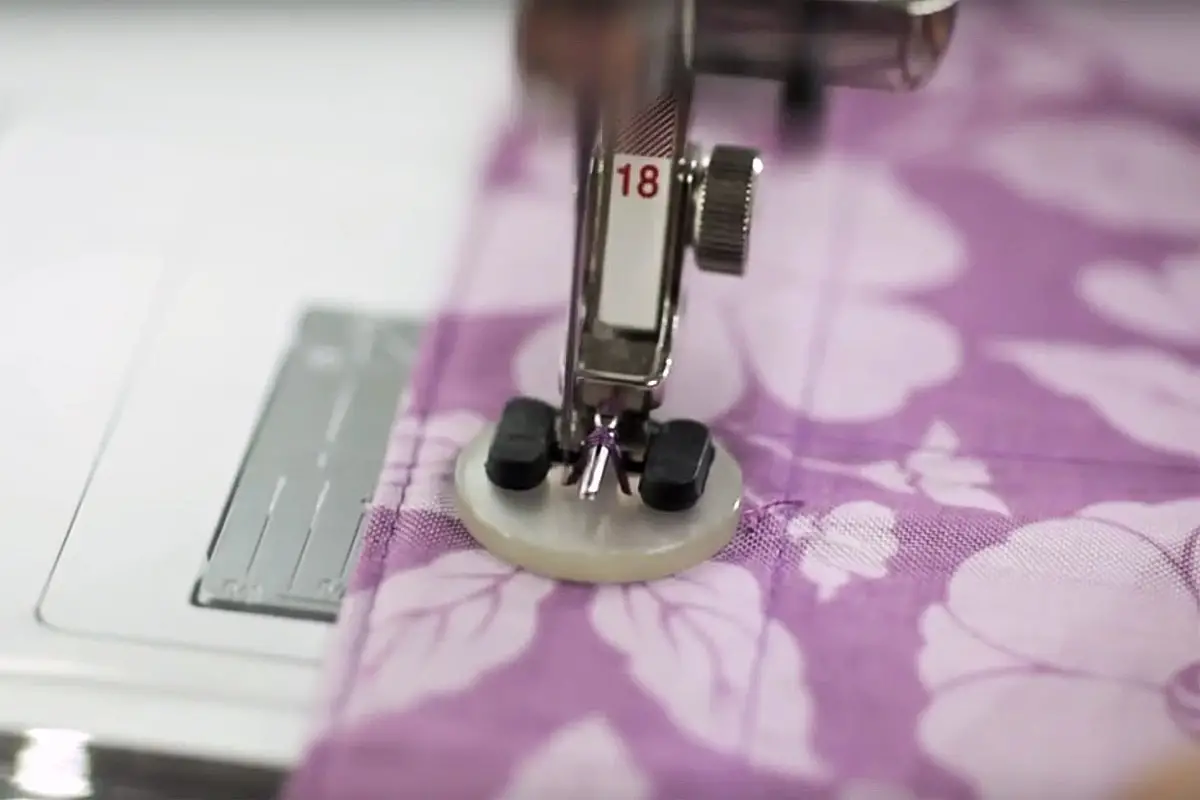
How to sew buttons with a sewing machine?
For some people, it is better to have quick and simple sewing of a shank or button, but for other ones, it is better to use a sewing machine. It can be as fast and easy as hand sewing is, and how to make it – is what we are going to discuss right now.
If you decided to try it out, you need to prepare a button foot and sticky tape.
Step 1: Have your button in safety
Find the place where you want to sew a button, put it there and attach it exactly to the fabric using sticky tape.
Step 2: Sewing machine preparations
The first thing you need to do is to select a stitch. After, put the stitch length setting to its minimum, right to zero, as you do not need to have your button moved on the machinery when you sew.
Now you need to decrease the settings of your feed dogs, as lowering their level will give you extra protection.
It is necessary to sew a button in safety, so tune in at a slow speed on your sewing machine.
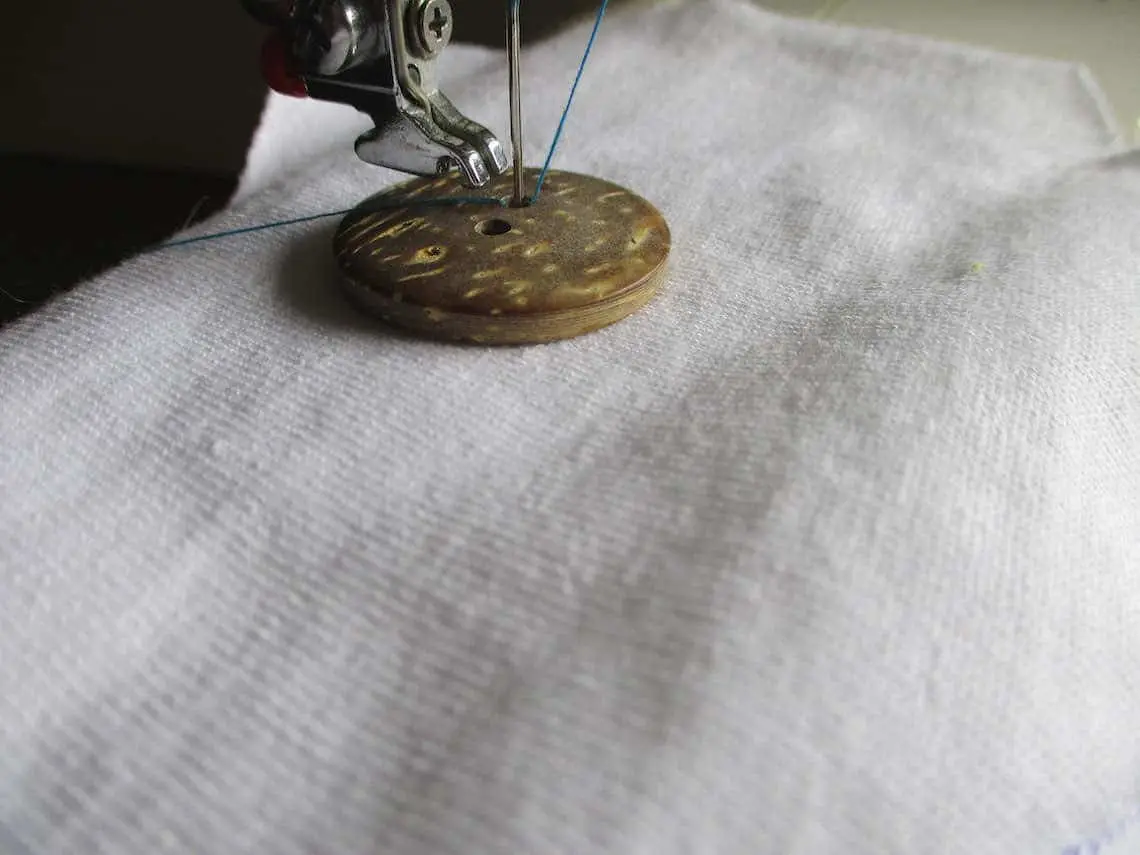
If you have a button foot, it is recommended to put it on, as when you sew buttons it helps them to remain still.
Step 3: Sew the test stitch
In case you have written instructions on how to sew a button in your machine manual, you would better use them.
Then you need to use the hand wheel to push the needle slowly to the first buttonhole. Go on using the hand wheel, lift your machine needle and push it until it is double threaded.
If everything went good, congratulations. Oppositely, you can set up the width parameters of your stitch.
Step 4: Finishing to sew a button
When you have everything done, you can tie off a knot and snip off the thread edges.
Conclusions
In this tutorial, we have shown how to sew a button on your shirt or any other garment you want to have it on. We have discussed sewing buttons with 2 and 4 holes, and also shank buttons. Also, sewing by hand and with a sewing machine have some differences in their techniques, so it is important to learn them well.
These simple steps in tandem with tips and advice from experts will help to perform this technique on the highest level.
Sure the knowledge you have received today will help you to conduct various sewing projects of any difficulty. Share this material with your friends who also love to sew. Very best wishes!
Looking for more sewing guides – The proper way to Sew Ripstop Nylon Fabric Correctly.
Related Posts
How To Sew On Velcro Strips With Sewing Machine?
How To Sew A Tote Bag With A Flat Bottom?
How To Sew Tulle By Hand?
How To Sew Fishnet Fabric?
How To Sew Quilt Squares Together By Hand?

How To Sew Polyester Fabric?

How To Sew Spaghetti Straps?
How To Do A Closure Sew-In?
How To Do A Full Sew-In Weave?

3 thoughts on “How to Sew on a Button With 2 Holes? Step-By-Step Guide”