
How to Tie off a Stitch on a Sewing Machine or by Hand Stitching?
If you have started sewing some time ago, this article is exactly what you search for to learn about the off-stitch technique. We are sure that you might have some problems with how to finish a stitch when you are at about the end of the thread. So, we can change it.
What instruments do you need to tie off the stitches process?
In this step-by-step post on our website, we will discuss everything from how to tie a know at the end of a row of stitches and how to tie a stitch to even how to tie off a stitch on your sewing machine. Professionals’ comments and educational videos are also here.
Let’s tune in on this material, start learning and then practice!
Instruments: Used to end a row of hand stitching
- A thread;
- A needle;
- A pair of scissors or a pair of snips;
- Your template form or a project.
Instruments: Used to end a row of machine stitching
- A thread;
- A sewing machine;
- A pair of scissors or a pair of snips – if your sewing machine has no thread cutter;
- Your template form of a project.
Why tying a knot is really important for hand sewing?
Before we move to learn to tie off stitches, you need to know about tying a knot – one of the basic sewing techniques.
You need to tie a knot at the end of your thread every time you are sewing, in this way when you start hand sewing your stitches will be secured and can be confident that all of that your hard work is not going to unravel as soon as you finish the work.
How to tie a knot for hand sewing?
This is the way to tie a substantial knot, which is not going to pull through the fabric.
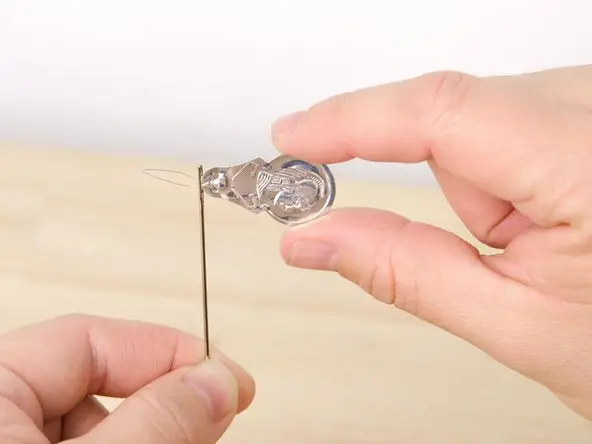
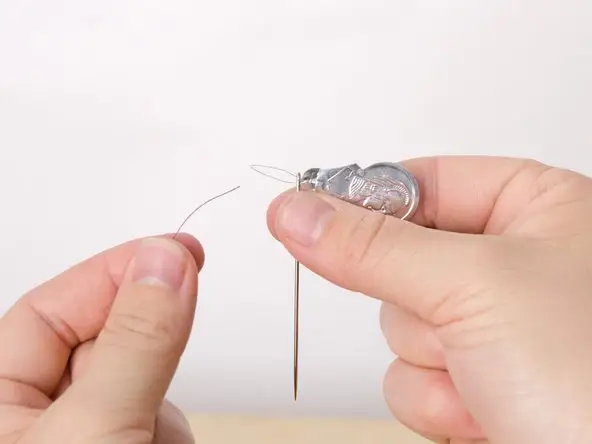
So, start by putting a thread into the needle. You can always make the knot by just picking up the end of your thread and then making a loop to form a knot.
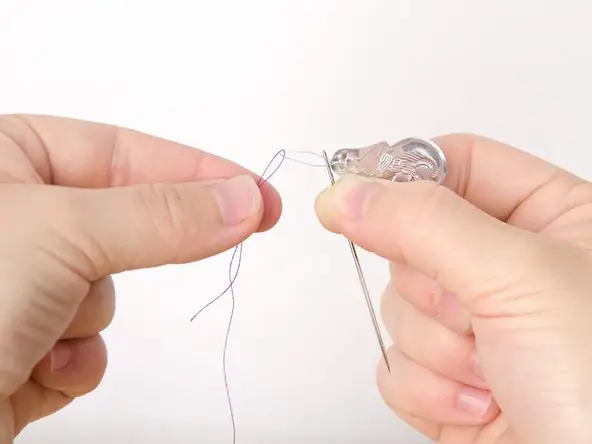
To tie a knot when you are doing either a single or a double thread, you need to bring both ends down. Right in front of your forefinger.
So you need to have two ends of the tail together and then wrap the thread over your forefinger. If you did everything right, you might have a small little similar to X on it.
Then that X could be covered over with your thumb and then you need to pinch and roll the thread forward to the end of your forefinger.
After the few rolls are made, bring your middle finger against the way we have been rolling and then pull it with your free hand. That’s how the knots are made.
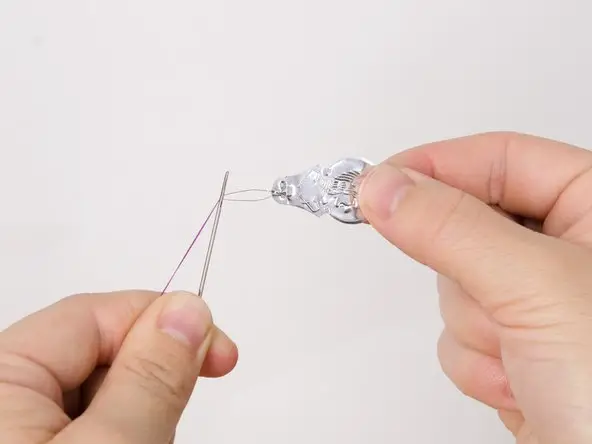
The next action to do is to take your needle and hold the needle in any of your hands to feel convenient enough.
Grab onto your thread with your thumb or forefinger in one hand just draw the needle all the way through, so make sure it is still threaded.
How to put the needle through the loop?
Then put a needle through the loop. After you make a knot, put a tail back through the loop and pull the thread – make sure to pull it tight enough. Then cut the thread off and go on.
You need to have a little tiny tail between your thumb and forefinger, then you essentially bring the needle and reverse it, so it is still facing that way you have reversed it into your thumb and forefinger.
You are holding onto the tail that you put it to start with, which is a top one. Then you ought to take your needle that way you can squeeze between your thumb and forefinger.
The next step is to gently take your tail thread with the edge which is not connected with a needle and then wrap it around your needle two or even three times, in this way you get a little spiral looped on your needle.
Then push that down the needle and grab onto that spiral you got with your thumb. Take a note, you are still holding the end of the needle, you are still holding the thing you have started with and the spiral is still around the needle.
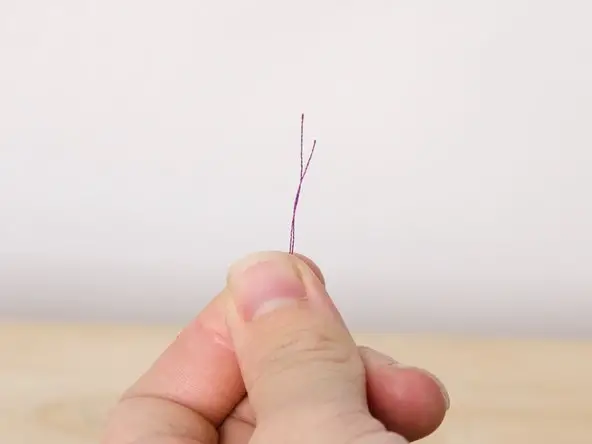
Take a hold of a needle and just pull this needle and keep going doing it. If you did everything right, you must have ended up with a tiny little neat knot on a thread with a spire. Congratulations, you have successfully passed one of the first steps in this tutorial.
If you need to have another knot on the same thread, you can just repeat everything that we have described above in these two paragraphs.
The easiest method how to tie off a stitch by hand sewing
I suppose it would be logical to start from hand sewing. However, we are going to review how to tie off both a double and a single stitch.
A double thread tying off
Many people say that a double thread makes the stitches even stronger than a single thread and it is way easier to tie it off at the finish. We are glad to introduce you to several options to make it – this is one of the most popular methods how to tie off a stitch in hand sewing.
Method 1: Classic way to tie off a stitch
Step 1. Complete the last stitch in your row, but you need to be sure about leaving an inch or inches of thread at the end of the row because next, you will need to make a knowledge of this string.
Step 2. Have two of the threads separately. Bring thread number one over thread number two, then undergo the second one. Pull the thread just sufficient to bring the threads to the fabric edges. But it is necessary to not pull it tight as it may pucker your stitches on the fabric. This is the first portion of your first knot.
Step 3. It is just a repeat of step 2, you need to pull the knot tightly.
Step 4. This step is fully optional, if you like to do an additional knot, you can do it. Also, some people prefer making even 2 or 3 additional knots.
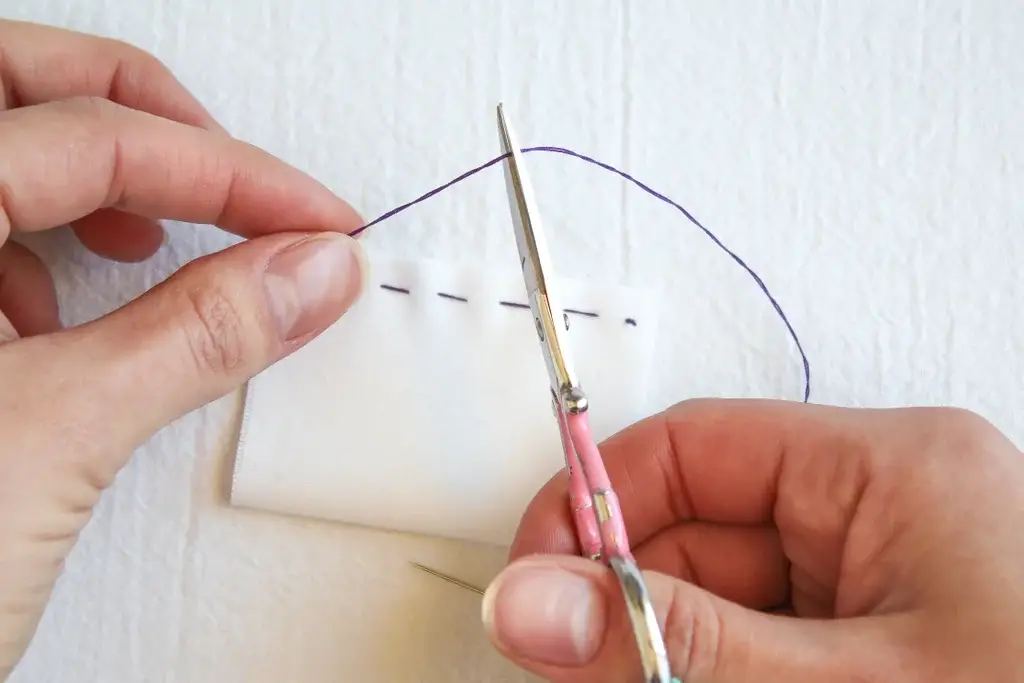
Step 5. After you make the knot, you can cut the thread end easily.
Method 2: Making a finishing stitch
This method to finish stitches and tie off a thread that can keep your stitches secure. Take a look at how to do it.
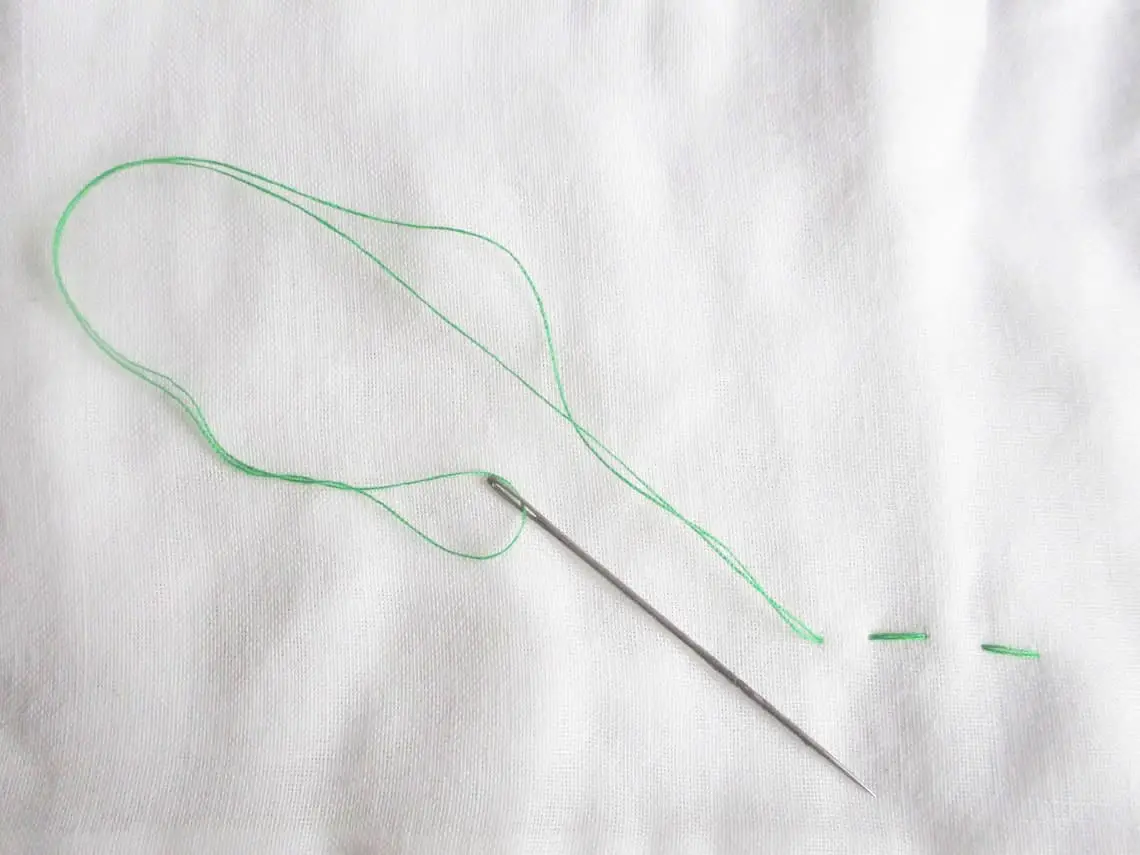
Step 1. After that you have finished your stitches, leave a few inches of your thread.
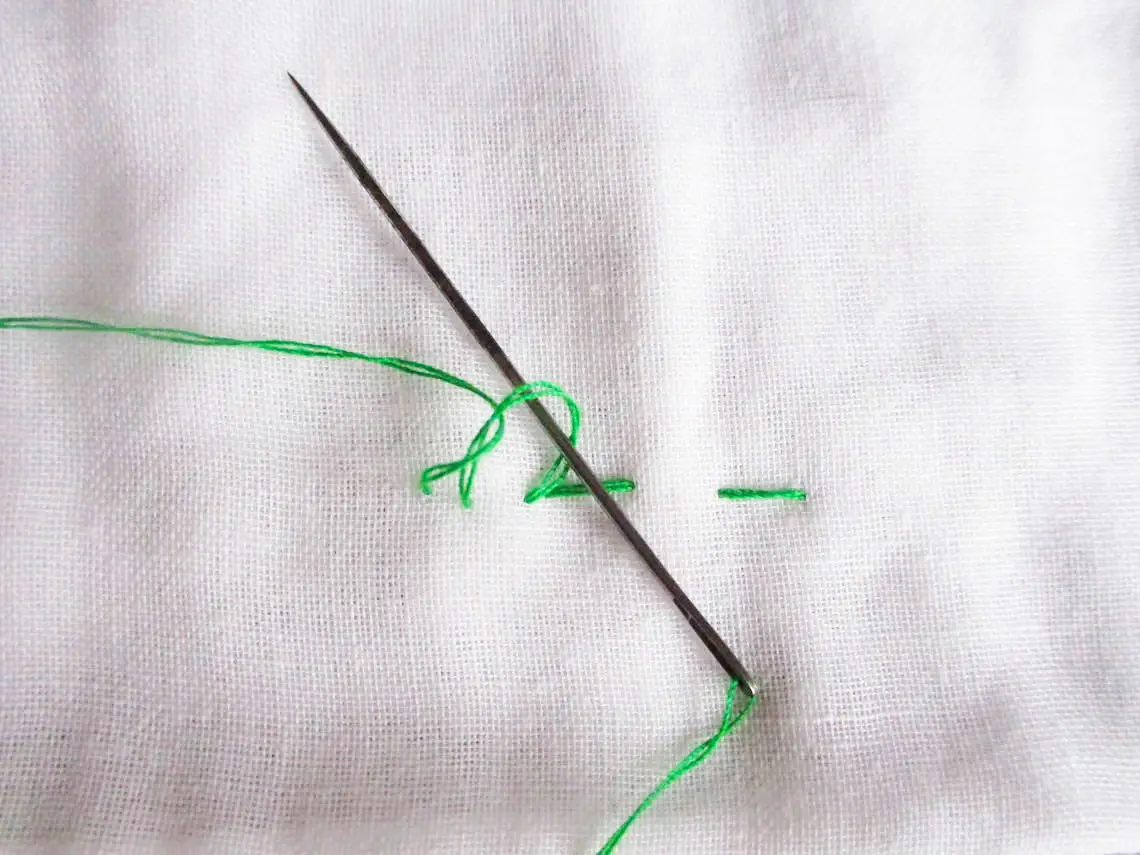
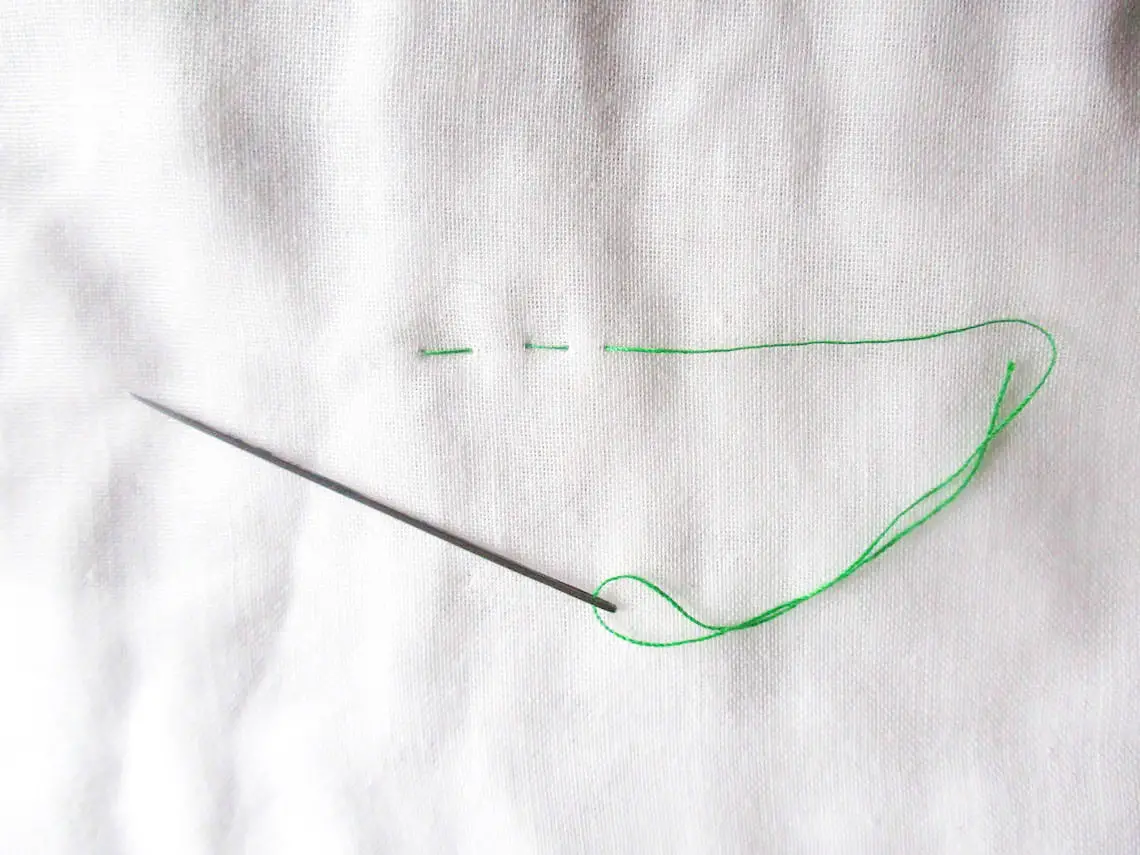
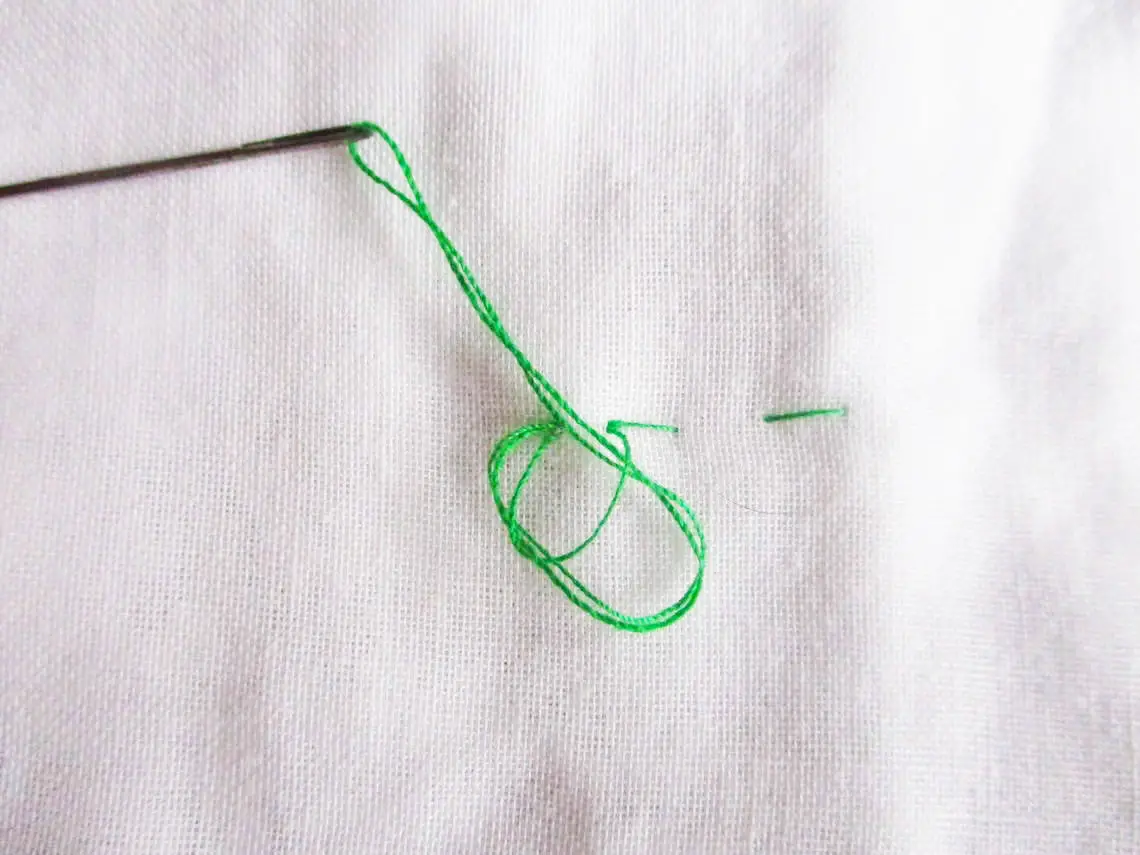
Step 2. Bring the needle through the fabric right where your last stitch ends. We do not recommend having it pulled, just make a loop and leave it.
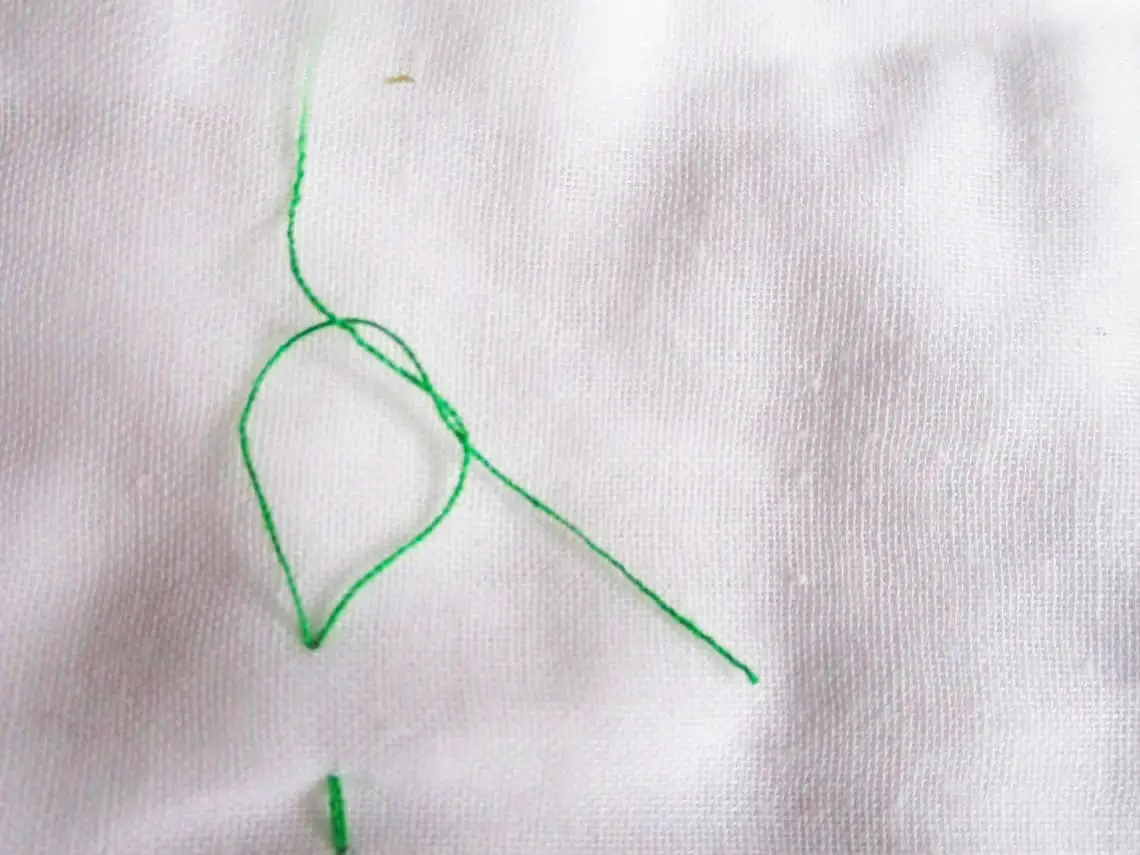
Step 3. At this step, you need to bring the needle upwards, and then you need to put it at a distance that is close enough to the area you brought your needle down.

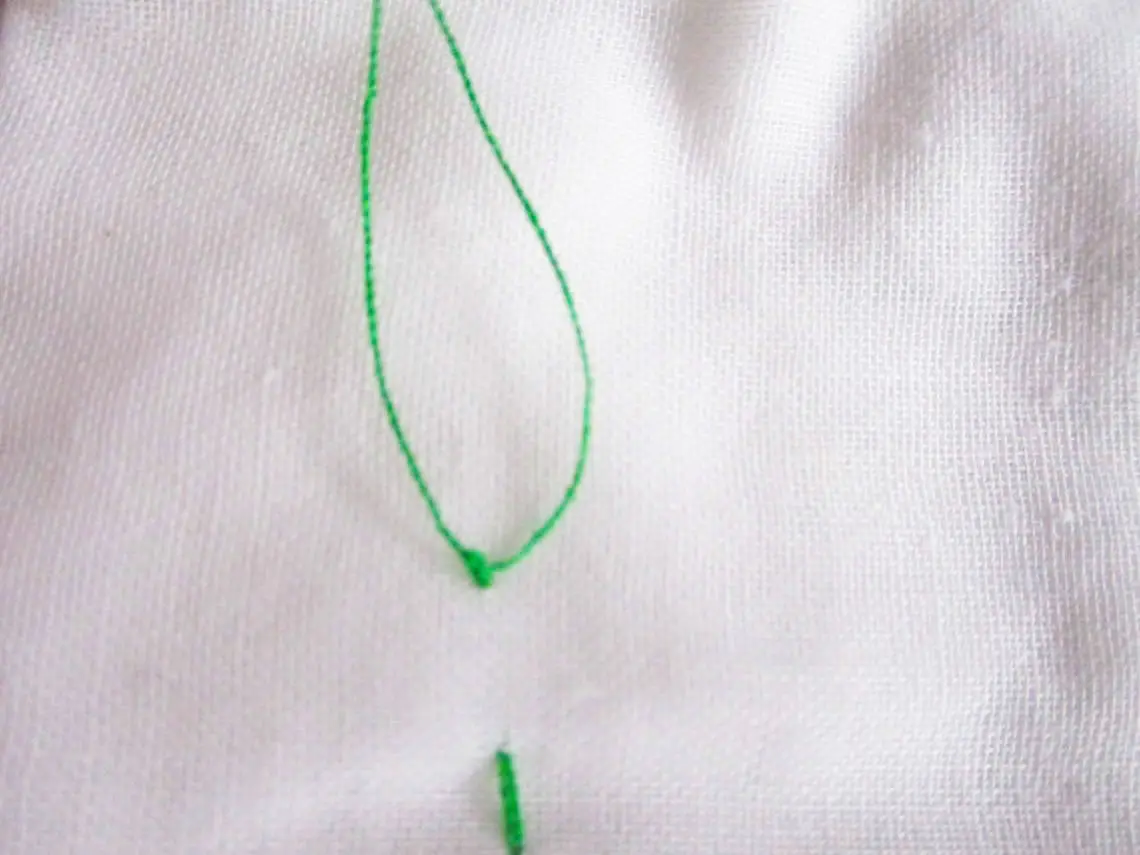
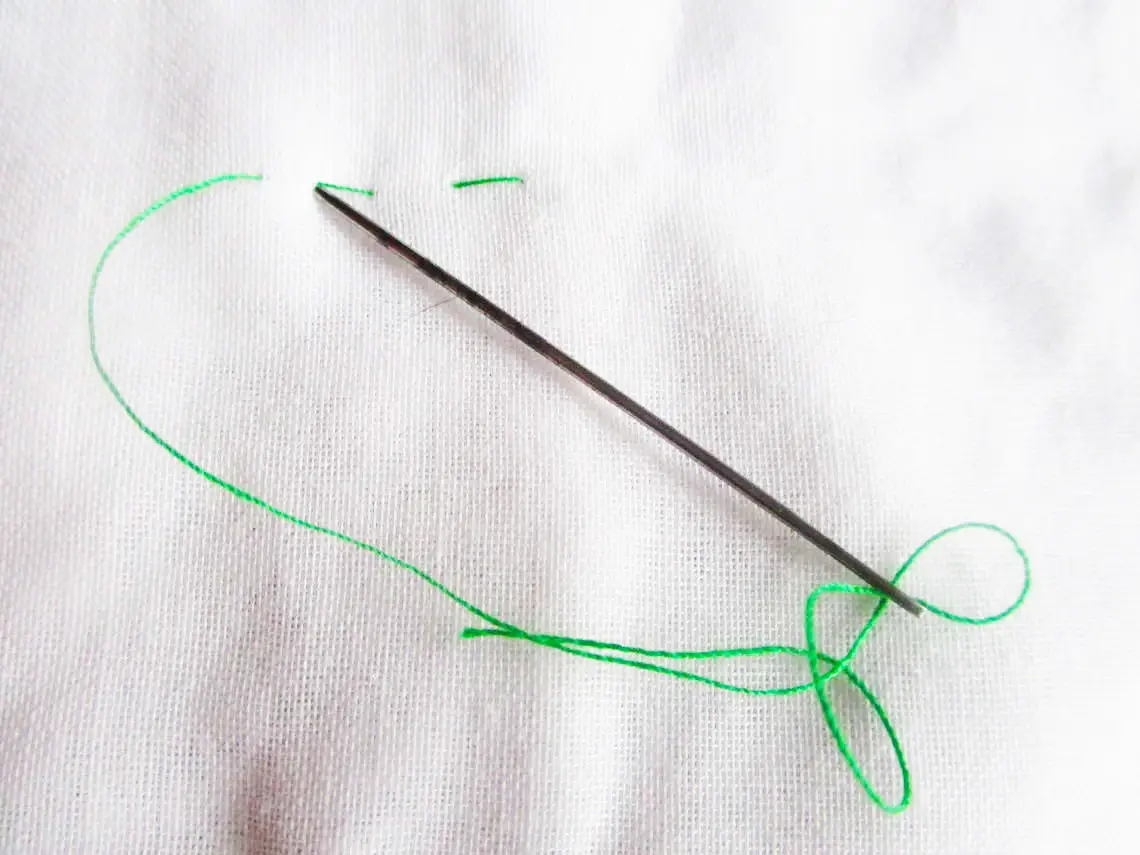
Step 4. Insert your needle through the loop and pull the thread gently on the fabric. Again, make sure to not pull the thread tight. What is more, it is important to leave another small loop.
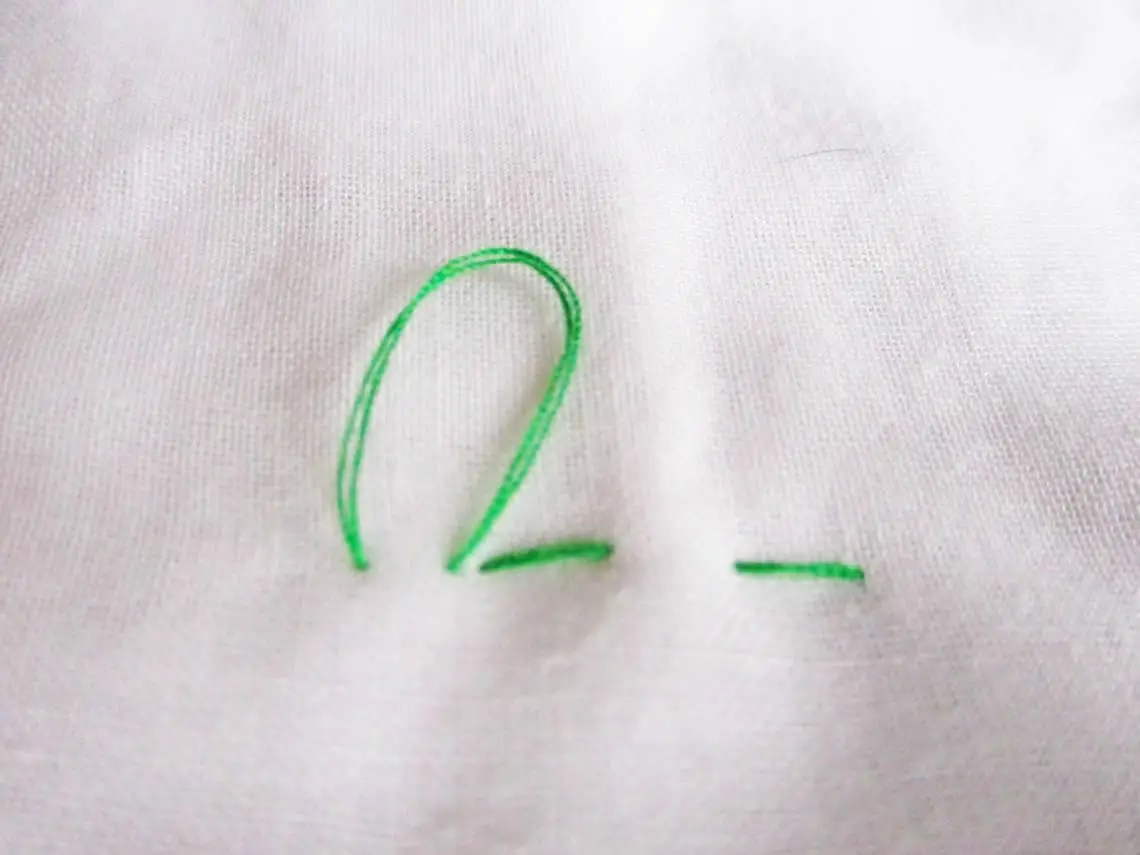
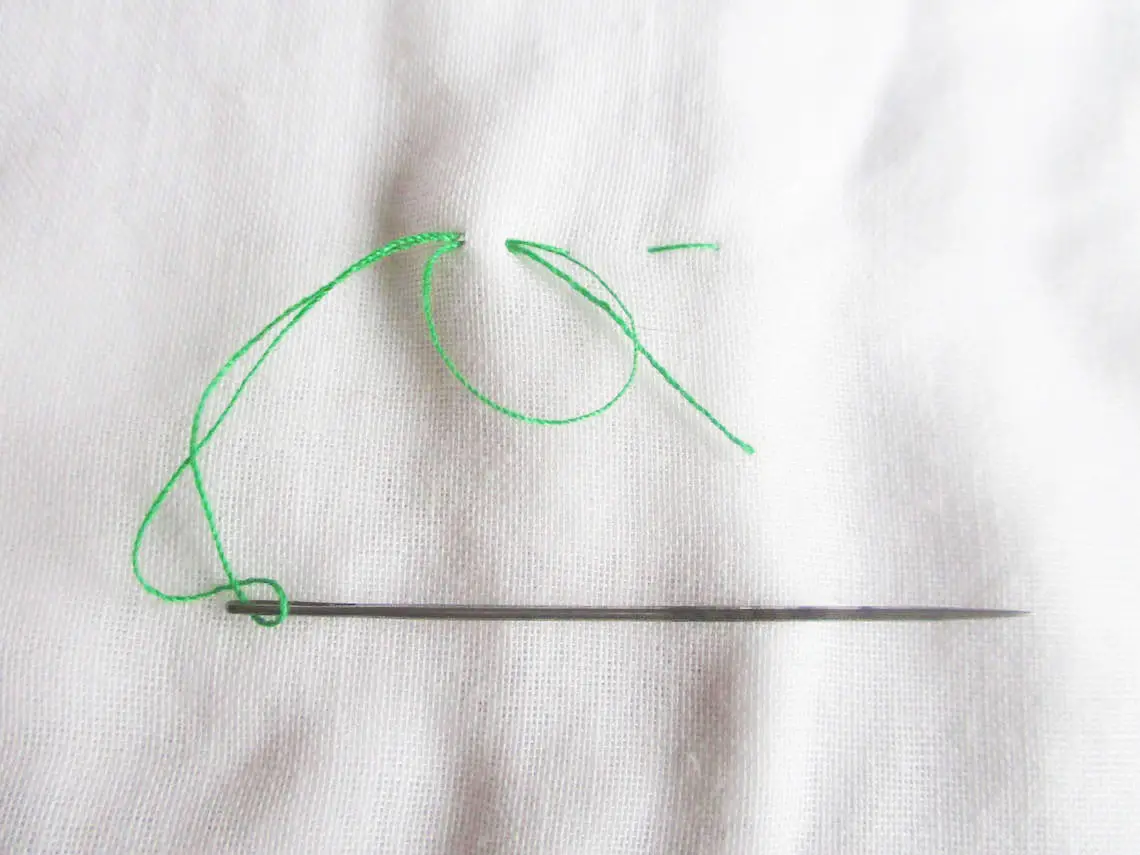
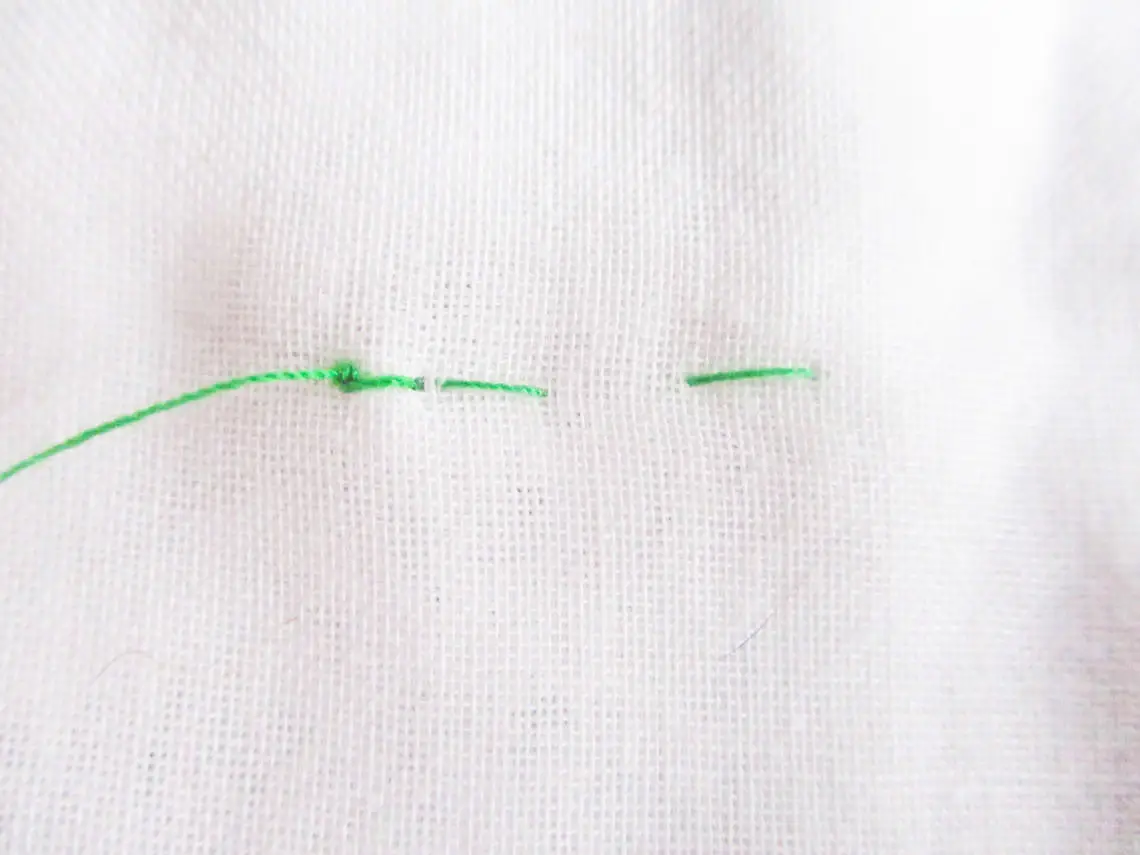
Step 5. Next, you should bring the needle through the loop and pull it again.
Step 6. Cut the thread at its end.
If something seemed to you to be difficult at this article’s menu points, you could watch this technique process video or even practice by hand.
Method 3: Making a back stitch
With this back stitch method, you will be able to secure your stitch with the help of the previous one.
Step 1. Sew the last stitch in your stitches row, and once again make sure to have some inches off your thread left at its end.
Step 2. Bring your needle under the back of your last stitch to let it form a loop.
Step 3. You need to pass the needle through the loop and pull gently until you have your knot settled onto the fabric.
Step 4. It is advised to make the second-knot repeating steps 2 and 3. It will allow you to have knots and the whole row secured enough.
Step 5. Cut off the ends of your threads.
Method 4: Making an end-off backstitch
In-hand sewing end-off back stitch is one of the most popular and secure options for tying off stitches.
Step 1. At the end of stitching, leave a few inches of your thread at the end.
Step 2. Bring the needle around and insert it into the fabric after your final stitch is ready.
Step 3. Bring it through the fabric again, close enough to the place on the fabric where you brought it at the stitch’s row end. After that, you have a loop that you must use to pull your thread carefully by the moment it is settled in your fabric strong enough.
Step 4. In this method, it is required to repeat two last steps two times, but the only difference is that you should not pull the final loop too tight.
Step 5. At this phase, you need to bring a needle through the final loop. At this moment you can pull tightly.
Step 6. Let go of the odd length of your stitch. That’s all for this variant of tying off a stitch.
Method 5: Advanced variant of tying off stitches
This method of double stitching is one of the fastest ones to work with your fabric, but at the same time, it is suitable for more experienced individuals.
Step 1. As usual, stitch along right to the end of your row. After that, leave a few inches of the thread.
Step 2. Bring around your needle forming a big loop, which will insert your forefinger easily enough.
Step 3. Now, holding your fabric with a thread and needle on it, make a double back with your needle. Again bring a needle through the loop and then pull it. With the support of fingers keep the knot on the wrong side of the fabric.
Step 4. Actually, you may skip this step, but if you would like, you can repeat steps 2 & 3.
Step 5. Cut the part of the thread that is left from the wrong side.
A single thread tying off
Actually, tying off a single thread can be provided with the same back stitching, the finished stitching, the end-off stitching, and other techniques from the menu above.
By the way, what about trying out this one variant we are offering you below in this article?
Ending the stitch Pull the thread Repeat: the step-by-step actions
Step 1. Right after completing your stitch, it would be great if you leave at least one inch of the thread. Further in this method, you will need to make a knot using this thread.
Step 2. Let your needle have been taken over the previous stitch, exactly like you did during the back tack technique or something similar to it.
Step 3. Insert with your spire towards the last stitch, as you understand, you are going to form another loop.
Step 4. Pass with a needle across that loop you formed. And repeat it immediately.
Step 5. When you finish with the knots, lose the threads and then cut them.
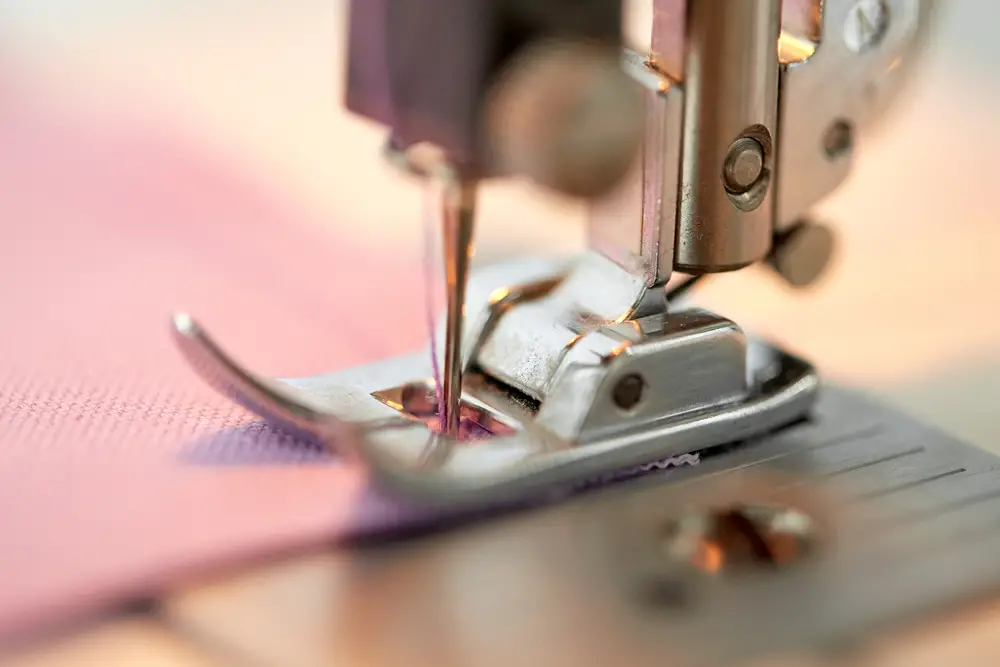
Ending a row of stitches with sewing machine stitching
Even if you are using a sewing machine, you need to secure your stitches from being separated.
Luckily, your project would not suffer from such a difference, as the whole process is similar to that we have described before, similar to doing tie-off stitches manually.
Else you need to take care of snipping the thread not so close to the fabric because you are risking pulling out your thread. Also, you need to make it carefully, to hide the threads.
That’s why, doing this operation, you need to do it carefully, as it may lead to irreversible errors.
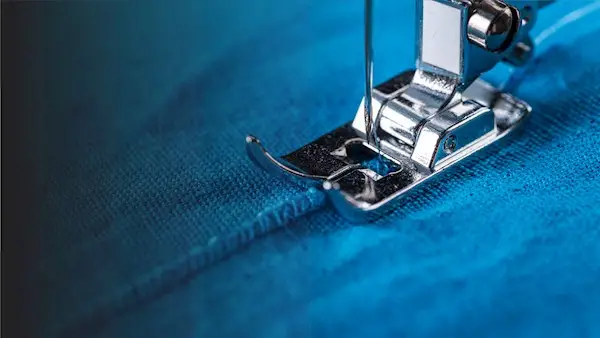
Method 1: Lockstitching in machine sewing
Lockstitching is one of the simplest ways how to secure stitches in machine sewing.
Here is stepwise instruction on how to make it perfect.
- Step 1. Sew at about 4 straightly. That’s would be enough, to begin with.
- Step 2. Reverse over that amount of stitches you have made.
- Step 3. It would be nice of you, to sew back over that stitches.
- Step 4. You can cut off the thread from the stitch.
Method 2: Function of auto-finishing
Also, you can use a feature of auto-finishing on your sewing machine.
Nowadays, almost every sewing machine has a lock stitch button. Thanks to this button, you do not need to sew by hand, reverse, and then sew again.
It can do it automatically, instead of you.
Even more, it would not be difficult to find an even more wonderful sewing machine. That one can help you to set a consistency of stitches.
Check out the video below to learn more about such a machine.
Peculiarities of the tie-off technique
Sometimes default techniques seem to be boring and inadequate for a project you are working on. In this case, you can try to use something from this free list of unusual things we post in our article.
You can use them in any situations you need: to secure your stitches or hide a thread.
How to hide a knot between the layers step by step?
You know that it is really a pleasure to leave the starting knot or the finishing knot on the opposite side. However, some of the templates have no wrong side.
Hand quilting is very tiring and you need to put a lot of effort into it, and it would not be good to ruin the whole project by leaving an odd knot on the fabric surface.
Take a look at this comment about that how to hide a knot between the layers of your fabric.
Step 1. I suppose it would not be a surprise for you I say to leave a few inches of the thread on the end.
Step 2. Have a small circle over your previous stitches, like that time you made a backstitch. If only you have forgotten about it, you can take a look at the photo below.
Step 3. Bring your prickle over the loop, and pull it lightly, so as to not harm it.
Step 4. At this stage, you need to loop over again but follow the opposite way, from the stitch ending to the place the stitch starts.
Step 5. Have your spire over the ring and then you should pull it.
Step 6. You need to put a spine through the stitch middle and then place it on the top layer of the fabric. Note that it is really important to have it on the top layer, as changing it may ruin your template. After that, pull out slowly.
Step 7. After all, you can cut off the thread and have your fabric smoothen, so that way a threaded end must be hidden under the top layer of your fabric.
One more option of hiding your knot
What is more, there is a second variant of how you can hide a knot from the stitch when you sew.
It is not a necessity to have several layers of your fabric, but it can be rather helpful in the way to secure a stitch.
Step 1. As usual, when you finish a stitch, you need to leave some of the thread at its end.
Step 2. You ought to make a spiral with three coils on it. It is not difficult at all, so let’s continue.
Step 3. Next, you should put the knot tight enough. After that, insert the spire into the layer of the fabric to the place which is next to the one where you started to sew.
In addition, it would be useful for you to support your materials from the backside using a free-from spire arm. In this way, you have better control over the project.
So, if you have managed to have a knot, you can move further. Oppositely, you would better train some more.
Step 4. Drag it by the moment your knot has disappeared behind the top layer of the fabric.
Step 5. At this final step you can cut off the finishing of your thread; pull the piece of your fabric till it will vanish.
How to deal with the stitches that came out of loose?
Such a thing may happen when you are sewing on a sewing machine.
Luckily, you can fix it easily. One of the ways to do it – do some back stitches.
But you should remember, that it is necessary to do that backstitches before you end your stitches. This method will for sure secure your products and will not disturb you later.
Also, you can try out one of the many methods described above to solve this problem. If you have read the article carefully, you have noticed that we wrote plenty of them.
Hiding an ending into the seam
This is purely an optional step, but if you want to have your project neat and attractive, we recommend you not skip it.
You should try any of the methods you liked to hide the finishing inside of the seam: backstitching, end-off stitching, or even your personal ones.
Conclusions
We tried to make this article accessible and easy to understand even for beginners in the sewing business.
Hope, that all the photographs and other additional materials were really helpful for you to learn about tying off the stitches to finish your sewings.
If you have some questions left even after finishing reading an article, you can re-read it and then have some more practice. It is normal, especially for beginners.
All you can give us in return for this free information – is to share our website with your friends who like sewing too.
You will also like a detailed article about "What is a stay stitch?"
So, why delay? I propose to start practicing tying off the stitches right now!
Related Posts
How To Sew A Tote Bag With A Flat Bottom?
How To Sew Tulle By Hand?
How To Sew Fishnet Fabric?
How To Sew Quilt Squares Together By Hand?

How To Sew Polyester Fabric?

How To Sew Spaghetti Straps?

How To Do A Closure Sew-In?

How To Do A Full Sew-In Weave?
Uilt Sqhow To Sew Quares Together?

2 thoughts on “How to Tie off a Stitch on a Sewing Machine or by Hand Stitching?”