
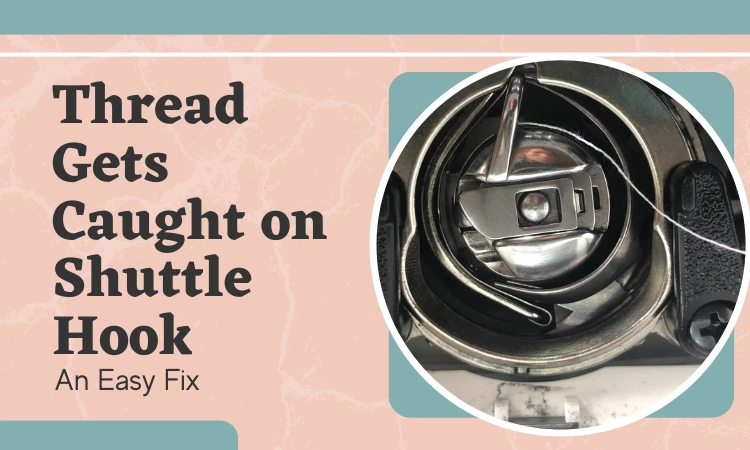
Thread Gets Caught on Shuttle Hook- An Easy Fix
For threads to stay in their respective places and operate smoothly is what makes the sewing experience enjoyable. However, problems are common and they often have an easy fix.
One such frustrating issue is when thread gets caught stuck on shuttle hook.
Both upper and lower thread can get caught in the shuttle hook. The main reason for this is not threading the machine properly before you start sewing. If the timing belt is extra loose or extra tight or it is in a worn out state, the thread can get stuck in the machine.
This was just a brief idea. If you want more details in this matter, keep scrolling and read the entire article.
Sewing Machine Thread Gets Caught on Shuttle Hook: Reasons and Solutions
Here I have discussed why the upper and lower threads get caught in the shuttle hook and how to fix it. Read to find out.
Problem 1: Upper Thread Gets Caught on the Shuttle Hook
Upper thread getting caught on sewing machine can be a bad sign. Because as it winds around the shuttle hook, it will lead to the sewing machine jamming. If you are facing such a problem, there is a fix for you.
Reasons:
- Not threading properly through the upper tension disks and the takeup lever.
- The timing belt in the sewing machine can be the issue. It may be extra loose or extra tight. It may have also slightly come out of its original place or is already broken.
Solution:
- Rethreading the top of the sewing machine can fix this issue. You need to be careful about the fact that the presser foot needs to stay down during this time.
- Also look into the timing belt to see whether it is worn out. If yes, you need to replace the belt.
- Head towards the adjusting screw on your machine head. It is usually located on the right side.
- Now locate the motor bracket on the machine head, you should find a large, old bolt or screw. Loosen the screw to raise or lower the motor. It should give you enough slack to remove or replace the belt.
Just like that you have now solved the upper thread getting caught issue.
Problem 2: Lower Thread Gets Caught on Shuttle Hook
Just like the upper thread, lower thread can also get caught into the shuttle hook. This one is a very common janome 7700 issue, as well.
lt is less frequent than the upper thread getting caught, though. Nevertheless, just as frustrating. Here are the reasons and solutions for you.
Reason:
Not threading the machine correctly can also interfere with the lower thread. Here it gets stuck into the shuttle hook. This may even lead the machine to jamming.
Solution:
Follow these steps to fix the problem.
- Re-thread your sewing machine properly to solve this issue.
- Also take care to clean off any residue, lint, or dust build up inside your machine. Give more attention to the narrower parts. Those are the places where the lints get stuck the most. It can cause the shuttle hook not turning and eventually the threads to get stuck.
How to Thread a Sewing Machine

Whether it be the upper or lower thread getting caught, threading the sewing machine properly is your ultimate solution.
Here I will show you the steps to threading a sewing machine properly that generally works for all types of sewing machine.
Step 1: Wind a Bobbin
To start, look if you have the bobbins already wound with thread. If not, you are going to have to wind it from an existing spool of thread.
- For this, put a spool of thread on the machine’s thread pin.
- Then tug the thread to your left at the same time wind it counter clockwise over the pre-tension disc.
- Then, slide your thread through the tiny holes inside the empty bobbin.Wind it a few times around the middle pillar of your bobbin.
- Now, put your bobbin onto the bobbin winder pin and press the foot pedal. Keep pressing and the bobbin would start winding. Don’t stop until it is full. Finally you can cut the thread to detach it from the spool.
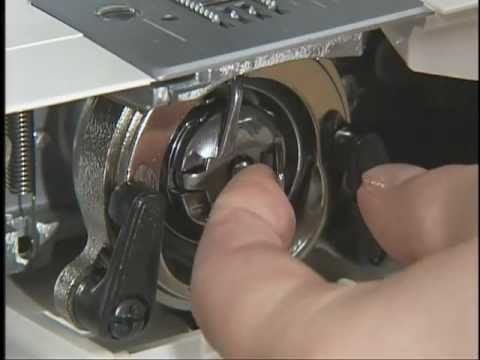
Step 2: Load Your Wound Bobbin
After you are done loading your wound bobbin, it needs to go into the small compartment beneath the needle also known as bobbin case. It will act as a supplier to your lower thread as the machine sews.
- To load the bobbin, raise the needle and the presser foot to its topmost position and take the bobbin cover out.
- Now keep the bobbin within the round slot. You should see an arrow sign indicating which way the bobbin needs to be placed to unspool properly.
- Now gently tug the edge of your bobbin thread through the tension spring. Finally, complete this step by replacing the bobbin cover.
Step 3: Place the Spool
For setting up the upper thread on the machine, place a thread spool on the spool holder.
Step 4: Thread Through the Guide
In this step, you need to pull the thread to your machine’s left side first. Then thread the thread carefully through the thread guide
Then, grab the thread and pull it down from the thread guide. Take it into the groove on the front and pull the thread back up inserting it into the second groove.
Step 6: Wrap the Thread
On the top of the second groove you will see a metal hook. It is known as the take-up lever. Now what you need to do is wrap your thread around the lever properly.
Step 7: Thread the Needle
Pulling the thread toward the needle, thread through the eye of the needle. Continue pulling the thread-end till a few inches of thread have been through the needle.
Step 8: Catch the Thread
Once you are done setting up the top thread and bobbin, go ahead and connect the threads to get it ready for sewing.
Lower the needle using the knob all the way down and back up again. The needle should catch the thread and pull it back up creating a loop. Now grab both thread from underneath the needle and keep them away from where you will be sewing.
So, that is how you thread the machine properly.
Frequently Asked Questions (FAQs):
Why does my thread keep getting stuck?
There can be a few reasons at play for this. One of the reasons might be that the tension on the needle thread is way too tight. This leads the needle to stop moving and getting stuck. Another reason can be that you have failed to insert the bobbin case correctly.
How do you get thread unstuck?
If the upper thread is stuck into the machine, break the thread and pull it back out toward the hand wheel. It should loosen your thread. After that, you will have to rethread the upper thread to get it unstuck.
How do you stop thread snapping?
To stop thread from snapping, keep the tension to the ideal tension setting. Not too tight, not too loose. You must install the thread spool correctly. Use the right size of spool cap for that.
Wrapping Up
Hope you now have found the solution for when thread gets caught on shuttle hook.
Checking if the machine thread is threaded properly before you start sewing will save you a lot of hassle. Also, be careful to maintain and clean the machine on a regular basis to prevent such unwanted issues.
That was it. Have a nice day ahead.
Related Posts

How To Sew A Tote Bag With A Flat Bottom?

How To Sew Tulle By Hand?

How To Sew Fishnet Fabric?
How To Sew Quilt Squares Together By Hand?

How To Sew Polyester Fabric?

How To Sew Spaghetti Straps?

How To Do A Closure Sew-In?

How To Do A Full Sew-In Weave?

Uilt Sqhow To Sew Quares Together?


One thought on “Thread Gets Caught on Shuttle Hook- An Easy Fix”