
How to Fix Sewing Machine Shuttle Hook Not Turning
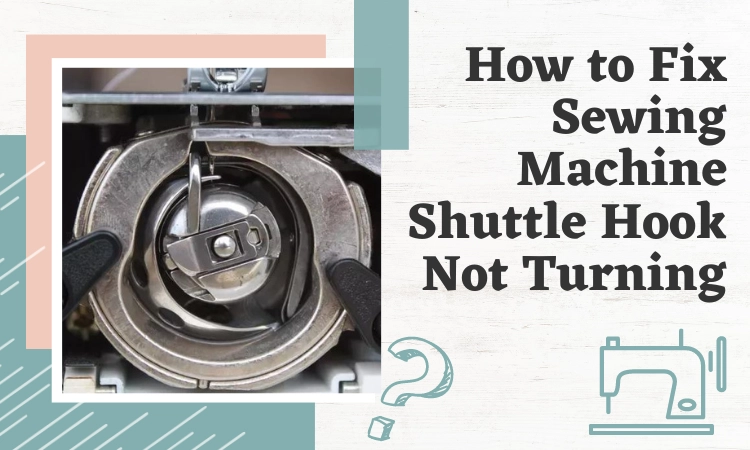
Shuttle hook is an essential part of any sewing machine. Because it helps all the parts of the machine work in sync. Hence, if there’s any problem with the shuttle hook, the entire system slows down or can stop working.
One of such problems is the sewing machine shuttle hook not turning.
Firstly, split or cracked gears can cause the shuttle hook to not turn. The sewing machine timing being off can also be a reason for this. However, replacing the defective gear with a new one and adjusting the matching timing properly can fix this issue.
Well, that was just the tip of the iceberg! Keep reading because this article will provide you with a step-by-step process to solve problems with your shuttle hook
Sewing Machine Shuttle Hook Not Turning: Reasons and Solutions
One of the most common sewing machine shuttle issues is the shuttle hook not turning.
Here are the reasons for why it happens and their solutions.
Reason 1: Split or Cracked Gear
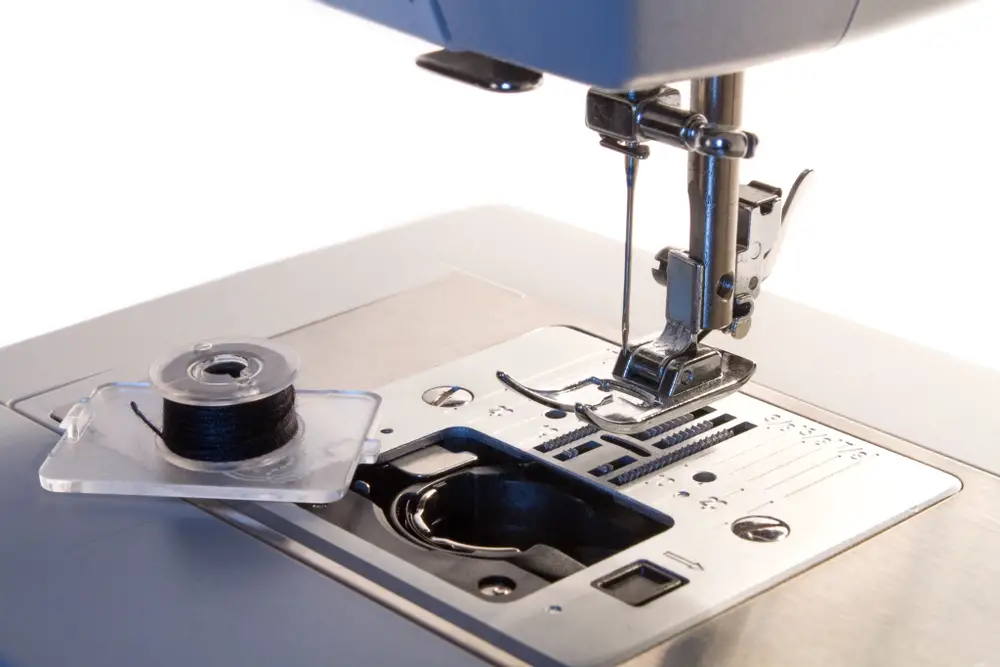
When the shuttle hook is not turning, one most probable reason would be a split or cracked gear. It can be either of the gears under the bobbin area or the lower part of the machine.
That damaged gear is causing the shuttle hook to get stuck and not being able to turn. This is a very common janome mb4 issue as well.
Solution: Replace the Gears in 8 Easy Steps
Follow this step by step process to replace all the gears of your sewing machine.
Step 1: Remove the Bobbin and Needle Plate
Start the process by lifting the sewing foot. Then loosen up the screws first before removing the foot. Finally, take off the needle plate and bobbin accordingly.
Step 2: Put The Machine Upside Down
For this step, you have to put the machine upside down. As normally the gears are fixed on the bottom part of the sewing machine.
However, depending on the company or brand, some sewing machines may have the system on the upper part of the machine. In that case, it is not necessary.
Now for replacing sewing machine gears, you need to discard the bottom cover. by simply loosening the screws.
Step 3: Locate the Main Shaft
Once the bottom cover is removed, locate the main shaft This is the place where the gears are fixed.
After locating, you need to loosen up the shaft. For that you need to take off the attached screws off course. Use a screwdriver to take them off.
Step 5: Free the Gear
Now pull the shaft towards right all the way until the gear connected with it gets free. Remove the small clip fastened with the shaft.
Again, it is a reminder to keep all the disassembled parts safely.
Step 6: Replace Old Gear with New One
Start this step by loosening up the screws of gear. Take the old gear out and put the new gear in that place.
Here, note that, even if only one gear is split, cracked or damaged, I recommend replacing all the gears. It will ensure a better performance of the machine and save you from future trouble.
Step 7: Reassemble the Parts
Once you are done replacing the gears, now it is time to reassemble the parts.
Put all the parts that you kept aside back in their respective positions. Fasten them properly to avoid any complications.
Step 8: Check the Replaced Gears
For this final step, inspect all the gears carefully to see if they are working properly.
With the new gears the shuttle hook should turn properly and you should not face any more trouble.
If the problems still persists, take it to a professional.
Reason 2: Machine Timing Is Off
Shuttle hooks can also have trouble moving if the sewing machine timing is off. So you need to adjust the time properly to get it to move again.
Solution: Adjust the Timing
Here is an easy step by step process for adjusting sewing machine timing.
Step 1: Set the Needle Bar Height
Most sewing or embroidery machines include marks which indicate the proper height for the needlebar. Access the specifics from your instruction manual provided with the machine.
- To start, loosen the needlebar and push it up or down. It will align the top timing mark right below the timing bar bushing.
- In case your machine does not have timing marks, you need to lower the needle all the way using the hand wheel.
- Now raise the needle about 2.4mm. Adjust your needle’s height and make sure the needle eye remains 2.4 mm below the point of the hook.
Step 2: Set the hook timing
This step will be all about simply adjusting the distance between the needle and hook.
- With the help of the handwheel, lower your needlebar to its lowest point.
- Next step in retiming sewing machine is loosening the gears at the base of the sewing machine.
- Keep adjusting until the hook and needle are kept at a suitable distance. The distance should range from 0.04mm- 0.1mm depending on the machine you are using.
Step 3: Re-Check for Timing Accuracy
Finally, re-inspect the needle and hook alignment. By doing this you can decide whether the adjustments has enhanced the machine’s settings.
- Re-thread the needle and resume working. Make sure to keep the bobbin area exposed so thread threads won’t get caught anywhere.
- Move the handwheel gently to make sure that the shuttle hook is catching the thread effortlessly. If it does, then the timing has been fixed.
Now you can run your machine smoothly without the shuttle hook causing any more trouble.
Frequently Asked Questions (FAQs):
Why doesn’t my sewing machine’s handwheel turn?
A build up of lint and stuck thread can prevent the handwheel from turning. To fix this, discard the bobbin case to clean off any thread or lint that might be stuck in there. Using a lint brush would make the process easier and quicker.
Why is my bobbin case not rotating?
Sometimes the bobbin gets stuck in the bobbin winder and it causes the bobbin case not to rotatem. Look under the bobbin pin to see if that is really the case. It can be hard to see under there. Use a flashlight because it is very hard to see under there. but a small flashlight helps. If you see some thread enfolding around the pin, that is the thing that is stopping the bobbin from rotating.
Why isn’t my sewing machine grabbing the bottom?
When you hold the needle thread too tightly, the machine fails to grab the bottom. So, just hold the thread gently to prevent its end from going down inside the shuttle. Also, threading the needle incorrectly could be the reason. So, thread the needle eye properly before starting to work on your project.
Wrapping Up
This is all on the problem of sewing machine shuttle hook not turning. I hope that you now have a basic idea on the topic that will help you take the necessary steps accordingly.
Defective gears not only affect the shuttle hook but also many parts of the machine. So, it is always better to replace them all.
That’s all as of now. Have a great day.
Related Posts

How To Sew A Tote Bag With A Flat Bottom?

How To Sew Tulle By Hand?

How To Sew Fishnet Fabric?

How To Sew Quilt Squares Together By Hand?

How To Sew Polyester Fabric?

How To Sew Spaghetti Straps?

How To Do A Closure Sew-In?

How To Do A Full Sew-In Weave?

Uilt Sqhow To Sew Quares Together?


2 thoughts on “How to Fix Sewing Machine Shuttle Hook Not Turning”